Restore Specific Files or Folders of a VM
You can restore specific files or folders of a VM from a VM backup to the same VM.
- When restoring specific files or folders from a VM backup, selecting a large number of items may result in large custom resource sizes, which can exceed system limits and cause the restore operation to fail.
If this occurs, reduce the number of selected files or folders and retry the operation.
You do not need to restore the entire VM to recover specific files or directories. During restore, you can select the disk that contains the required data and choose only the specific files or directories from that disk.
This is especially useful for VMs with multiple disks, as it allows recovery of only the required content without restoring the full VM or all disks. - Only one restore operation for a specific VM is supported at a time. If you start another restore on the same VM, the system queues it and waits for the current restore to complete before processing it.
Requirements
Ensure that the following prerequisites are met before you restore specific files or folders of a VM from a VM backup:
-
VM Status: VM is in running state.
-
Stork Version: Upgrade stork to 26.2.0 or later version. For information on how to install and upgrade Stork, see Install Stork.
-
qemu-guest-agent: The
qemu-guest-agentis running on the VM.noteIf SELinux is enabled, perform the following additional configurations:
-
The
/etc/sysconfig/qemu-gafile includes guest-exec and guest-exec-status in the--allow-rpcslist.For example:
FILTER_RPC_ARGS="--allow-rpcs=guest-sync-delimited,guest-sync,guest-ping,guest-get-time,guest-set-time,guest-info,guest-shutdown,guest-fsfreeze-status,guest-fsfreeze-freeze,guest-fsfreeze-freeze-list,guest-fsfreeze-thaw,guest-fstrim,guest-suspend-disk,guest-suspend-ram,guest-suspend-hybrid,guest-network-get-interfaces,guest-get-vcpus,guest-set-vcpus,guest-get-disks,guest-get-fsinfo,guest-set-user-password,guest-get-memory-blocks,guest-set-memory-blocks,guest-get-memory-block-info,guest-get-host-name,guest-get-users,guest-get-timezone,guest-get-osinfo,guest-get-devices,guest-ssh-get-authorized-keys,guest-ssh-add-authorized-keys,guest-ssh-remove-authorized-keys,guest-get-diskstats,guest-get-cpustats,guest-exec,guest-exec-status" -
The SELinux environment is configured with the following settings:
cat > qemu-ga-mount-complete.te << 'EOF'module qemu-ga-mount-complete 1.0;require {type virt_qemu_ga_t;type unlabeled_t;type fs_t;type mount_exec_t;type bin_t;type shell_exec_t;type fixed_disk_device_t;type virt_qemu_ga_tmp_t;type mount_var_run_t;type kernel_t;class filesystem { mount unmount getattr };class file { create write read open getattr setattr unlink execute execute_no_trans ioctl lock map };class dir { create write read open getattr setattr search add_name remove_name rmdir reparent mounton };class blk_file { read write open getattr ioctl };class process setsched;class capability { dac_override sys_admin };}#============= virt_qemu_ga_t ==============# Mount/Unmount Operationsallow virt_qemu_ga_t fs_t:filesystem { mount unmount getattr };# Execute Permissionsallow virt_qemu_ga_t mount_exec_t:file { execute execute_no_trans map };allow virt_qemu_ga_t bin_t:file { execute execute_no_trans };allow virt_qemu_ga_t shell_exec_t:file { execute execute_no_trans };# Device Accessallow virt_qemu_ga_t fixed_disk_device_t:blk_file { read write open getattr ioctl };# Directory Mount Permissionsallow virt_qemu_ga_t virt_qemu_ga_tmp_t:dir mounton;# System Accessallow virt_qemu_ga_t mount_var_run_t:dir write;allow virt_qemu_ga_t kernel_t:process setsched;# File Operations on Mounted Filesystemsallow virt_qemu_ga_t unlabeled_t:file { create write read open getattr setattr unlink ioctl lock };allow virt_qemu_ga_t unlabeled_t:dir { create write read open getattr setattr search add_name remove_name rmdir reparent };# Capabilitiesallow virt_qemu_ga_t self:capability { dac_override sys_admin };EOFcheckmodule -M -m -o qemu-ga-mount-complete.mod qemu-ga-mount-complete.te# Create policy packagesemodule_package -o qemu-ga-mount-complete.pp -m qemu-ga-mount-complete.mod# Install the policysemodule -i qemu-ga-mount-complete.pp -
For SELinux-enabled environment, an alternate restore path with the required permissions is configured.
- Create a custom recovery path. For example,
/tmp/recovery
mkdir -p /tmp/recovery- Allow write access for
qemu-guest-agent.
chcon -t virt_qemu_ga_tmp_t /tmp/recovery- Set the following permissions.
chmod 755 /tmp/recovery - Create a custom recovery path. For example,
-
Supported operating systems, filesystems, and SELinux modes
The following Linux versions, filesystems, and SELinux modes are supported for files and folders restore from VM backups:
-
Supported Linux Versions:
- Ubuntu 22.04 and 24.04
- RHEL 9.5
- Debian 12
- Oracle Linux Enterprise 7.9
- Fedora 43
- OpenSUSE 15.2
-
Supported File Systems:
- ext3
- ext4
- XFS
- BTRFS
- FAT32
-
All SELinux modes
Restore feasibility
To understand restore feasibility for file-level and folders-level restore based on the backed-up entities (single VM or multiple VMs) and the backup status, see Supported restore types based on VM backup status.
Procedure
To restore specific files or folders of a VM from a VM backup, follow these steps:
-
Log in to Portworx Backup web console.
-
From the left navigation pane, click the Clusters icon
 .
. -
On the Clusters page, click the application cluster for which you have taken the backup.
The system displays the application cluster page. -
Click the Applications tab, and select VM to view the list of VMs in the application cluster.
-
Click Restore under the Actions column for the target VM.
The system displays the Restore Options page, and prompts you to select the restore option.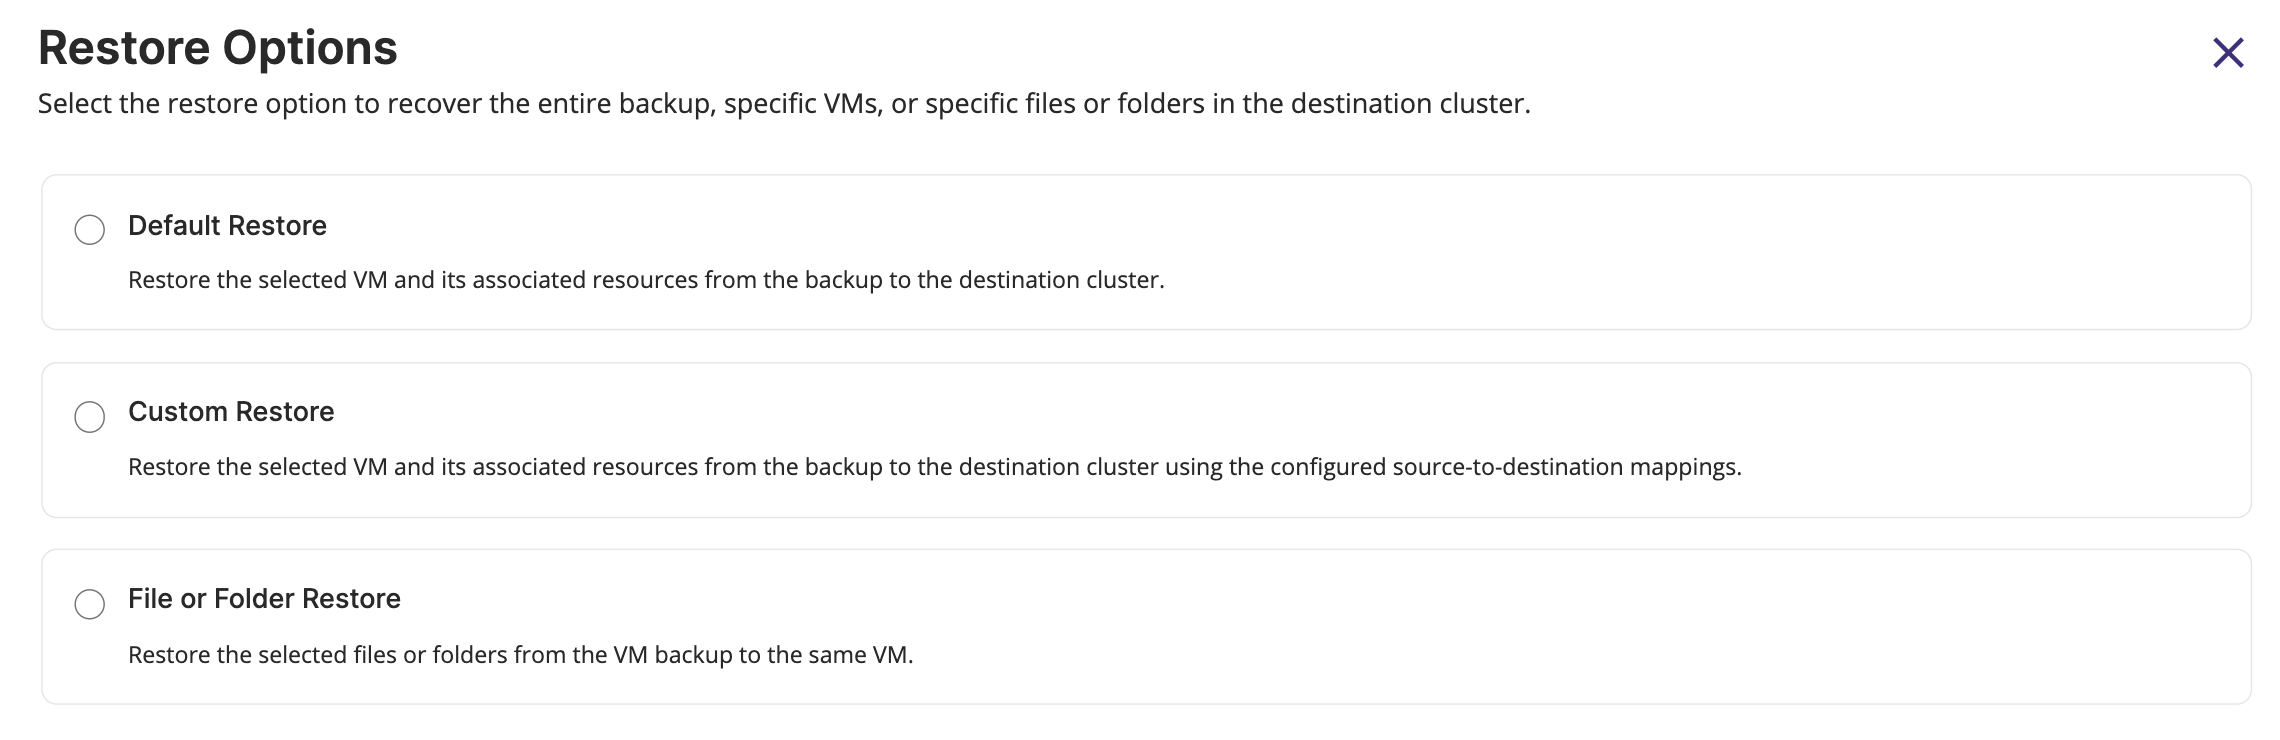
-
Select File or Folder Restore option.
For information on the Default Restore and Custom Restore options, see Restore all resources of an Individual VM.
The system displays the Restore (Backup) page. -
Select the required VM backup, and click Next.
tipUse the timeframe filter to list the backups based on the required timeline such as last 24 hours, 1 week, one month, or a custom timeframe.
The system displays the Restore (Backup) page and prompts you to specify the restore details.
-
On the Restore (Backup) page, perform the following actions:
-
On the Restore Details page, specify the following information, and click Next.
- Enter the restore name: Enter a unique name for the restore. You can use this name to identify the restore operation in the Restore tab.
- Select a Volume: Select the volume where the file or folder resides.
The system displays the Path Details page.
-
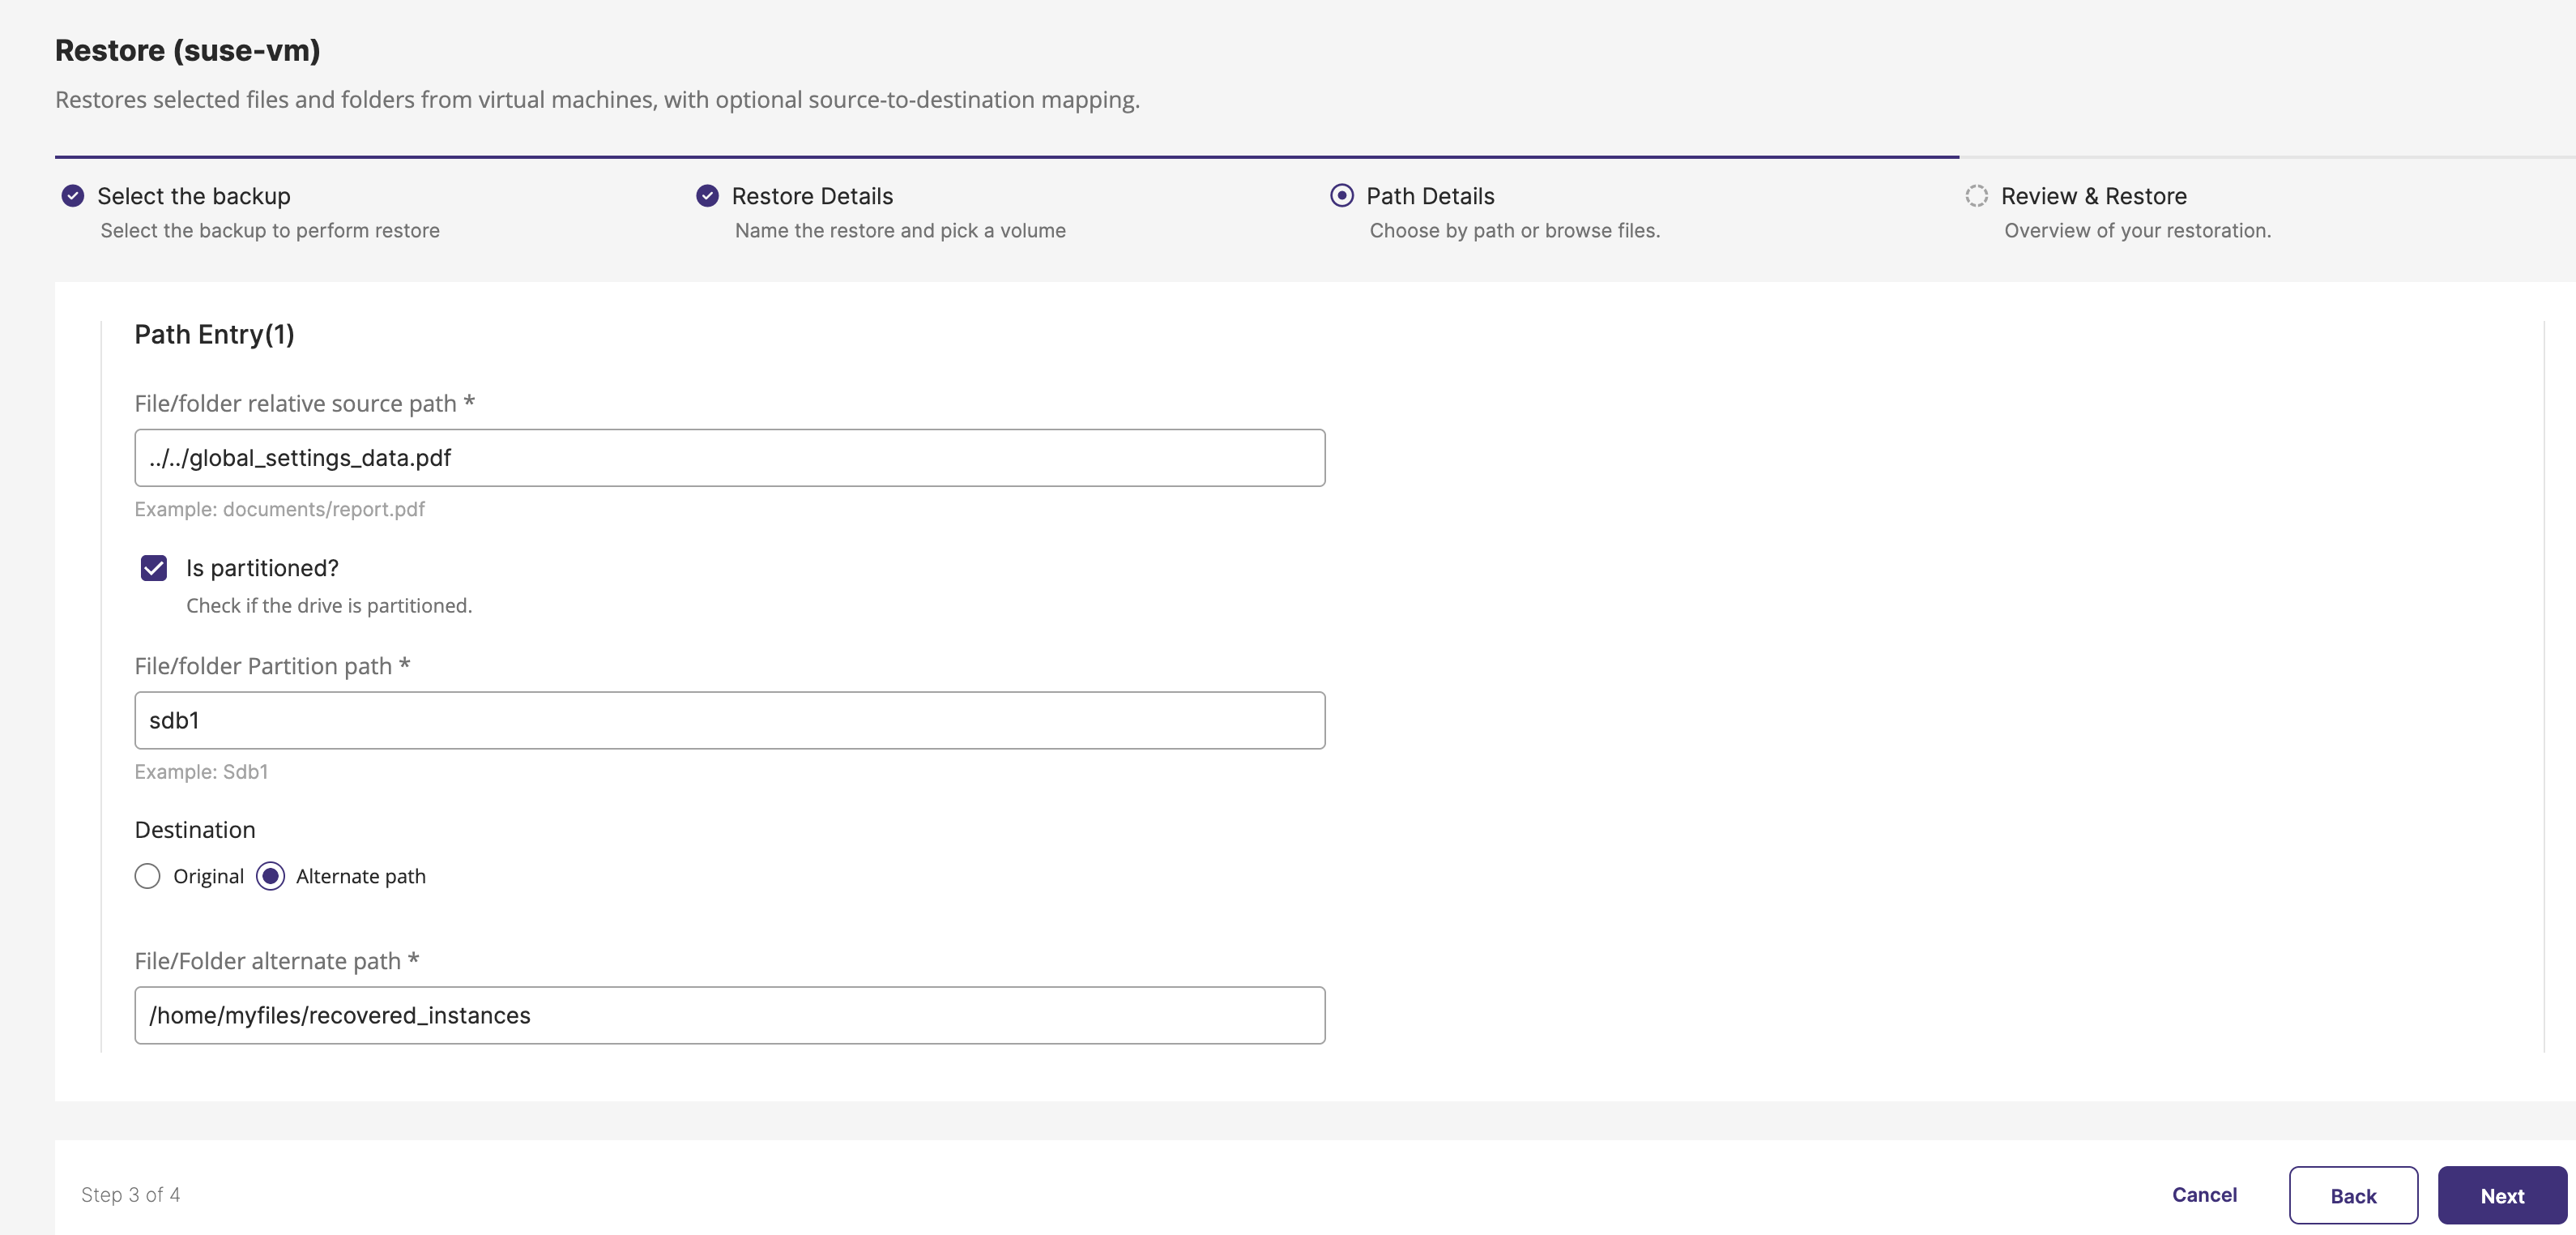
On the Path Details page, specify the path entries and click Next.
-
File/folder relative source path: Enter the relative path of the file or folder on the drive.
For example:
-
To restore a
README.mdfile that is located on vda drive which is mounted at/mnt/datadisk, the file is referenced on the VM as/mnt/datadisk/README.md.In this case, the relative path for restoring
README.mdfile isREADME.md. -
To restore a
README.mdfile that is located in the downloads folder, the file is referenced on the VM as/mnt/datadisk/downloads/README.md.In this case, the relative path for restoring
README.mdfile is:downloads/README.md
-
-
Is partitioned?: Select this checkbox if the file or folder to restore from the drive are on partitioned drive.
-
File/folder Partition path: Enter the disk partition number on which the file or folder resides.
-
Destination: Select the destination path for the restore.
- Original - To restore the file or folder in the VM at the original source path. This is the default option.
This option is unavailable if the selected drive (source path drive) is no longer attached to the running VM.
warningThis option replaces the existing file or folder in the source path with the data from the backup.
- Alternate path - To restore the selected file or folder in the VM at an alternate path.
The alternate path is auto-selected if the selected drive exists in backup but is no longer attached to the running VM.- File/folder alternate path: Enter the absolute alternate path to restore the file or folder in the VM. For example,
/home/myfiles/recovered_instances - Is Directory: Select this checkbox if the source path specified in File/Folder relative source path field is a folder.
Selecting this option restores the entire folder tree.
note- Ensure that there is enough space to restore the specified file or folder at the alternate path.
- The alternate path must be an absolute path and not a relative path. For example,
/tmp/recoverFromBackupor/mnt/newdrive/README.md. - If you have altered or deleted the disk partition from the VM, ensure that you provide the correct alternate destination path for the file or folder for successful restore.
- File/folder alternate path: Enter the absolute alternate path to restore the file or folder in the VM. For example,
- Original - To restore the file or folder in the VM at the original source path. This is the default option.
Click Add another File/Folder to add multiple path entries for the files or folder to restore.
The system displays the Review & Restore page.
-
-
On the Review & Restore page, review the restore configuration summary, and click Restore.
-