Add Local Users and Groups
The procedures in this topic explain how you can create users and user groups in Portworx Backup Keycloak and view them in Portworx Backup User Management of Portworx Backup web console.
Add users and user groups
Using Portworx Backup Keycloak, you can add users and user groups in Portworx Backup. Additionally, when you integrate your OIDC provider into Portworx Backup, all users and user groups that exist in your OIDC are added to Portworx Backup. To view the added users and groups, navigate to the Portworx Backup User Management module of the Portworx Backup web console.
-
If you have integrated an external authorization provider in Portworx Backup Keycloak, you do not need to create local users and groups unless required.
-
Do not delete users and user groups that you added in Keycloak.
Add users
To add users through Portworx Backup Keycloak:
-
Sign in to Portworx Backup Keycloak using infrastructure administrator credentials. If you have configured access to the Portworx Backup web console, Keycloak is available at
https://<px-backup-web-console-url>/auth/.- For information on how to set up access to the Portworx Backup web console, see Set up Access for Portworx Backup Web Console
- For information on how to retrieve the admin credentials, see Set up Portworx Backup for Operations.
-
In the Keycloak home page, select Administration Console.
-
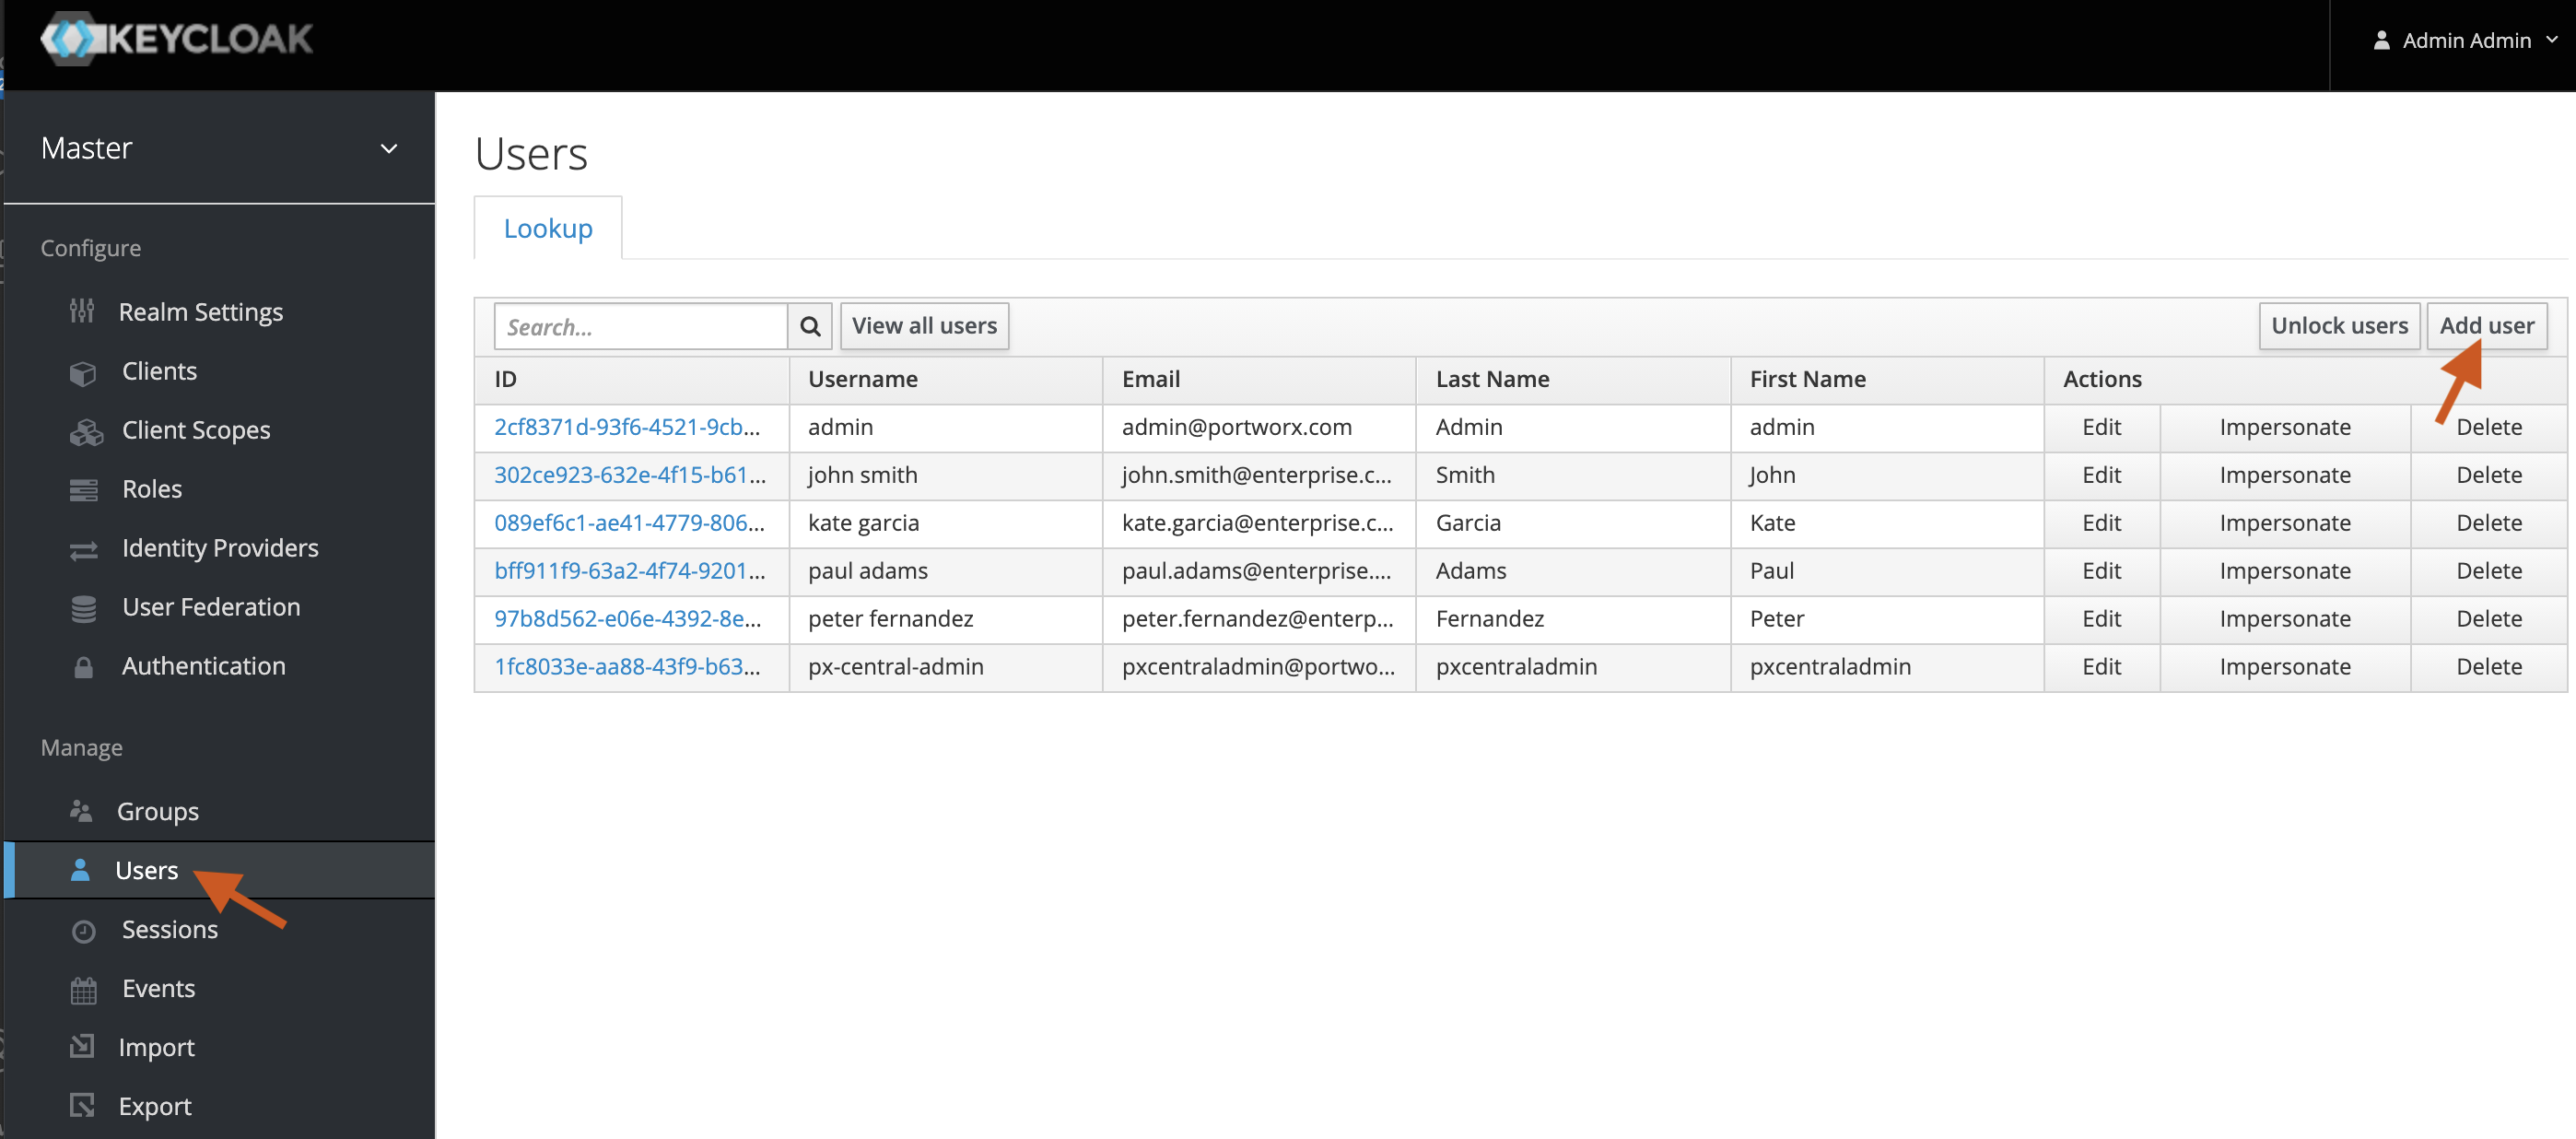
From the Master > Manage menu, select Users.
-
In the Users page, click Add User:
-
In the Create user page, enter the following fields:
- Required user actions
- Username
- Email verified
- First Name
- Last Name
- Groups
-
Click Join Groups if you want to make this user part of an existing group. Select the required group and click Join.
noteUser's first name, last name, and email are mandatory for successful login.
-
Click Create.
-
After the user is created, select the user from the list and navigate to the Credentials tab. Click Set password, enter a password for the user, set Temporary to Off (to prevent the user from being required to change the password on first login), and click Save password.
noteIf you skip this step, the user account is created but the user cannot sign in. A password must be set before the user can authenticate.
View users in Portworx Backup User Management
All users that you added in the Portworx Backup Keycloak automatically appear in the User Management.
To view the user:
-
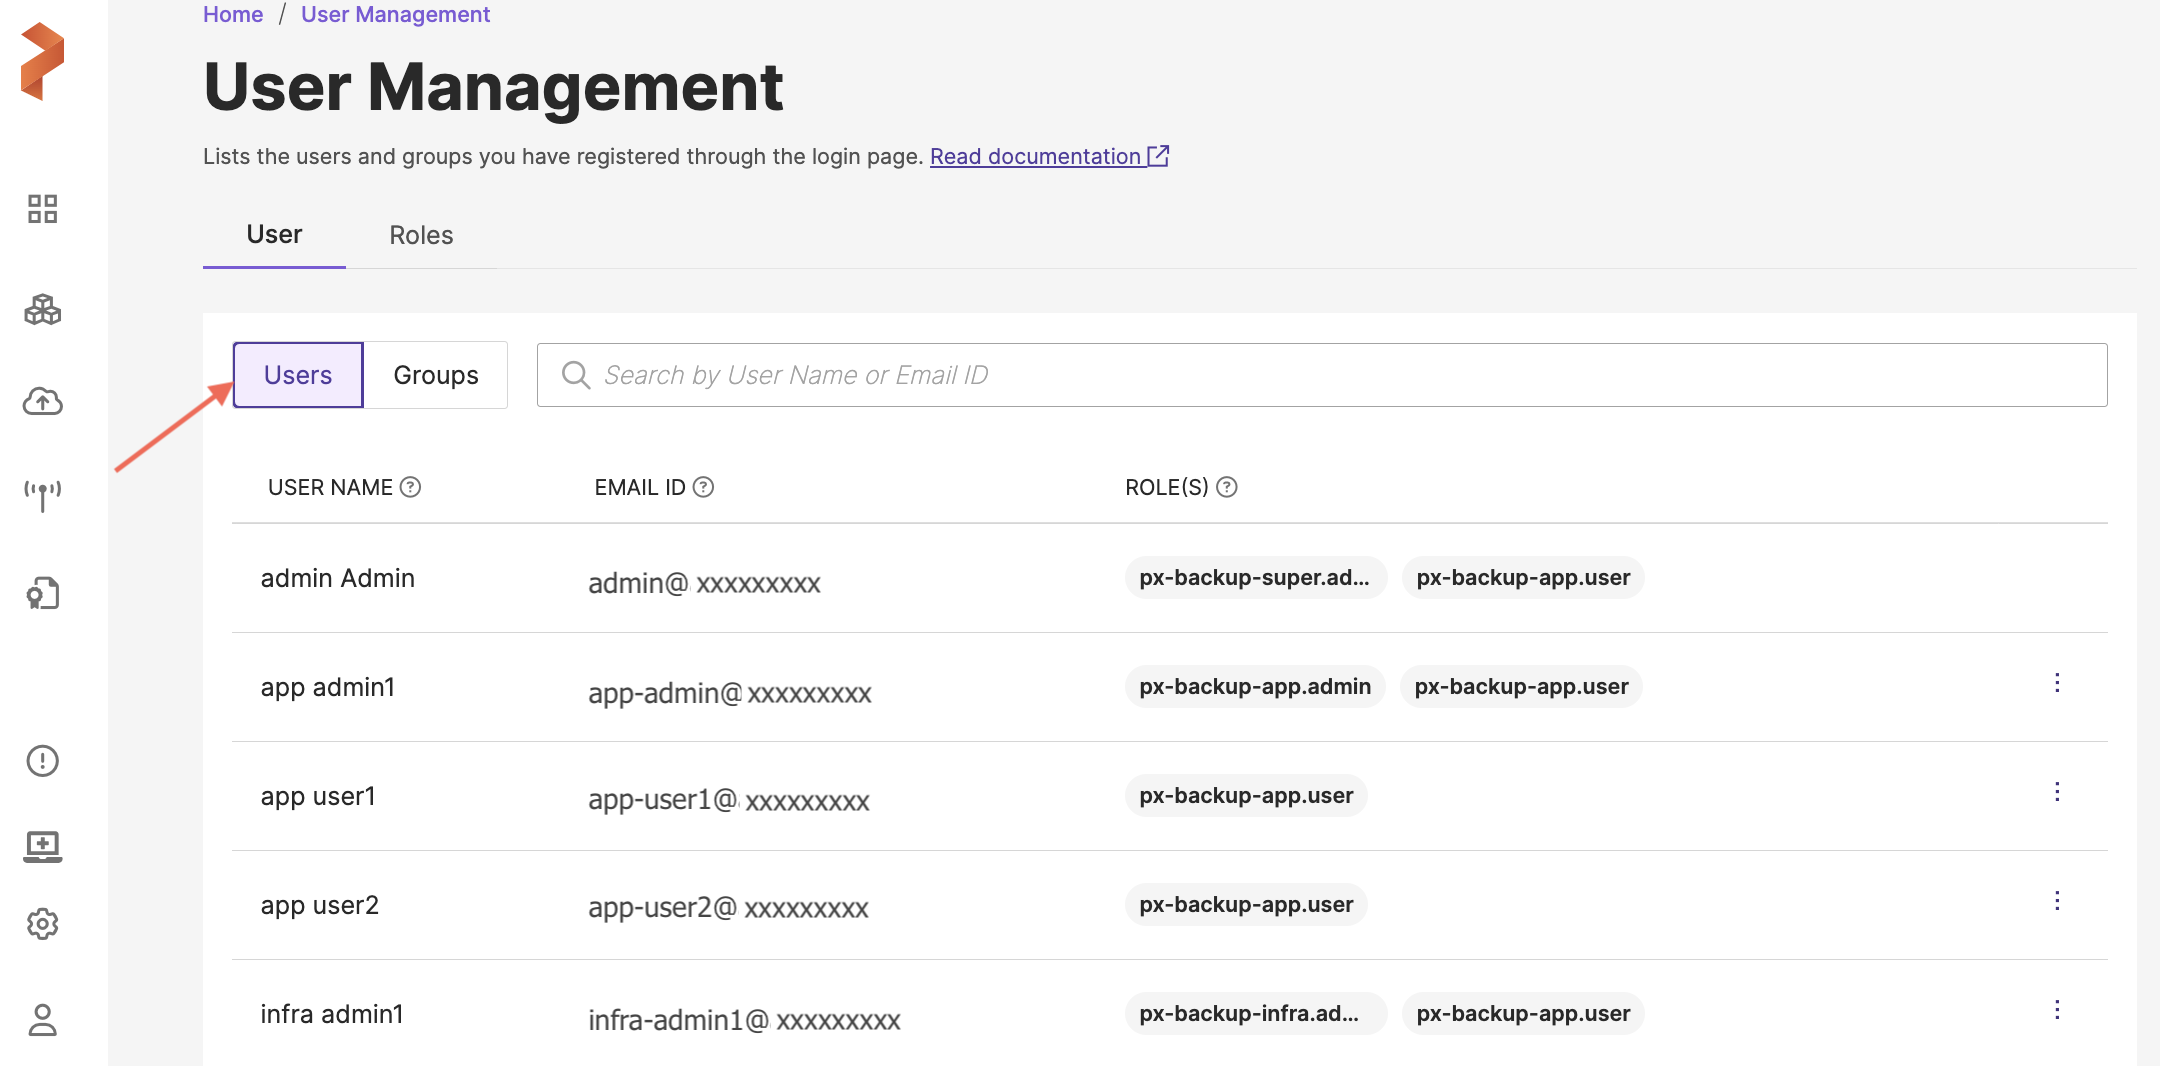
On the home page, at the bottom of the left navigation pane, click User Profile > User Management.
In the User > Users tab, you can see all the users you have added through Portworx Backup Keycloak web console:
Add user groups
To add user groups using Portworx Backup Keycloak:
-
Follow steps 1 and 2 in the above procedure to log in to the Portworx Backup Keycloak.
-
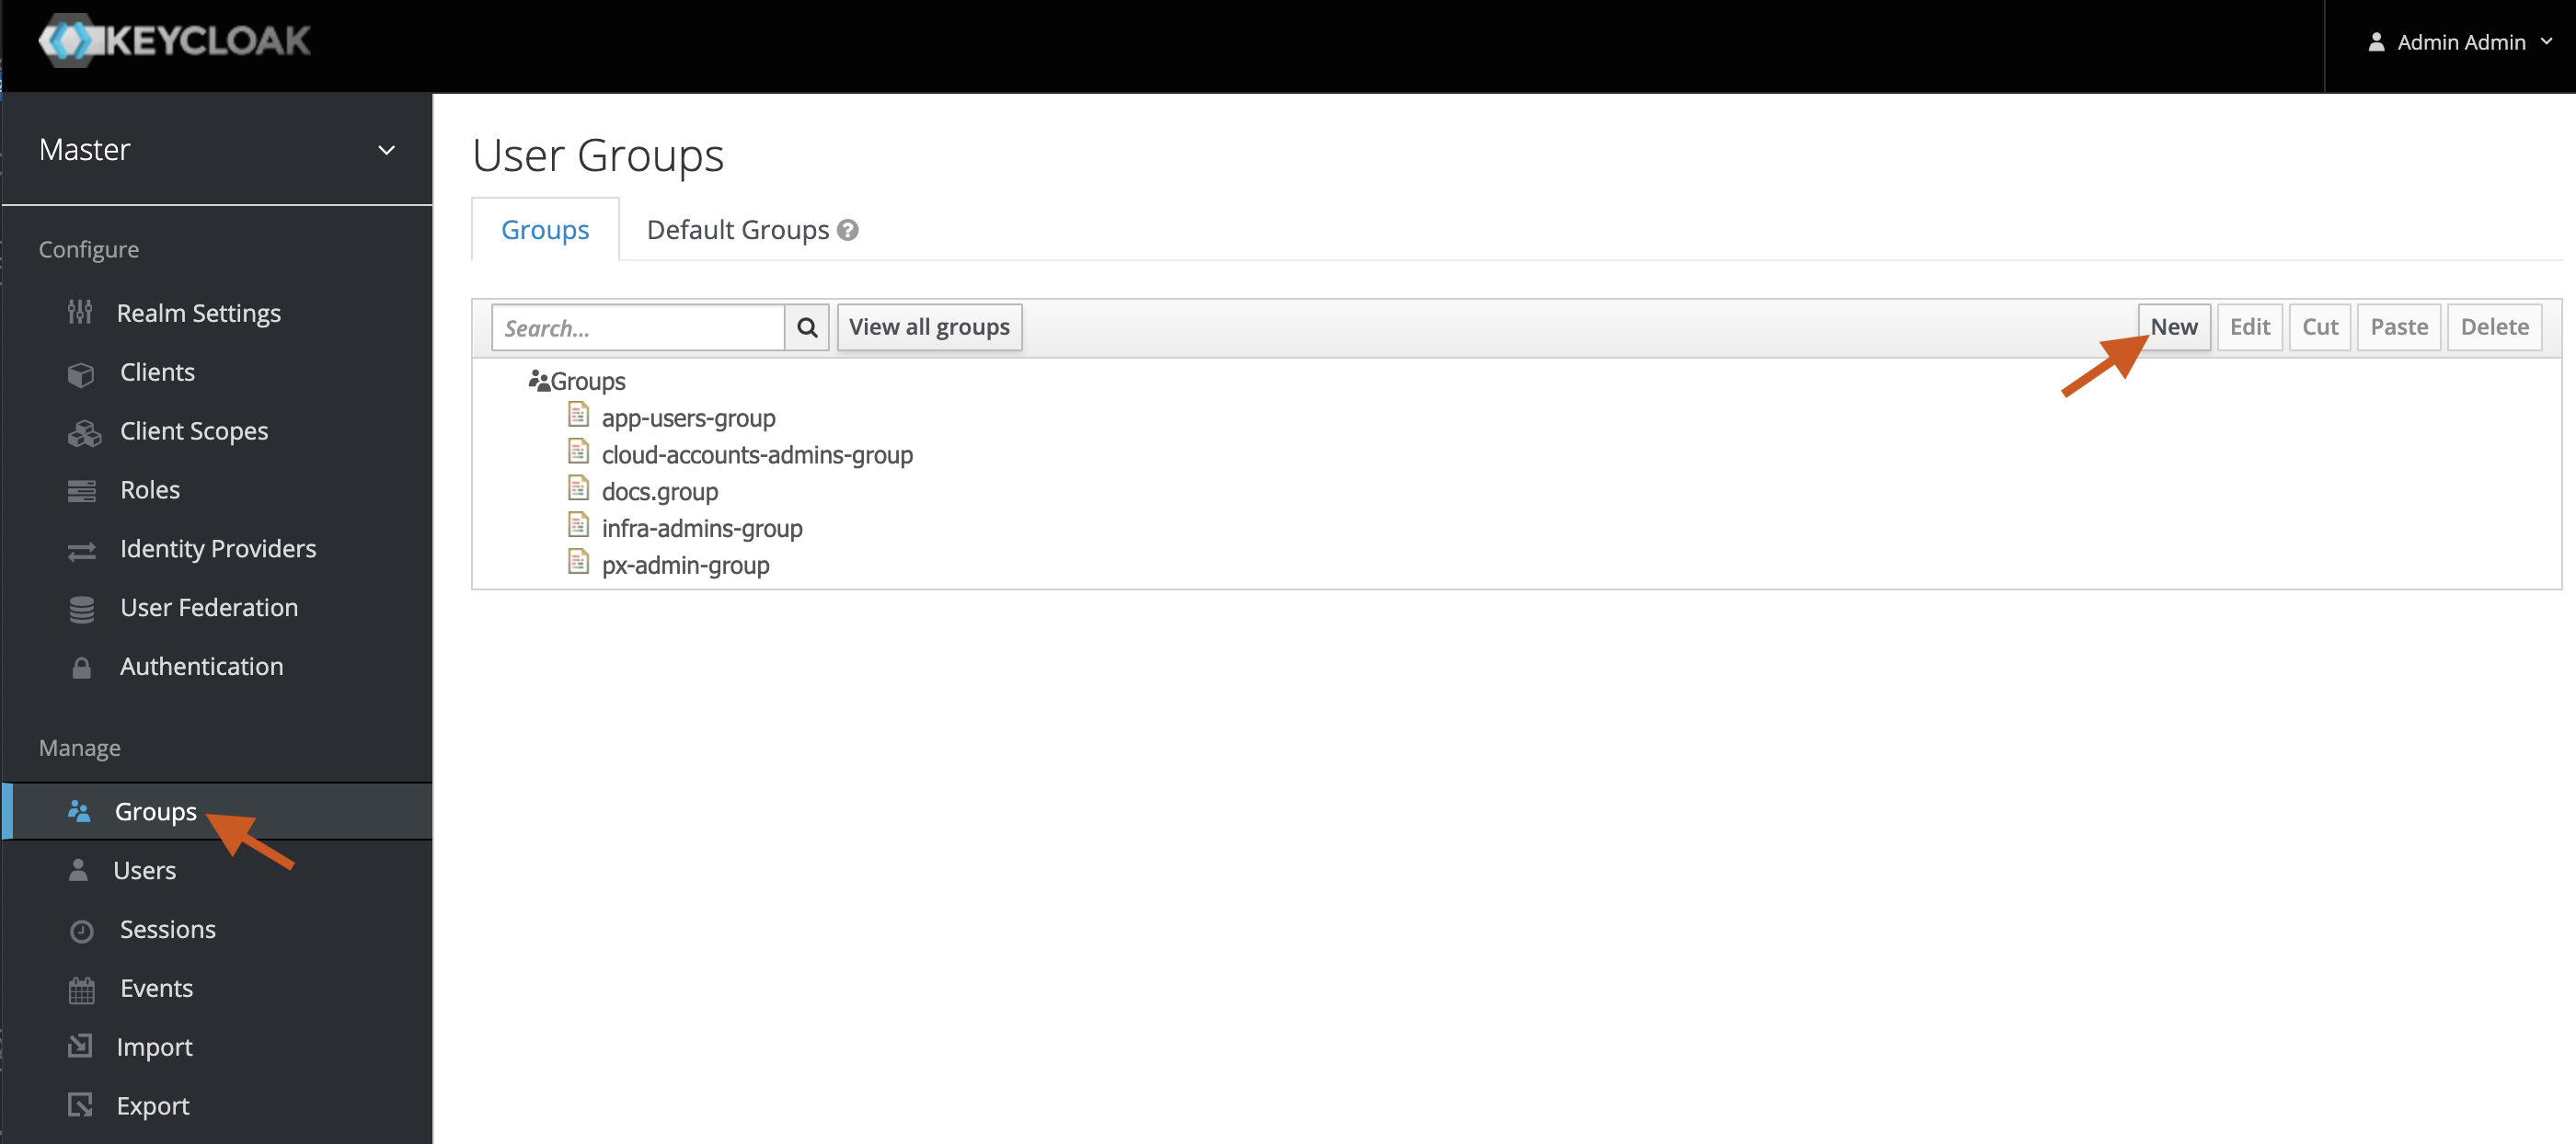
From the Master > Manage menu, select Groups.
-
In the Groups page, click Create group.
-
In the Create a group window, in the Name text box, enter a user group name.
-
Click Create.
After creating a user group, you can edit it to change the group name, add group attributes, map existing roles to the group, and add members to the group.
View user groups in Portworx Backup User Management
The user groups you added using the Portworx Backup Keycloak automatically appear in the Portworx Backup web console. To view the user groups in the Portworx Backup web console:
-
From the home page, in the left navigation pane, click User Profile > User Management.
-
Navigate to User > Groups tab to view the user groups you have added.