Map AD Group with Portworx Backup Group
To map authorization provider groups from your external authorization provider with a Portworx Backup group, you need to create groups, map or assign roles, and then map the auth provider groups with the required Portworx Backup groups.
Create groups and assign roles
-
Access Keycloak with the URL,
https://<backup-web-console-IP:port-number>/auth/and then select Administration Console.
-
Login with valid and active credentials.
-
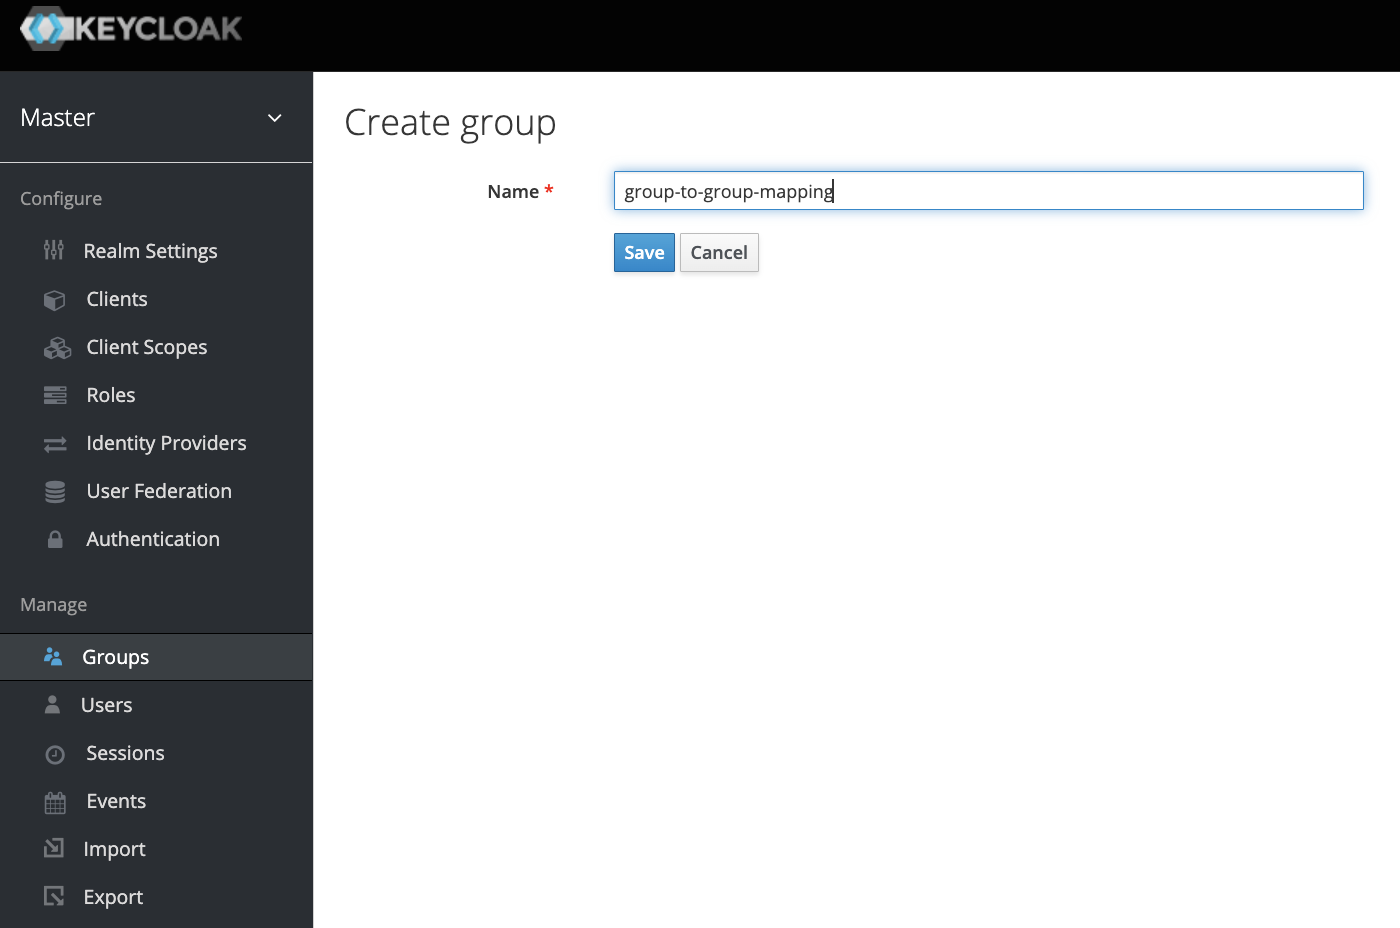
In the left panel, navigate to Master > Manage > Groups and then click New.
-
Enter a name for the group and click Save.
-
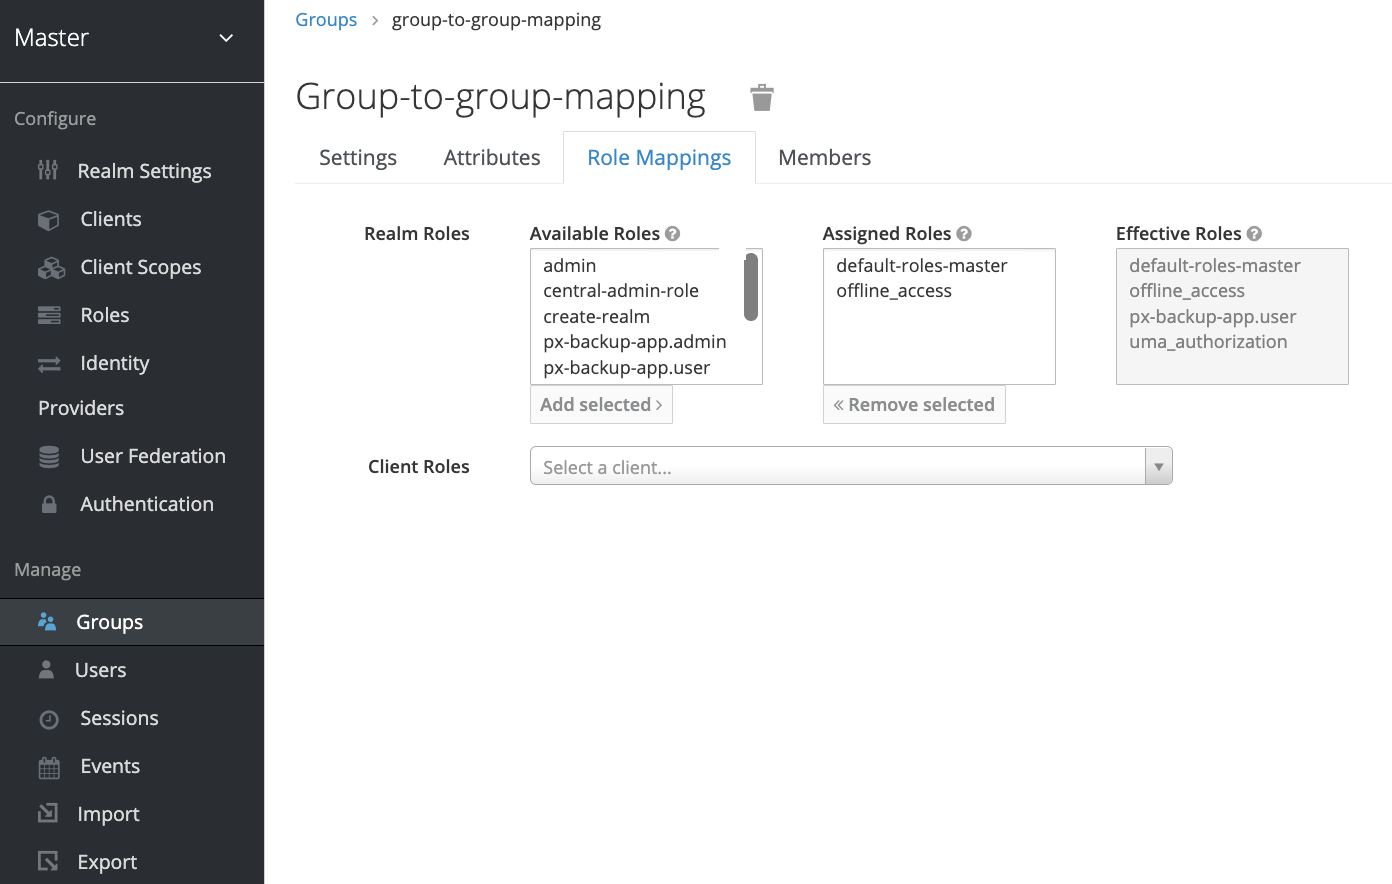
Click the Role mappings tab.
-
Choose the required role(s) from the available roles and click Add selected to assign roles to the newly created group.
Map AD group with Portworx Backup group
-
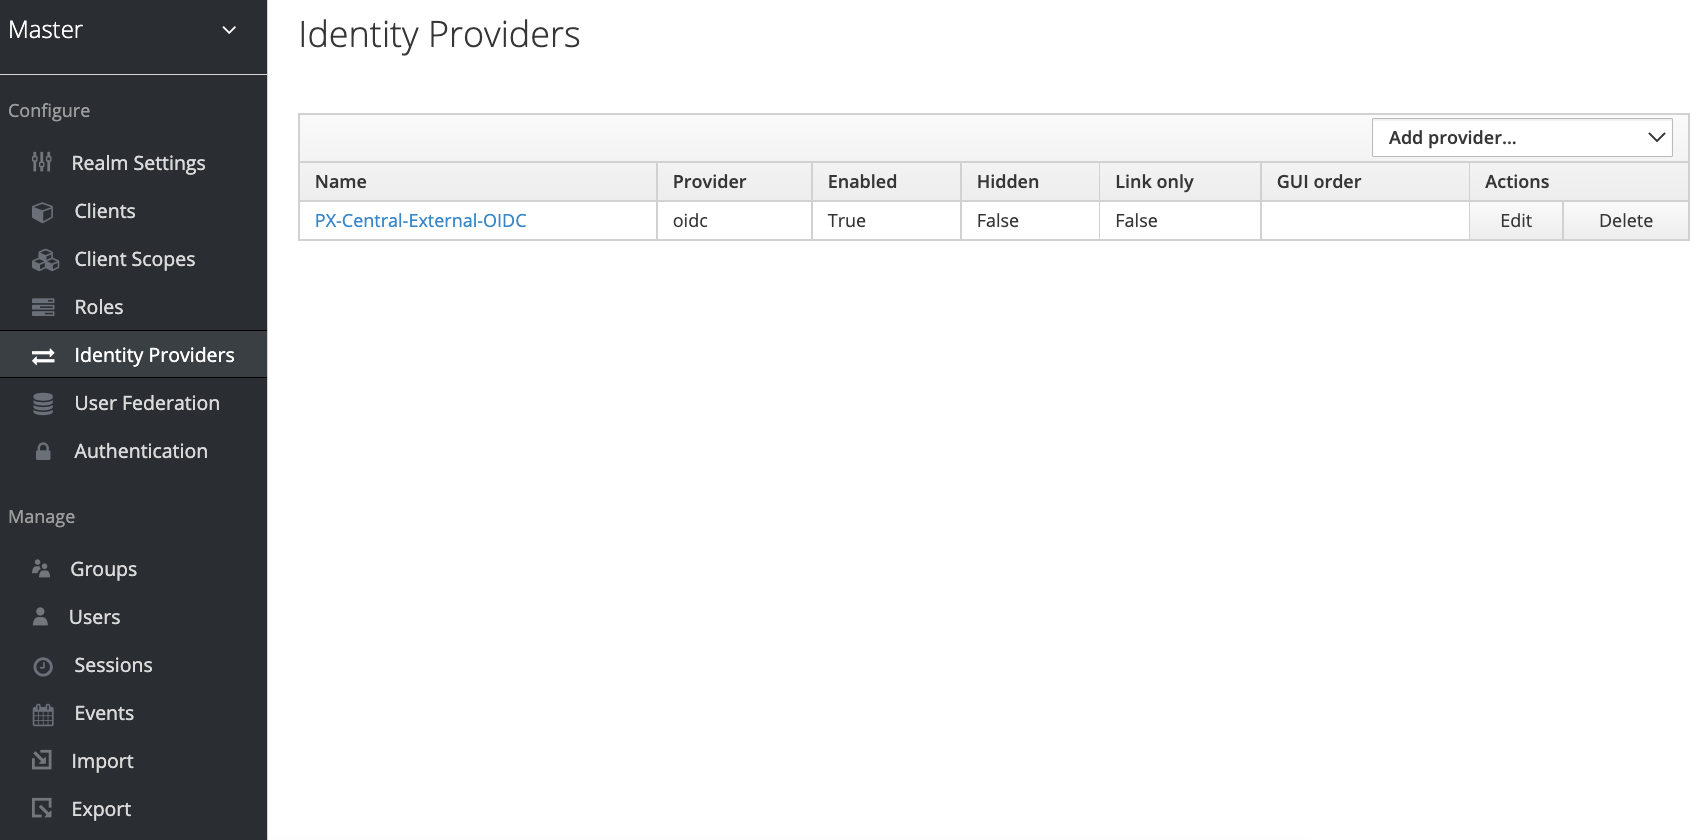
Navigate to Configure > Identity Providers.
-
Click on the Name of the Identity Provider.
-
Select the Mappers tab and then click Create.

-
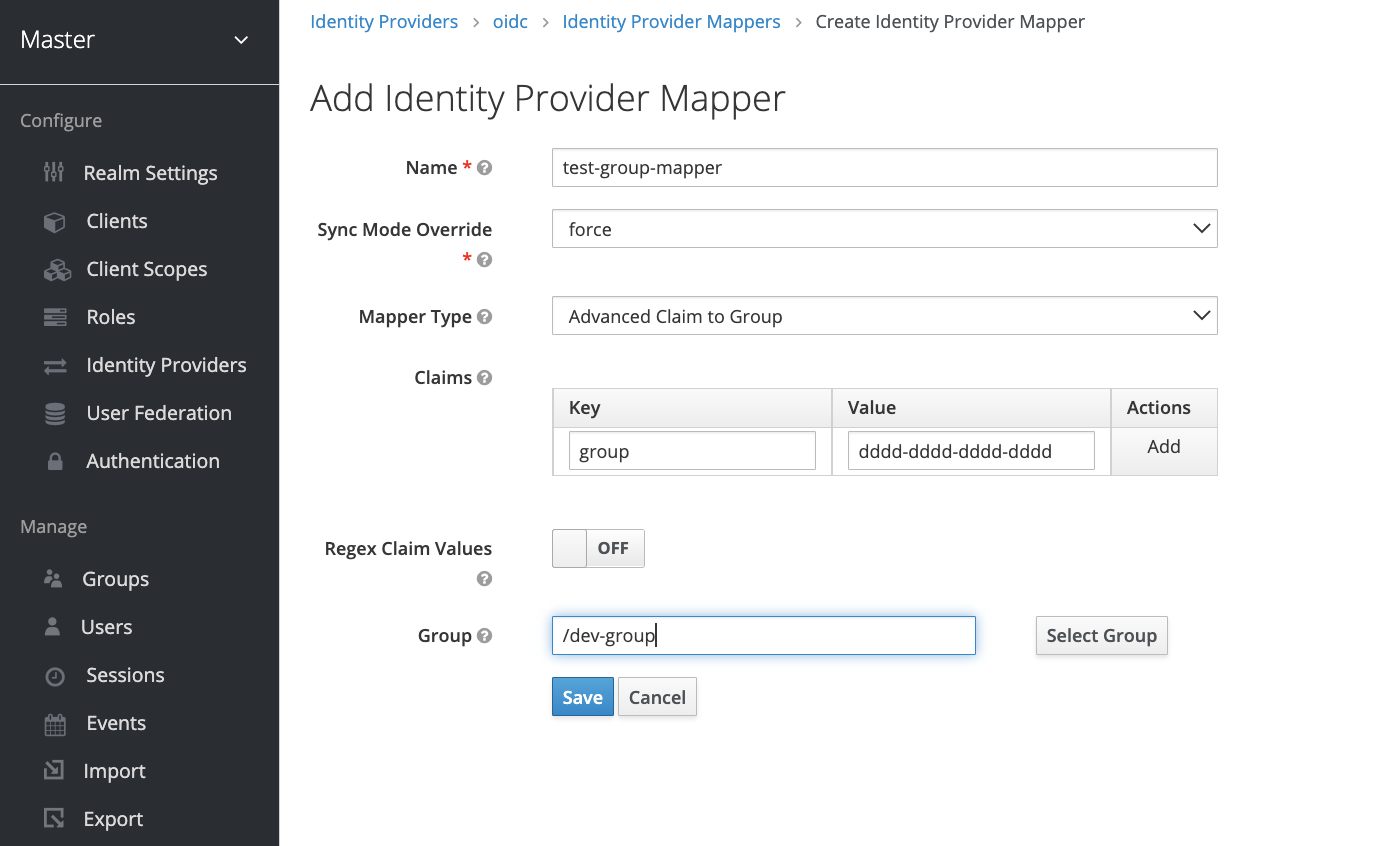
Provide the following details:
-
Enter the Name of identity provider mapper
-
Choose force from Sync mode Override dropdown list
-
Choose Advanced Claim to Group from Mapper Type dropdown list
-
Under Claims, enter the below values and then click Add:
-
Key: enter groups
-
Value: add the Object Id of the AD group dddd-ddd-ddd-dddd (alphanumeric key)
-
-
For Group, click Select Group and then choose the px-backup group to map with the AD group.
-
-
Click Save.