Map AD group with Portworx Backup group
To map authorization provider group(s) (of your external authorization provider) with Portworx Backup group, you need to create groups, map or assign roles and then map the auth provider group(s) with required Portworx Backup group(s).
Create groups and assign roles
-
Access Keycloak with the URL,
https://<backup-web-console-IP:port-number>/auth/and then select Administration Console.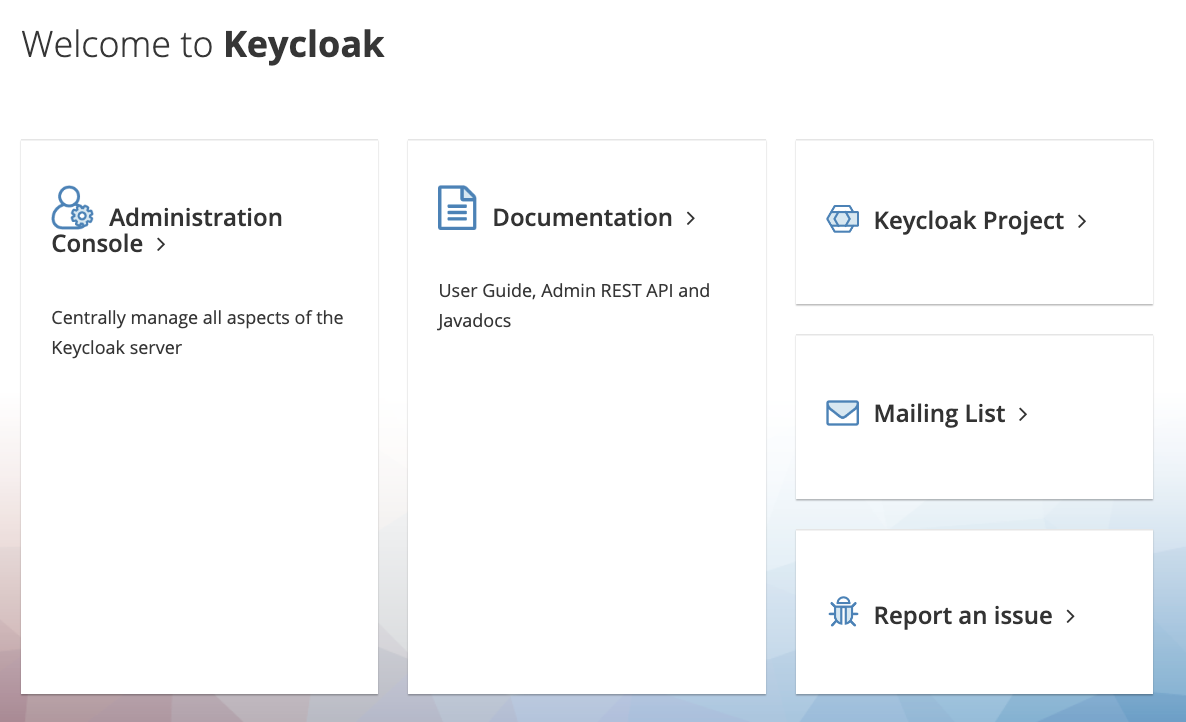
-
Login with valid and active credentials.
-
In the left panel, navigate to Master > Manage > Groups and then click New.

-
Enter a name for the group and click Save.
-
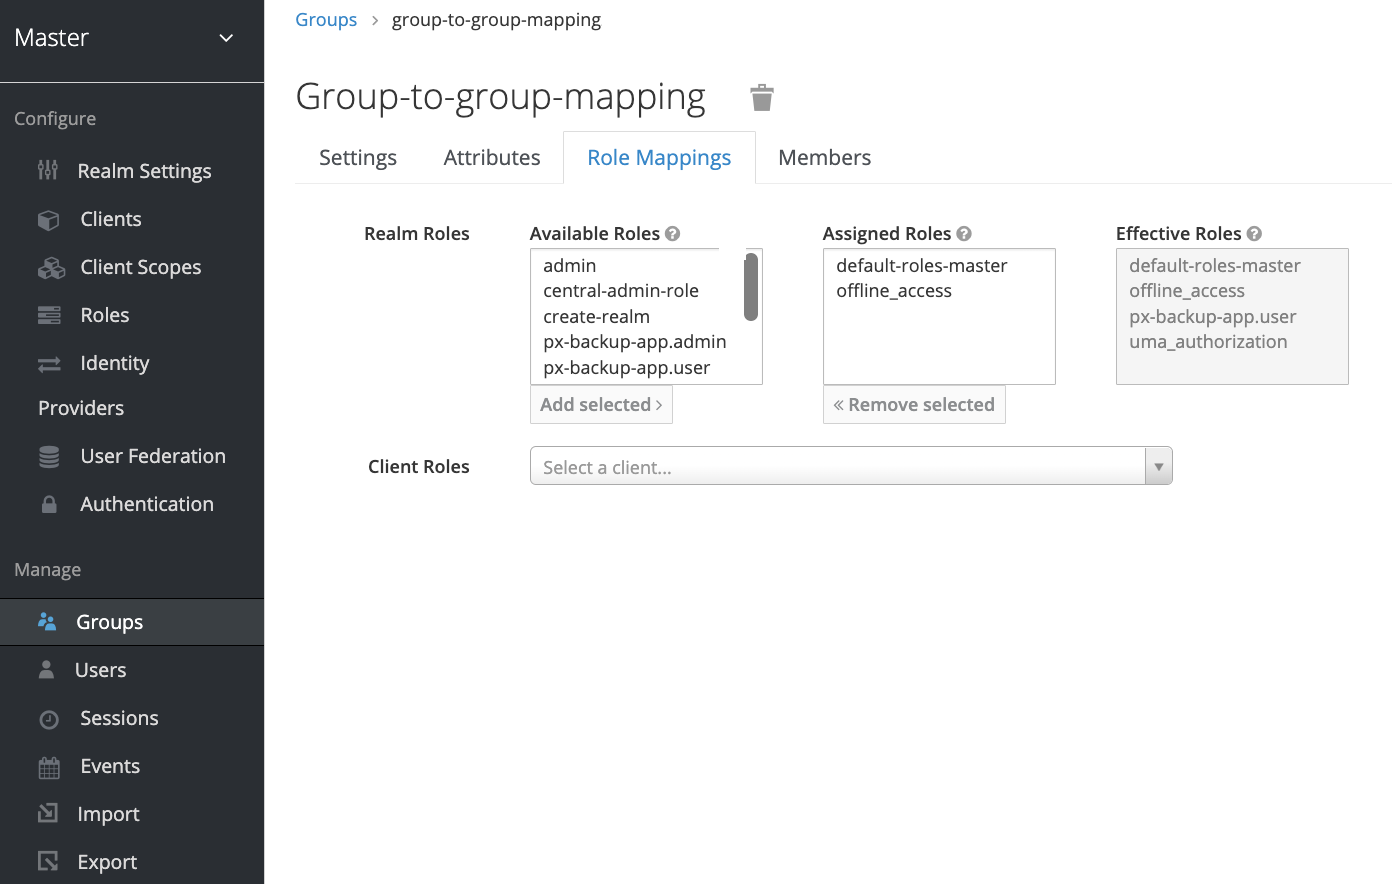
Click the Role mappings tab.
-
Choose the required role(s) from the available roles and click Add selected to assign roles to the newly created group.
Map AD Group with Portworx Backup Group
-
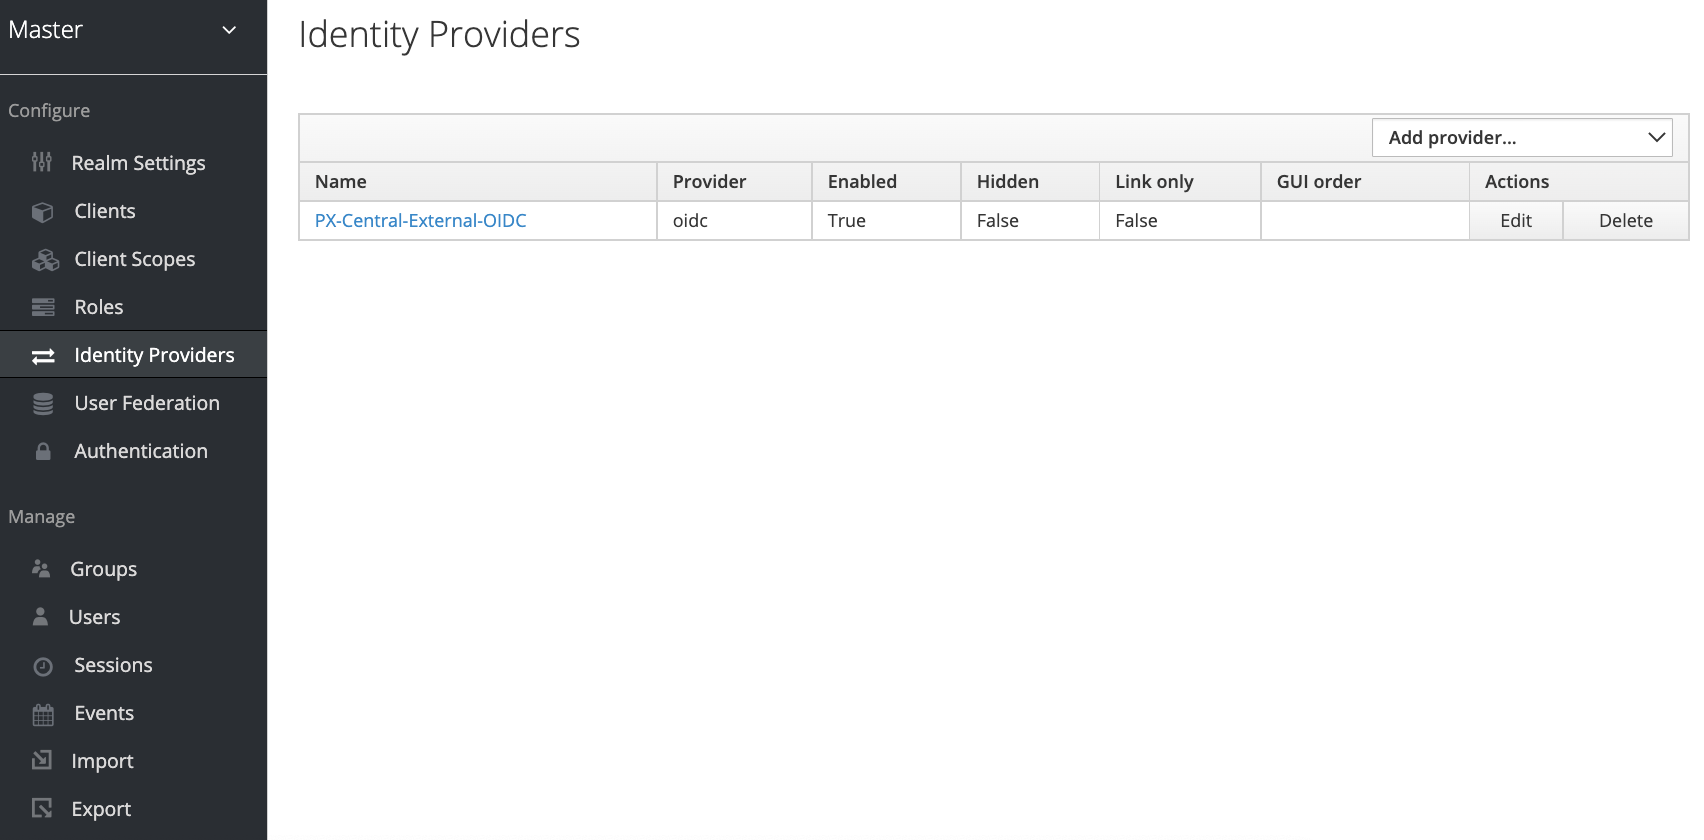
Navigate to Configure > Identity Providers.
-
Click on the Name of the Identity Provider.
-
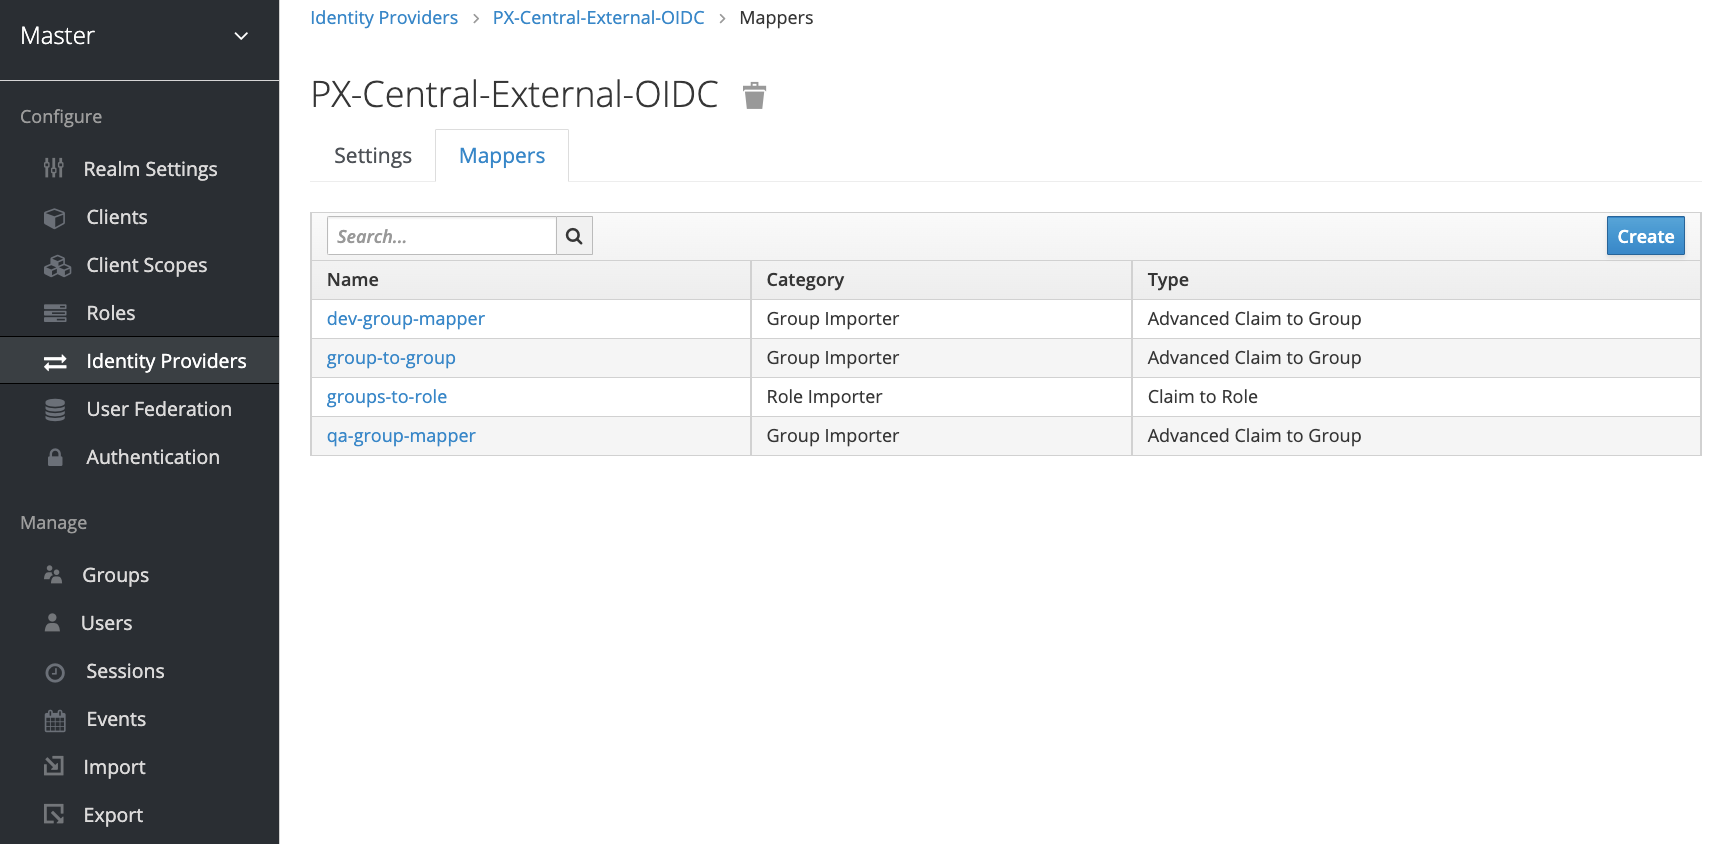
Select the Mappers tab and then click Create.
-
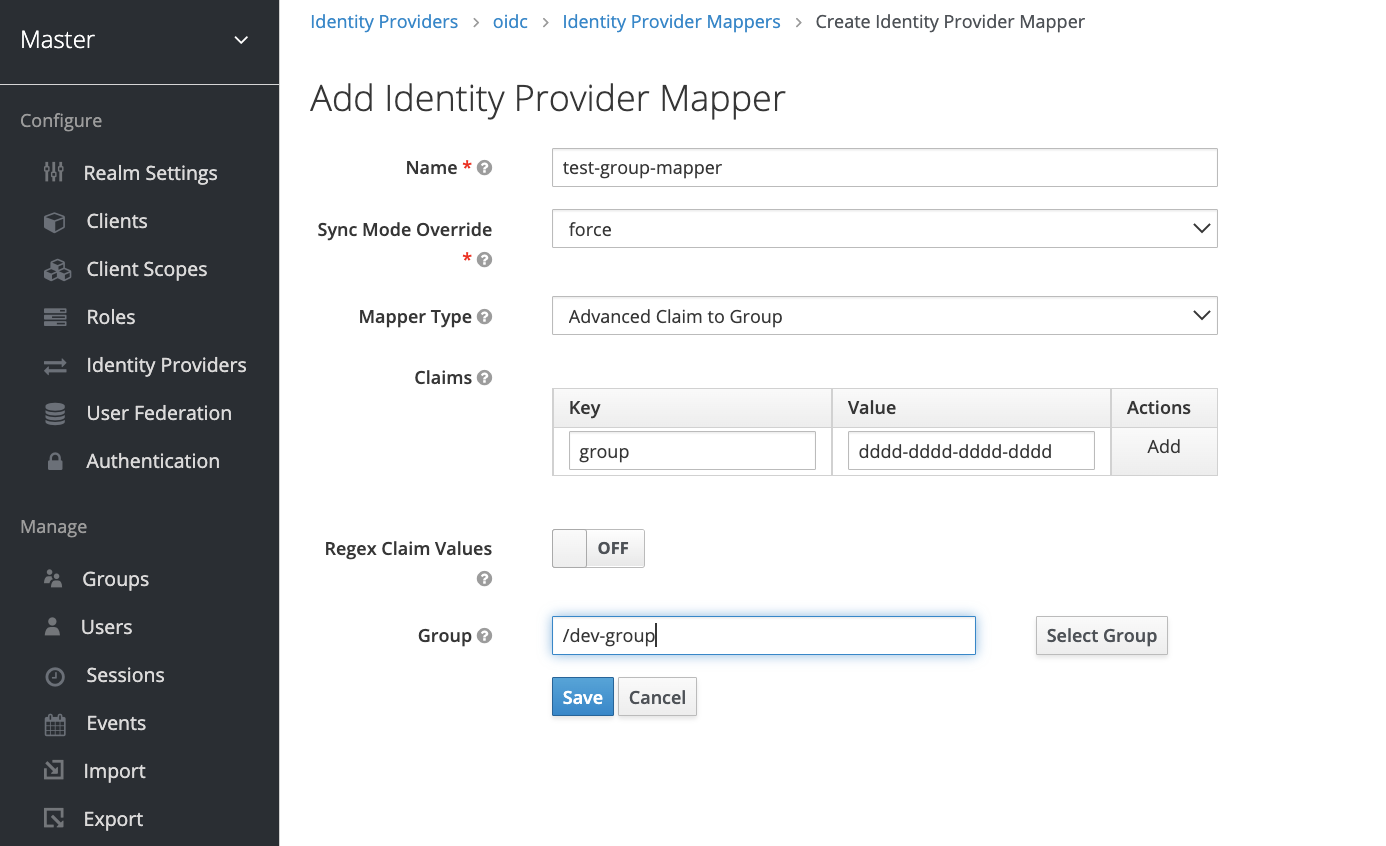
Provide the following details:
-
Enter the Name of identity provider mapper
-
Choose force from Sync mode Override dropdown list
-
Choose Advanced Claim to Group from Mapper Type dropdown list
-
Under Claims, enter the below values and then click Add:
-
Key: enter groups
-
Value: add the Object Id of the AD group dddd-ddd-ddd-dddd (alphanumeric key)
-
-
For Group, click Select Group and then choose the px-backup group to map with AD group.
-
-
Click Save.