Namespaces
Managing Kubernetes namespaces effectively is essential for ensuring efficient resource allocation, maintaining organization, and enforcing access controls within a multi-tenant cluster environment. In products like Portworx, which provides cloud-native storage for Kubernetes applications, the ability to view, filter, and manage namespaces directly correlates with system administrators' capacity to oversee and optimize the environment.
The Namespaces page in the PDS platform streamlines these administrative tasks, offering a centralized platform for handling namespaces across multiple projects and clusters. This enhances your ability to conduct precise namespace management, including searching, filtering, and navigating through different namespaces and clusters, ensuring you can quickly adapt to the dynamic needs of containerized applications and services.
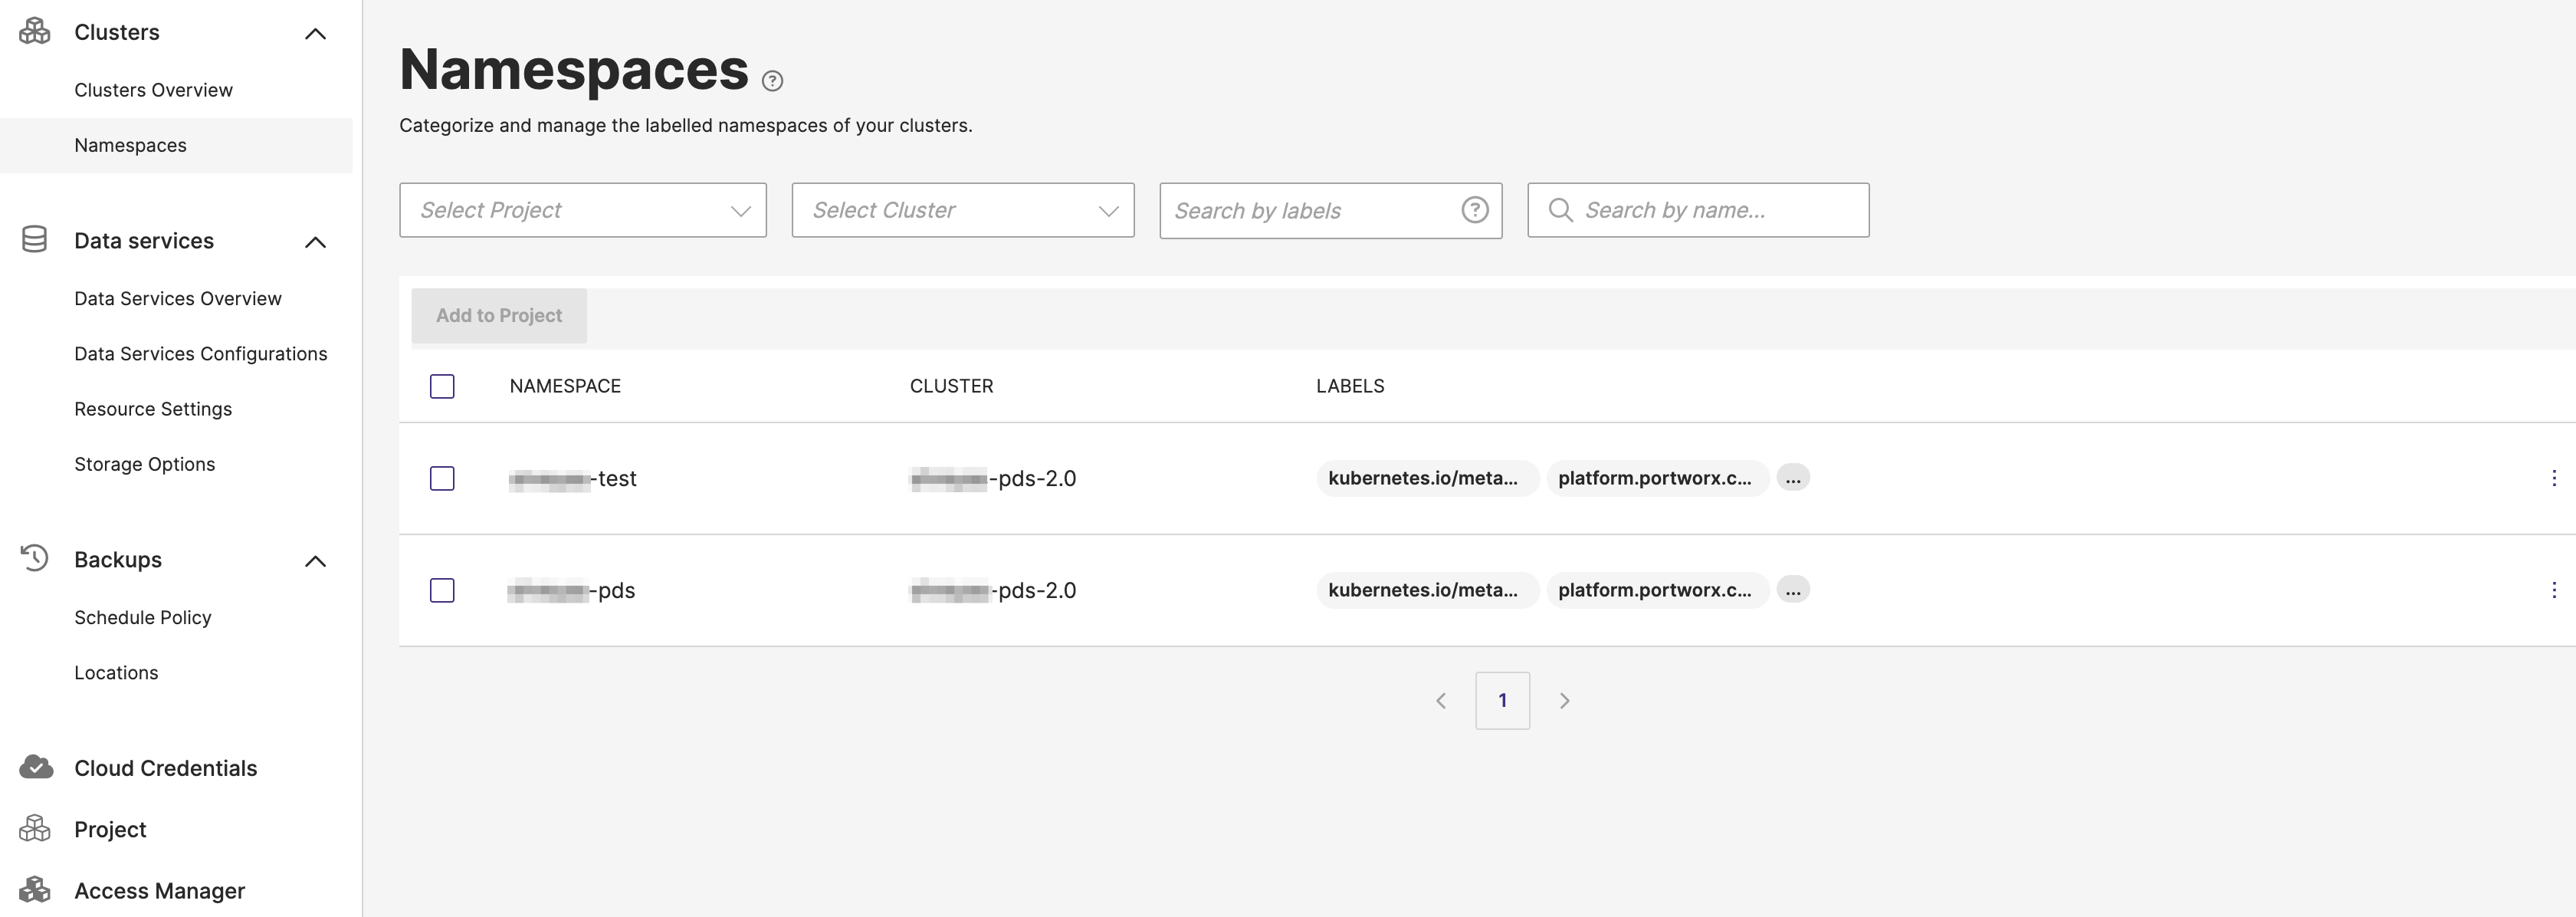
To view the available namespaces in the PDS platform, select Namespaces in the left panel. The Namespaces page contains the following fields:
- Projects dropdown: Allows you to choose either a particular project or encompass all projects, thereby displaying the namespaces associated with the selected option.
- Clusters dropdown: Allows you to filter resources by cluster. The All Clusters option is selected by default, displaying resources across all clusters.
- Apply label filter: Allows you to filter the displayed namespaces based on certain labels. Labels are key/value pairs that are attached to objects, such as namespaces, and are used to organize and select subsets of objects.
- Search by name: Enables you to search for a namespace by typing its name. It aids in quickly locating a specific namespace among potentially many.
Add a namespace
Before deploying a data service, you should:
- Label a namespace - enables PDS to recognize and manage resources within the namespace.
- Add the namespace to an existing project.
Label a namespace
To label a namespace:
-
Identify the namespace you wish to integrate with PDS. If it does not already exist, create it using the following command:
kubectl create ns <your-namespace> -
Label the namespace:
kubectl label ns <your-namespace> platform.portworx.com/pds=true
For more information about adding namespaces to a project, refer to the Associate namespaces to projects section.
Delete a namespace
When deleting a namespace, it goes through several states. Below is a step-by-step procedure explaining the commands and the different states the namespace will transition through during the deletion process.
-
Use the following command to label the namespace and make it go to the Unavailable state:
kubectl label ns <your-namespace> platform.portworx.com/pds=false --overwrite -
Use the following command to delete the namespace:
kubectl delete ns <your-namespace>This will make the namespace to go to the following states:
- Terminating: The namespace is in the process of being deleted from the cluster, and the deletion is in progress.
- Tombstoned: Once the namespace state has changed to this state, you can delete the namespace from the UI.
-
In the Namespaces page, find the namespace you want to delete. Then, click on the vertical ellipsis menu icon on the namespace, and then select the Delete option.
-
In the confirmation window that appears, select Delete namespace.
This will make the namespace to go to the Delete Pending state, which means the namespace is marked for deletion and is being removed from the control plane.
-
The namespace gets deleted.