DNS configuration
DNS configuration in PDS automates how data service endpoints receive resolvable hostnames. This eliminates the need to manually create or update DNS records whenever new services are deployed or modified, ensuring a smoother and more reliable service discovery process.
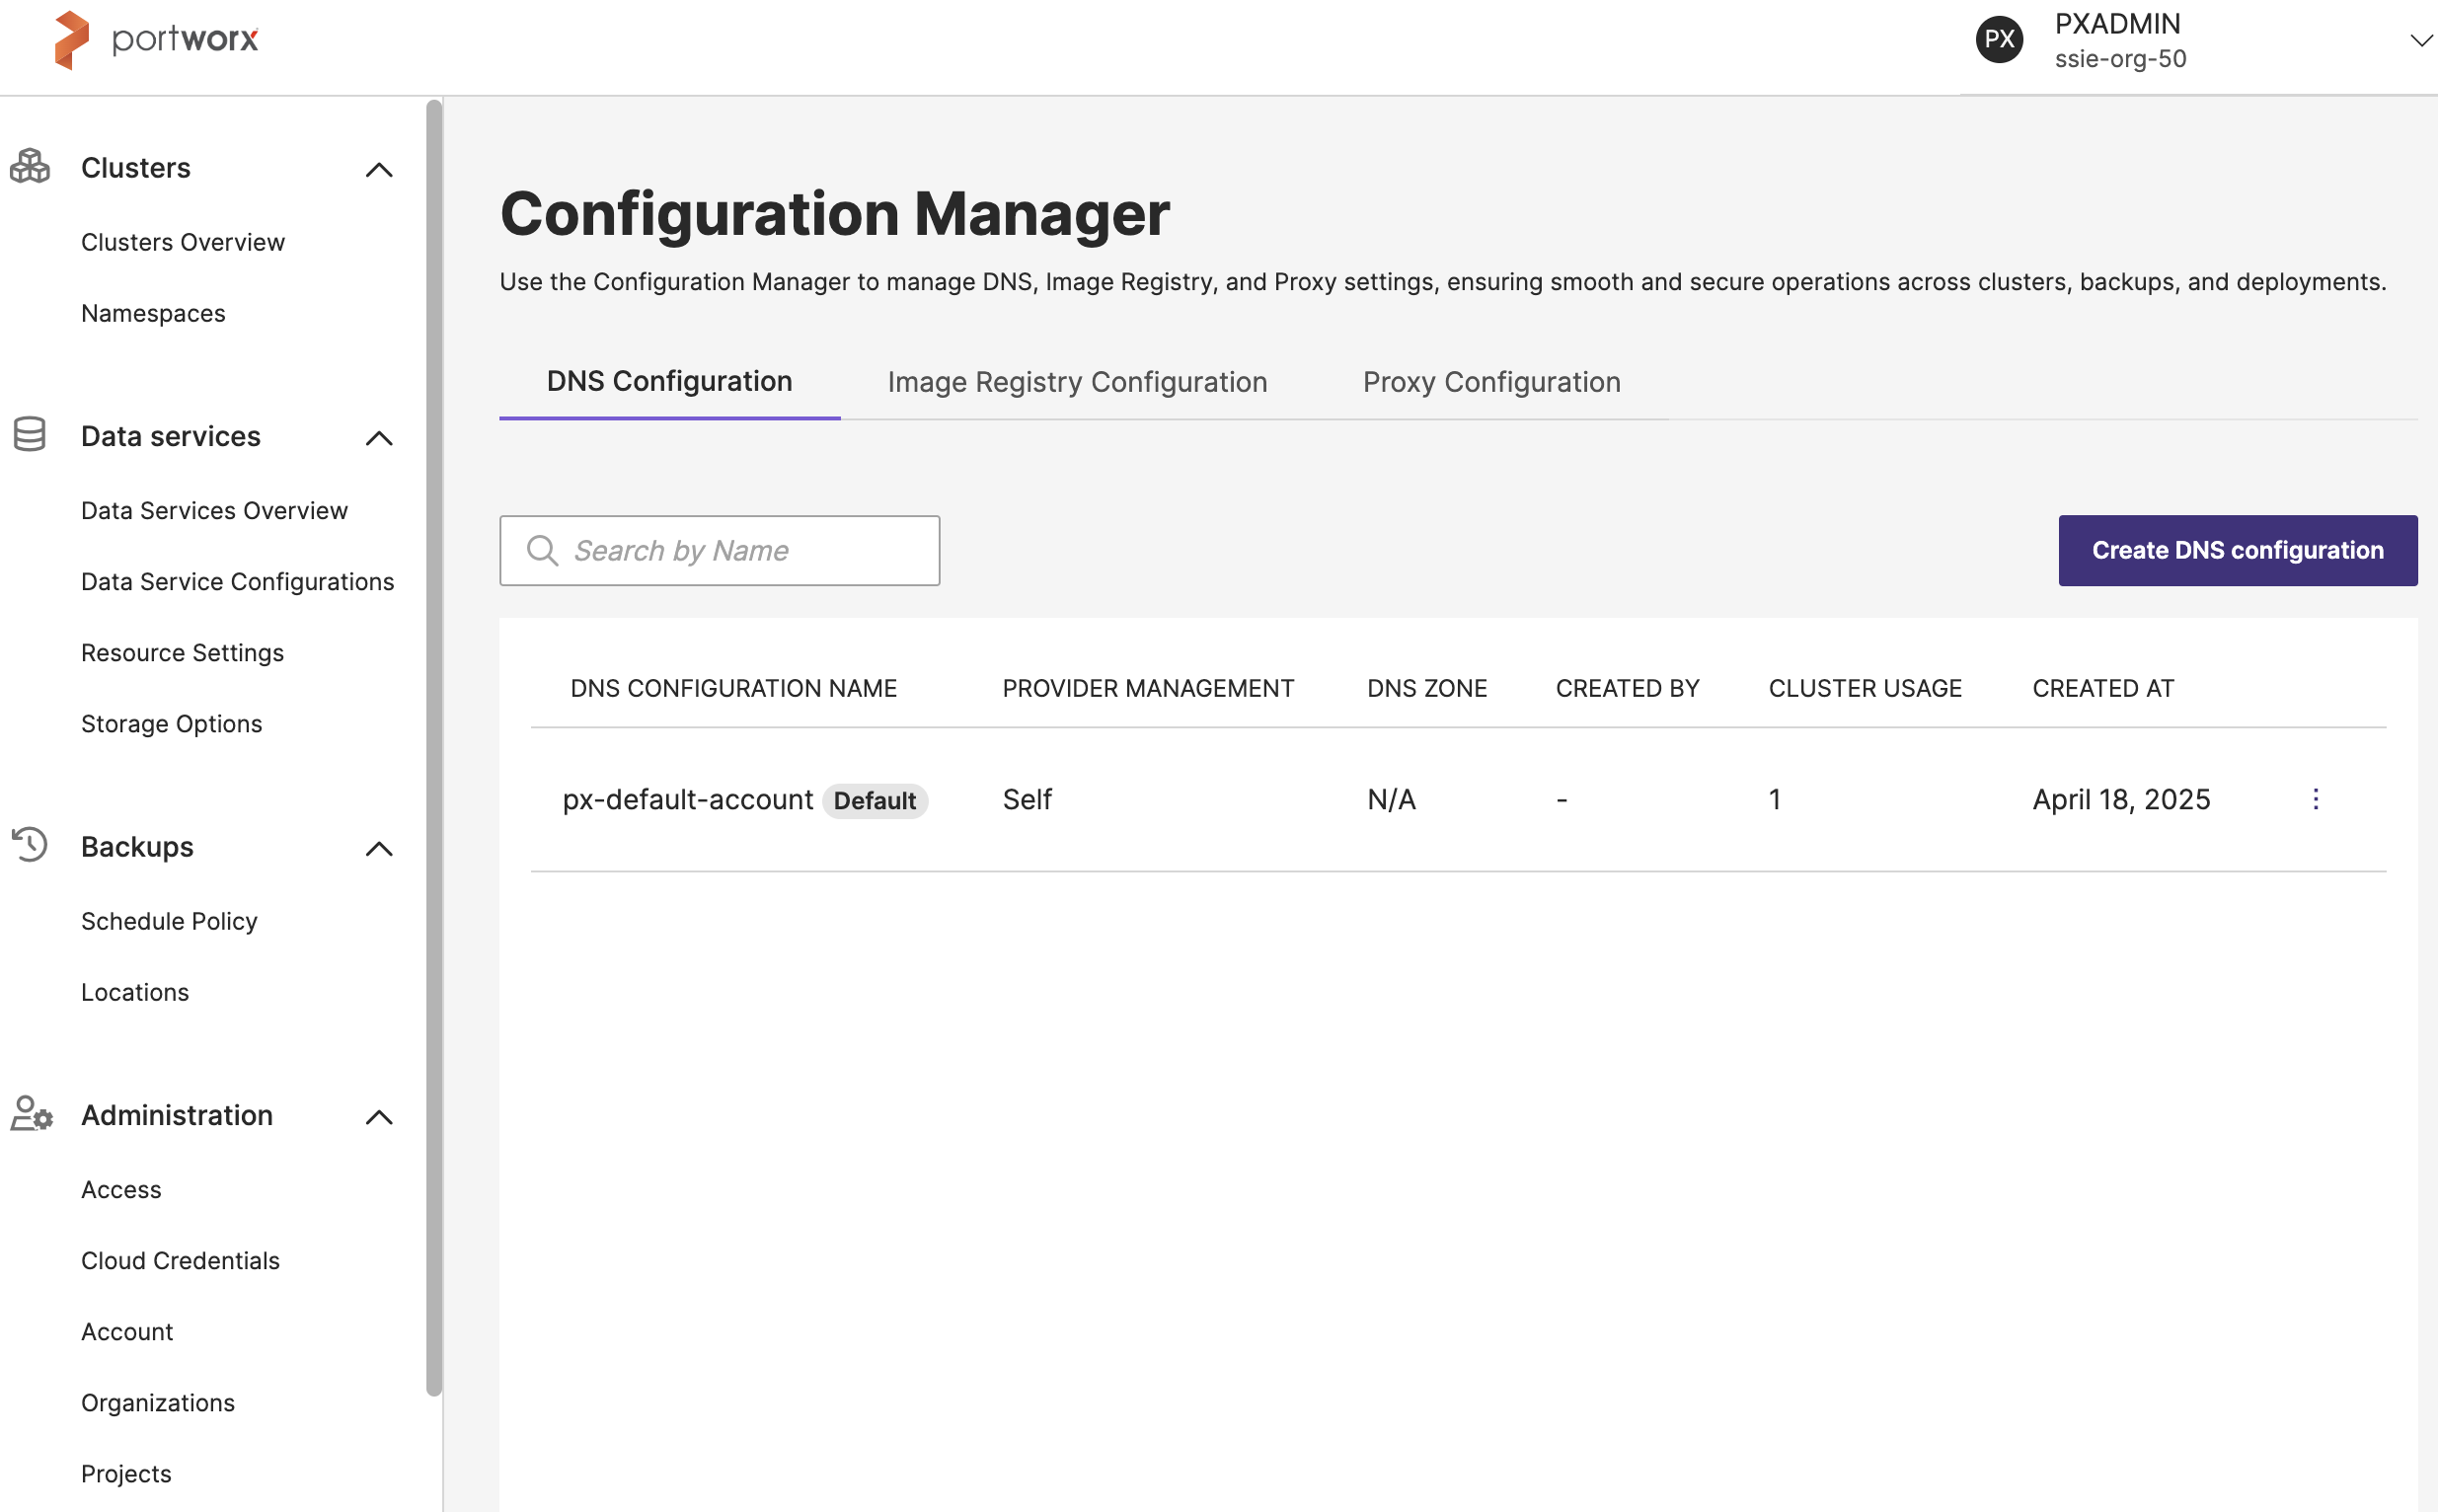
In the PDS platform, navigate to Config Manager and select DNS to view and manage existing DNS configurations or create new ones:
On the DNS Configuration tab, you will see a list of all existing configurations. The table includes:
- DNS Configuration Name: The user-defined label for the DNS setup.
- Provider Management: Indicates the DNS provider or method being used.
- DNS Zone: Displays the domain or zone that the configuration manages.
- Created By: Displays the email or account name of the user who created the configuration.
- Cluster Usage: Lists how many clusters are actively using this particular DNS configuration.
- Created At: Provides the date and time when the configuration was initially added to PDS.
Create a DNS configuration
To create a DNS configuration in PDS:
-
In the PDS UI left pane, select DNS under the Config Manager dropdown.
-
In the Configuration Manager page -> DNS Configuration tab, select the Create DNS configuration button.
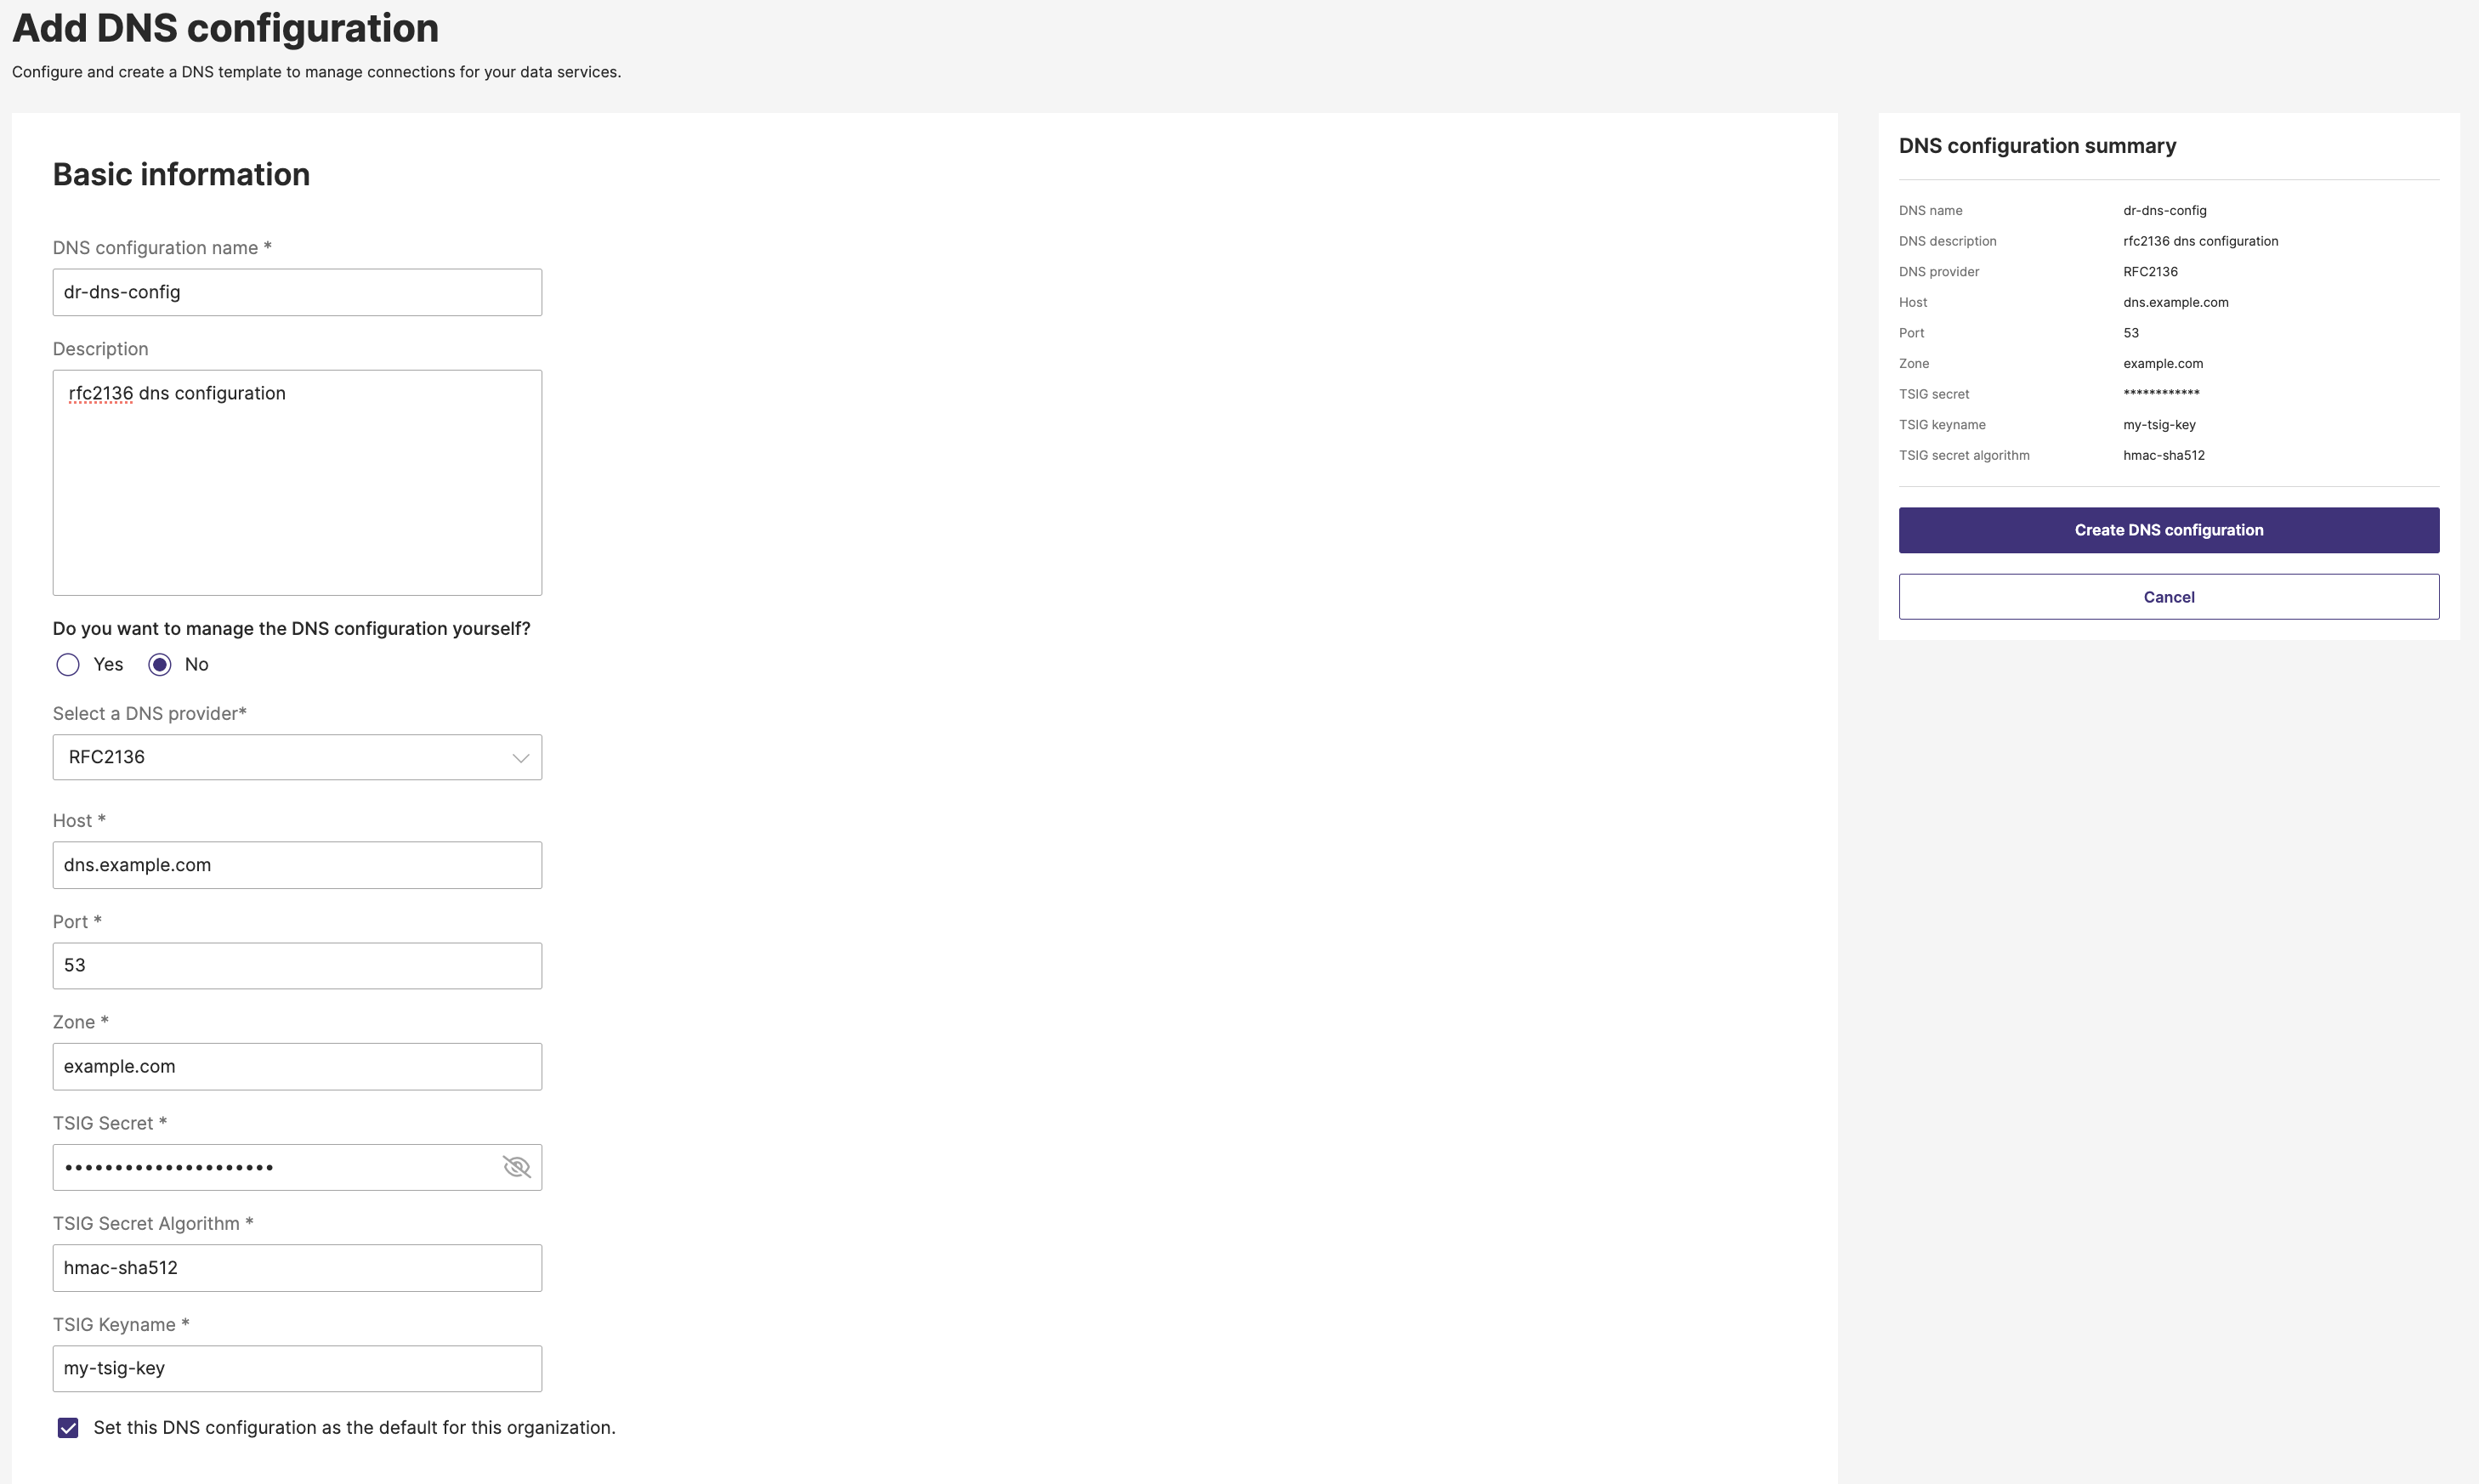
The Add DNS configuration page appears.
-
In the Basic information section:
- DNS configuration name: Provide a meaningful name containing at least three characters. For example, “MyOrg DNS”.
- (Optional) Description: Add a short description. For example, “DNS for US East cluster”.
- Do you want to manage the DNS configuration yourself?
- Yes (Self-managed): PDS will assume you have your own DNS solution, and you will manually create or update records as needed.
- No (External provider): From the Select a DNS provider drop-down, select RFC2136, and fill in additional details such as DNS zone, server info, credentials, and so on.
- (Optional) Select the checkbox if you want this DNS configuration to be the default for all future data service deployments within your organization.
-
In the DNS configuration summary panel on the right, confirm your entries.
-
Click Create DNS configuration to finalize.
- Once created, you should see it in the DNS Configuration table. If you chose an external provider, confirm connectivity and record creation in your DNS system.
- The DNS configuration is used during cluster registration. If you mark a DNS configuration as the default, it will be automatically pre-filled on the cluster registration page. If you deploy a new data service, it uses the DNS configuration of the cluster it is deployed on.
Manage DNS configurations
This section describes how to edit or remove existing DNS configurations, and how to set one as the default.
Edit a DNS configuration
To edit an existing configuration details:
-
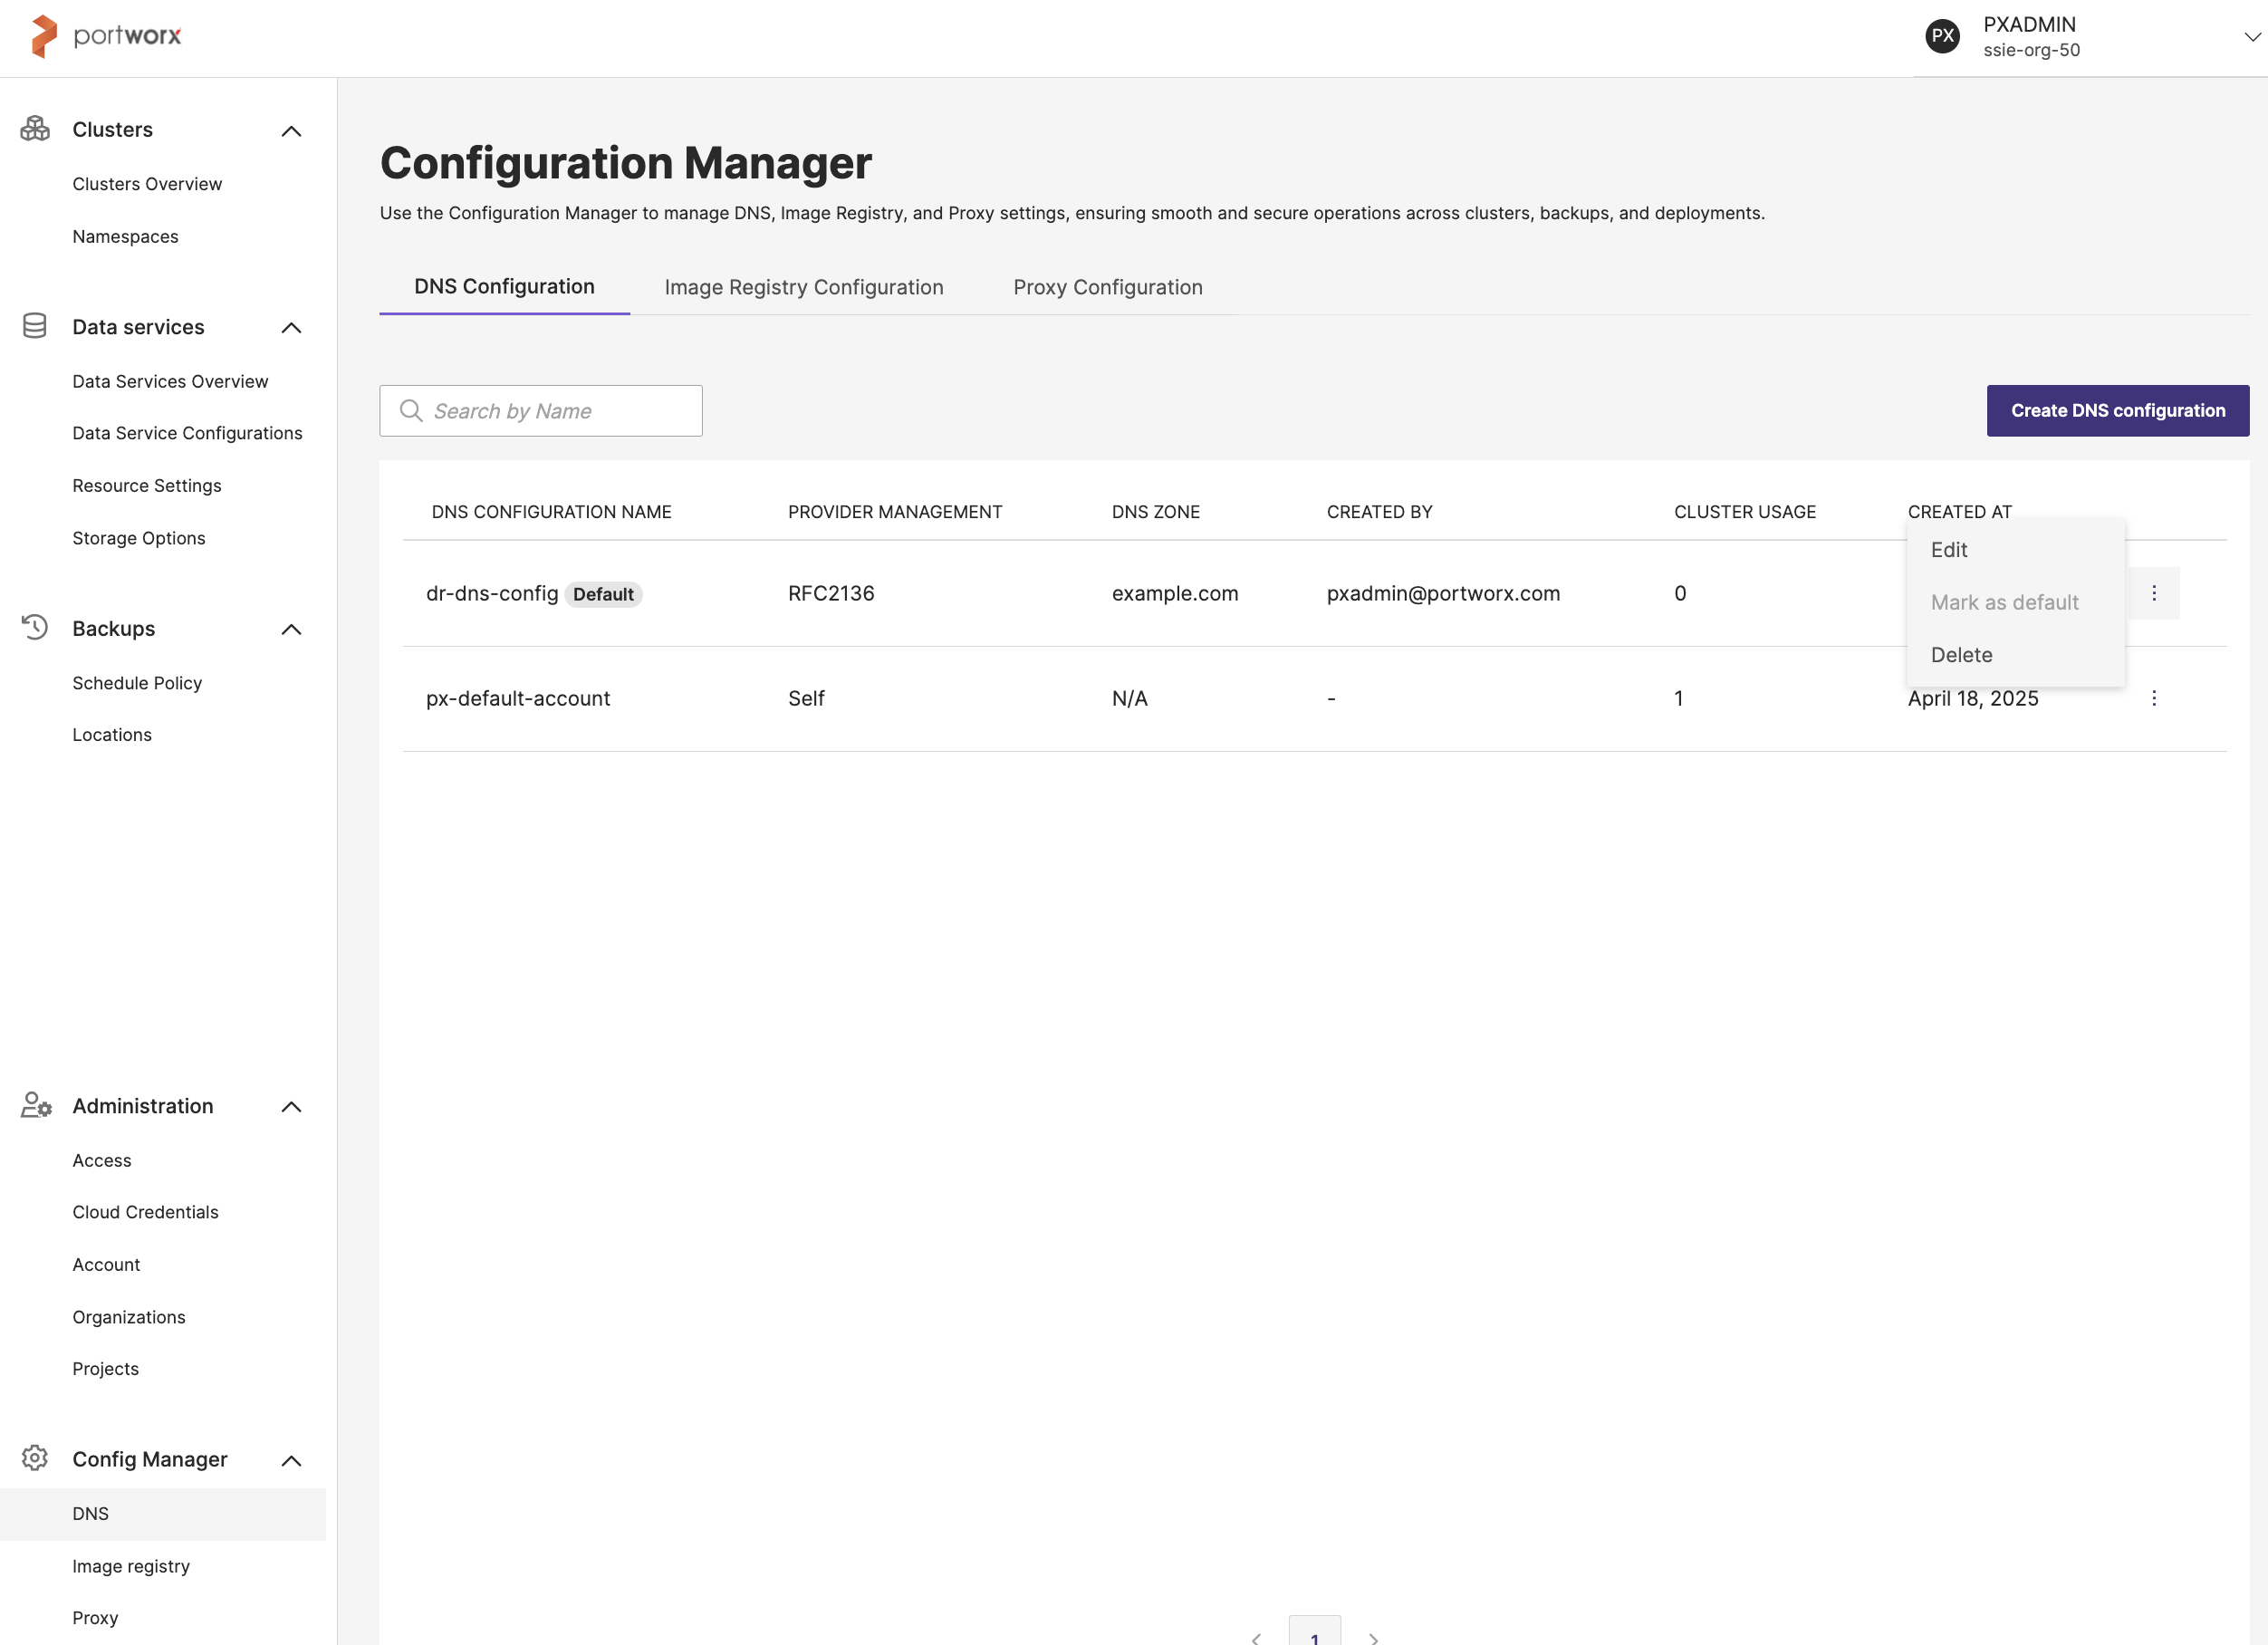
In the DNS Configuration tab, locate the configuration you want to edit.
-
Select the vertical ellipsis button, then select Edit from the dropdown.
This will open the Basic information form for the chosen configuration.
-
Modify any relevant fields, such as DNS configuration name, Description and any fields that are enabled for editing.
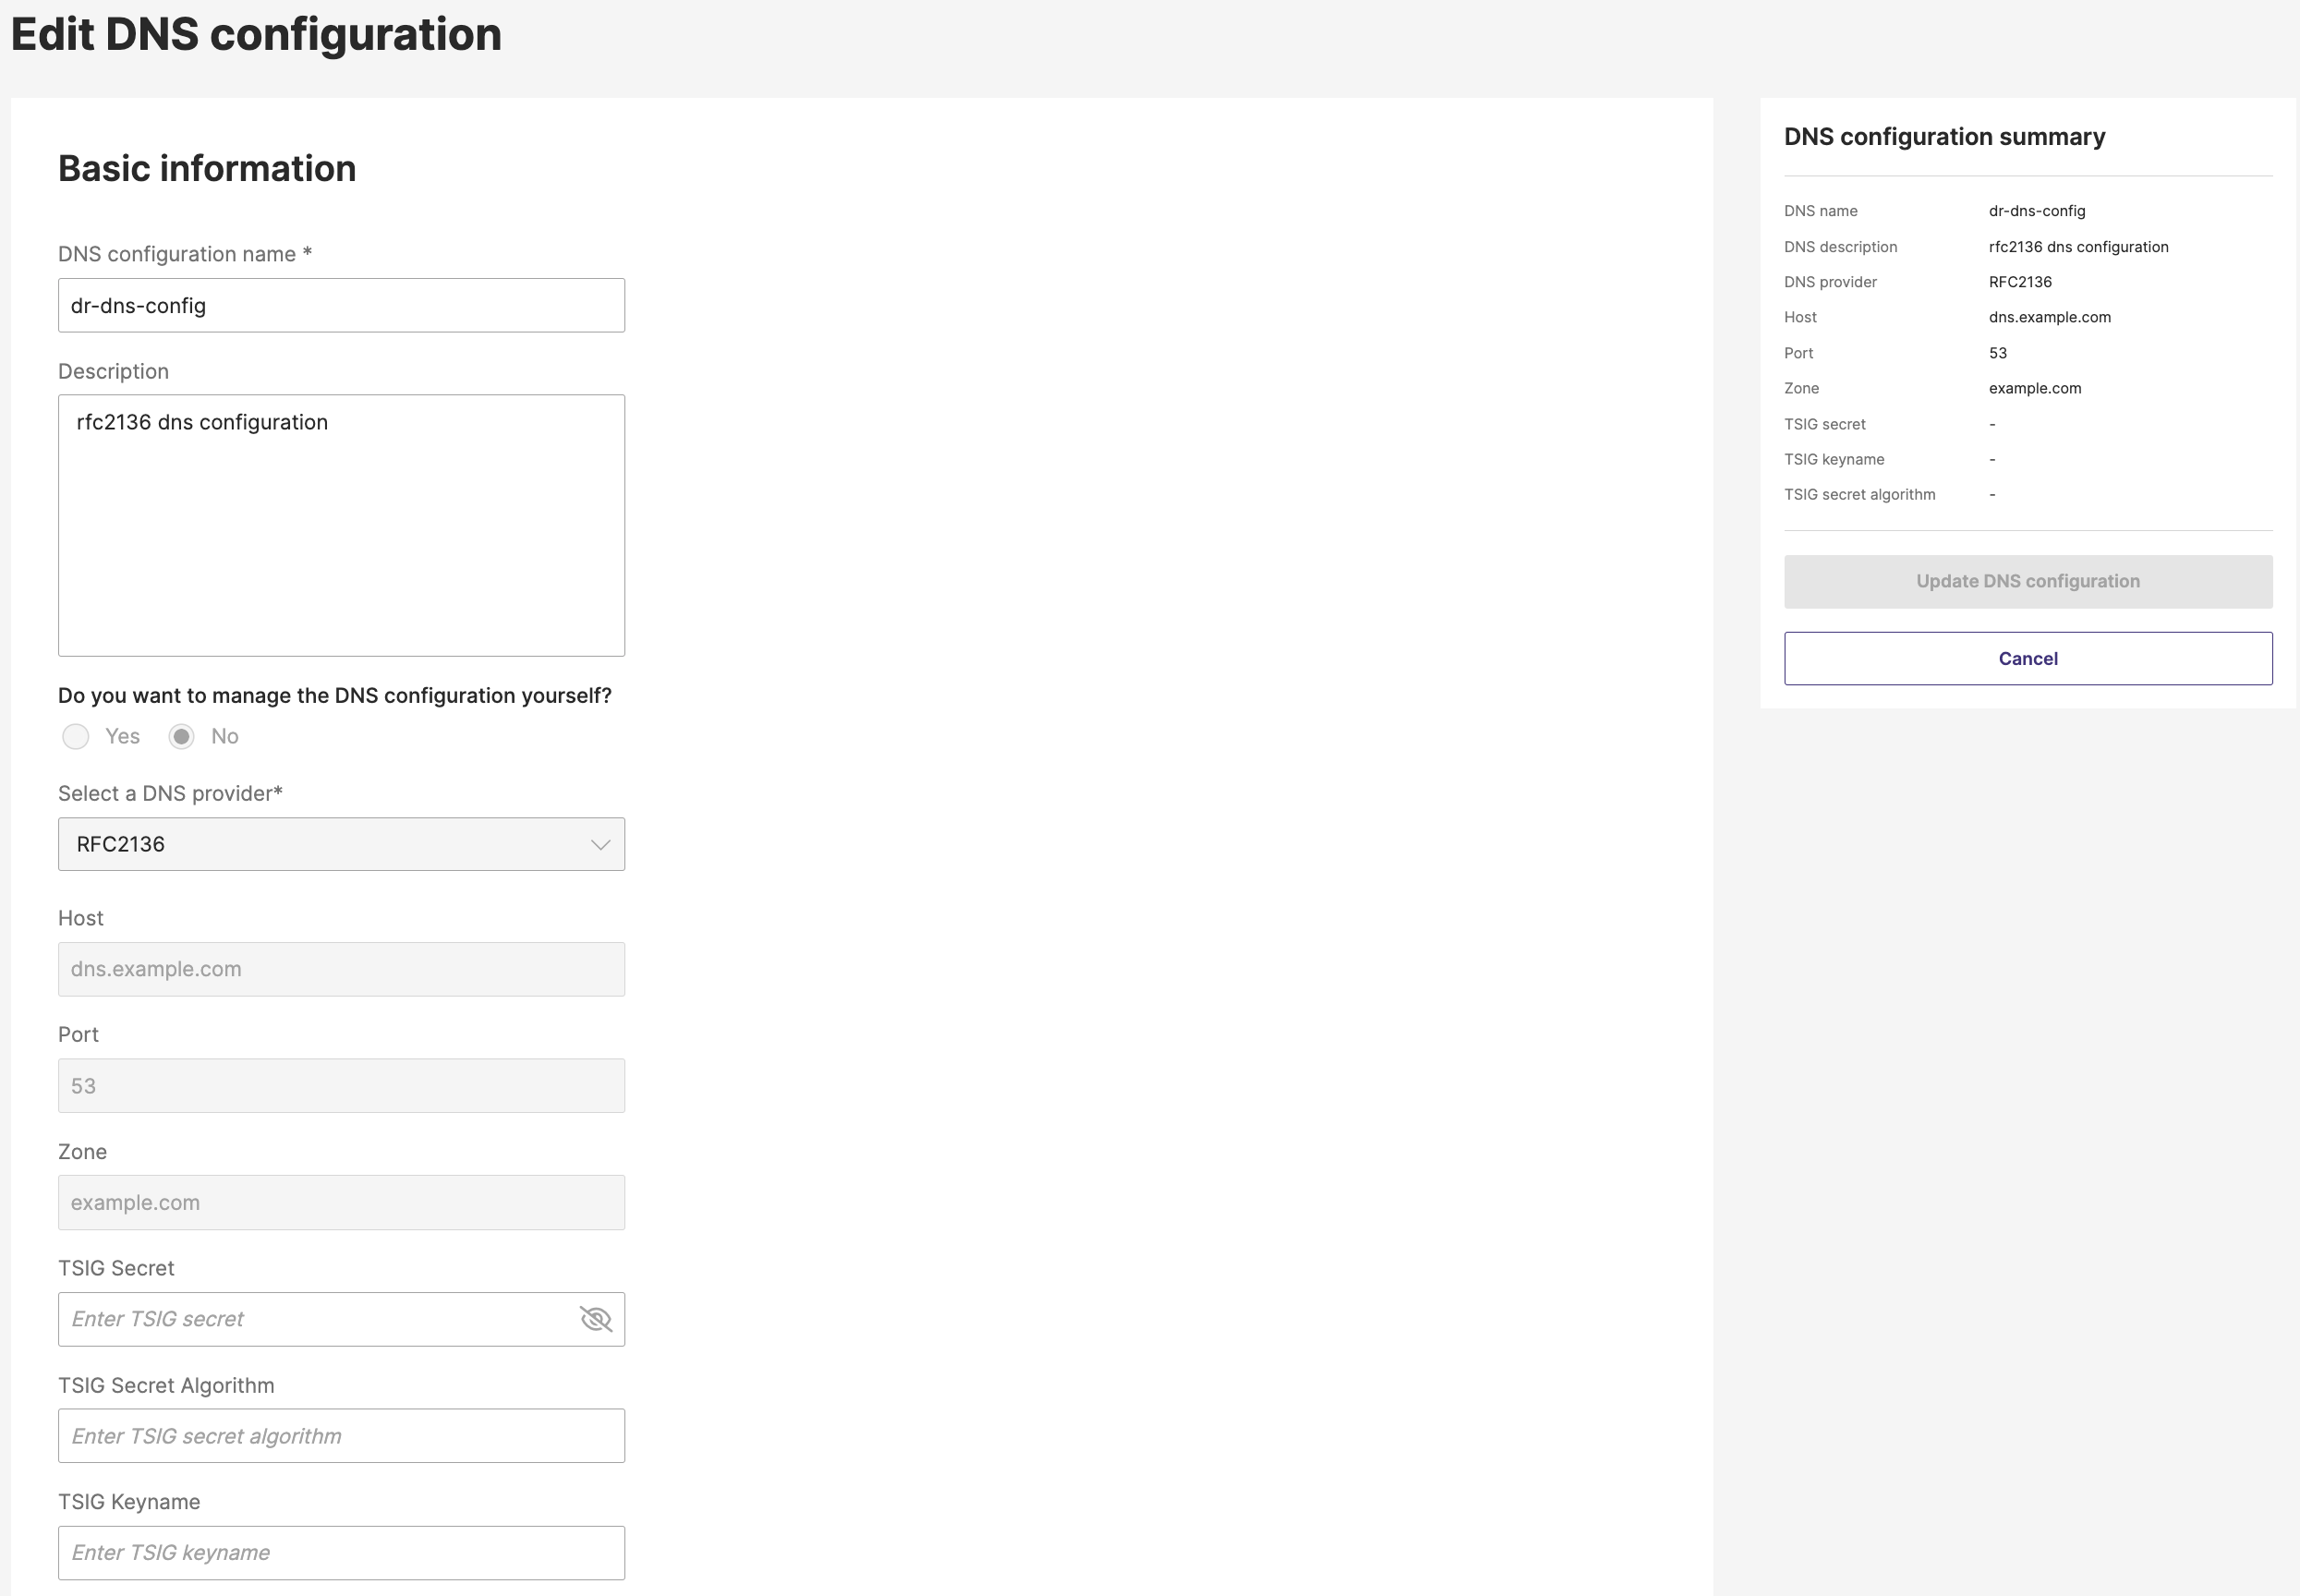
As you edit, the DNS configuration summary on the right side will automatically reflect your changes.
-
Review your edits in the DNS configuration summary panel.
-
Click Update DNS configuration to apply your changes and finalize the edit.
-
If you change your mind, choose Cancel to discard.
Your DNS configuration will now be updated with the new settings.
- All clusters using this DNS configuration will be updated.
- Ensure the DNS server is reachable from all clusters.
- Credential updates may take up to 10 minutes to propagate to all connected clusters. Disconnected clusters will receive the configuration once they reconnect.
Delete a DNS configuration
To delete a DNS configuration:
-
In the DNS Configuration tab, locate the configuration you want to delete.
-
Select the vertical ellipsis button, then select Delete from the drop-down.
A confirmation window appears warning that this action is irreversible.
-
In the Delete DNS configuration window, click Delete to permanently remove it.
After completing these steps, the DNS configuration will no longer appear in your configuration list.
You can delete the default DNS configuration unless it is in use by a cluster or inherited from the account.
Mark a DNS configuration default
To mark an existing configuration as the default:
-
In the DNS Configuration tab, locate the DNS configuration you want to mark as default.
-
Select the vertical ellipsis button, then select Mark as default from the dropdown.
“Configuration set as default successfully” will appear to confirm that the DNS configuration was successfully updated as the default.