Configure Backup REST API
Use the Portworx Backup REST API to automate backup, schedule, restore, and backup-resource operations using standard HTTP requests. This page explains how to expose the API and authenticate to it. For endpoint paths, request schemas, and response examples, see the Backup REST API reference.
To use the Backup REST API, expose the API and then fetch an access token for the instance.
Expose the REST API
To expose the Backup REST API:
-
Expose the Portworx Backup REST API through a Kubernetes Service:
kubectl expose deployment -n <pxb-namespace> px-backup --type=NodePort --port=10001 --name px-backup-restOutput:
service/px-backup-rest exposed -
Check that the service was created:
kubectl get service px-backup-rest -n <pxb-namespace>Output:
px-backup-rest NodePort <node_IP> <none> 10001:<node_port>/TCP 25sTo access the Backup REST API from outside the Kubernetes cluster, expose the
px-backup-restservice through a TLS-enabled Ingress or LoadBalancer, and use the resulting hostname as<PX_BACKUP_API_HOST>.cautionA
NodePortservice publishes the REST API on every cluster node's IP over plain HTTP, which can expose this administrative API beyond its intended boundary. Restrict access to trusted networks (for example, with aNetworkPolicy, firewall rules, or an internal-only load balancer), always place a TLS-terminating Ingress or LoadBalancer in front of it for any access from outside the cluster, and delete the service when you no longer need it:kubectl delete svc px-backup-rest -n <pxb-namespace> -
Open the Swagger UI at
https://<PX_BACKUP_API_HOST>/swagger-ui/in your web browser to access the API: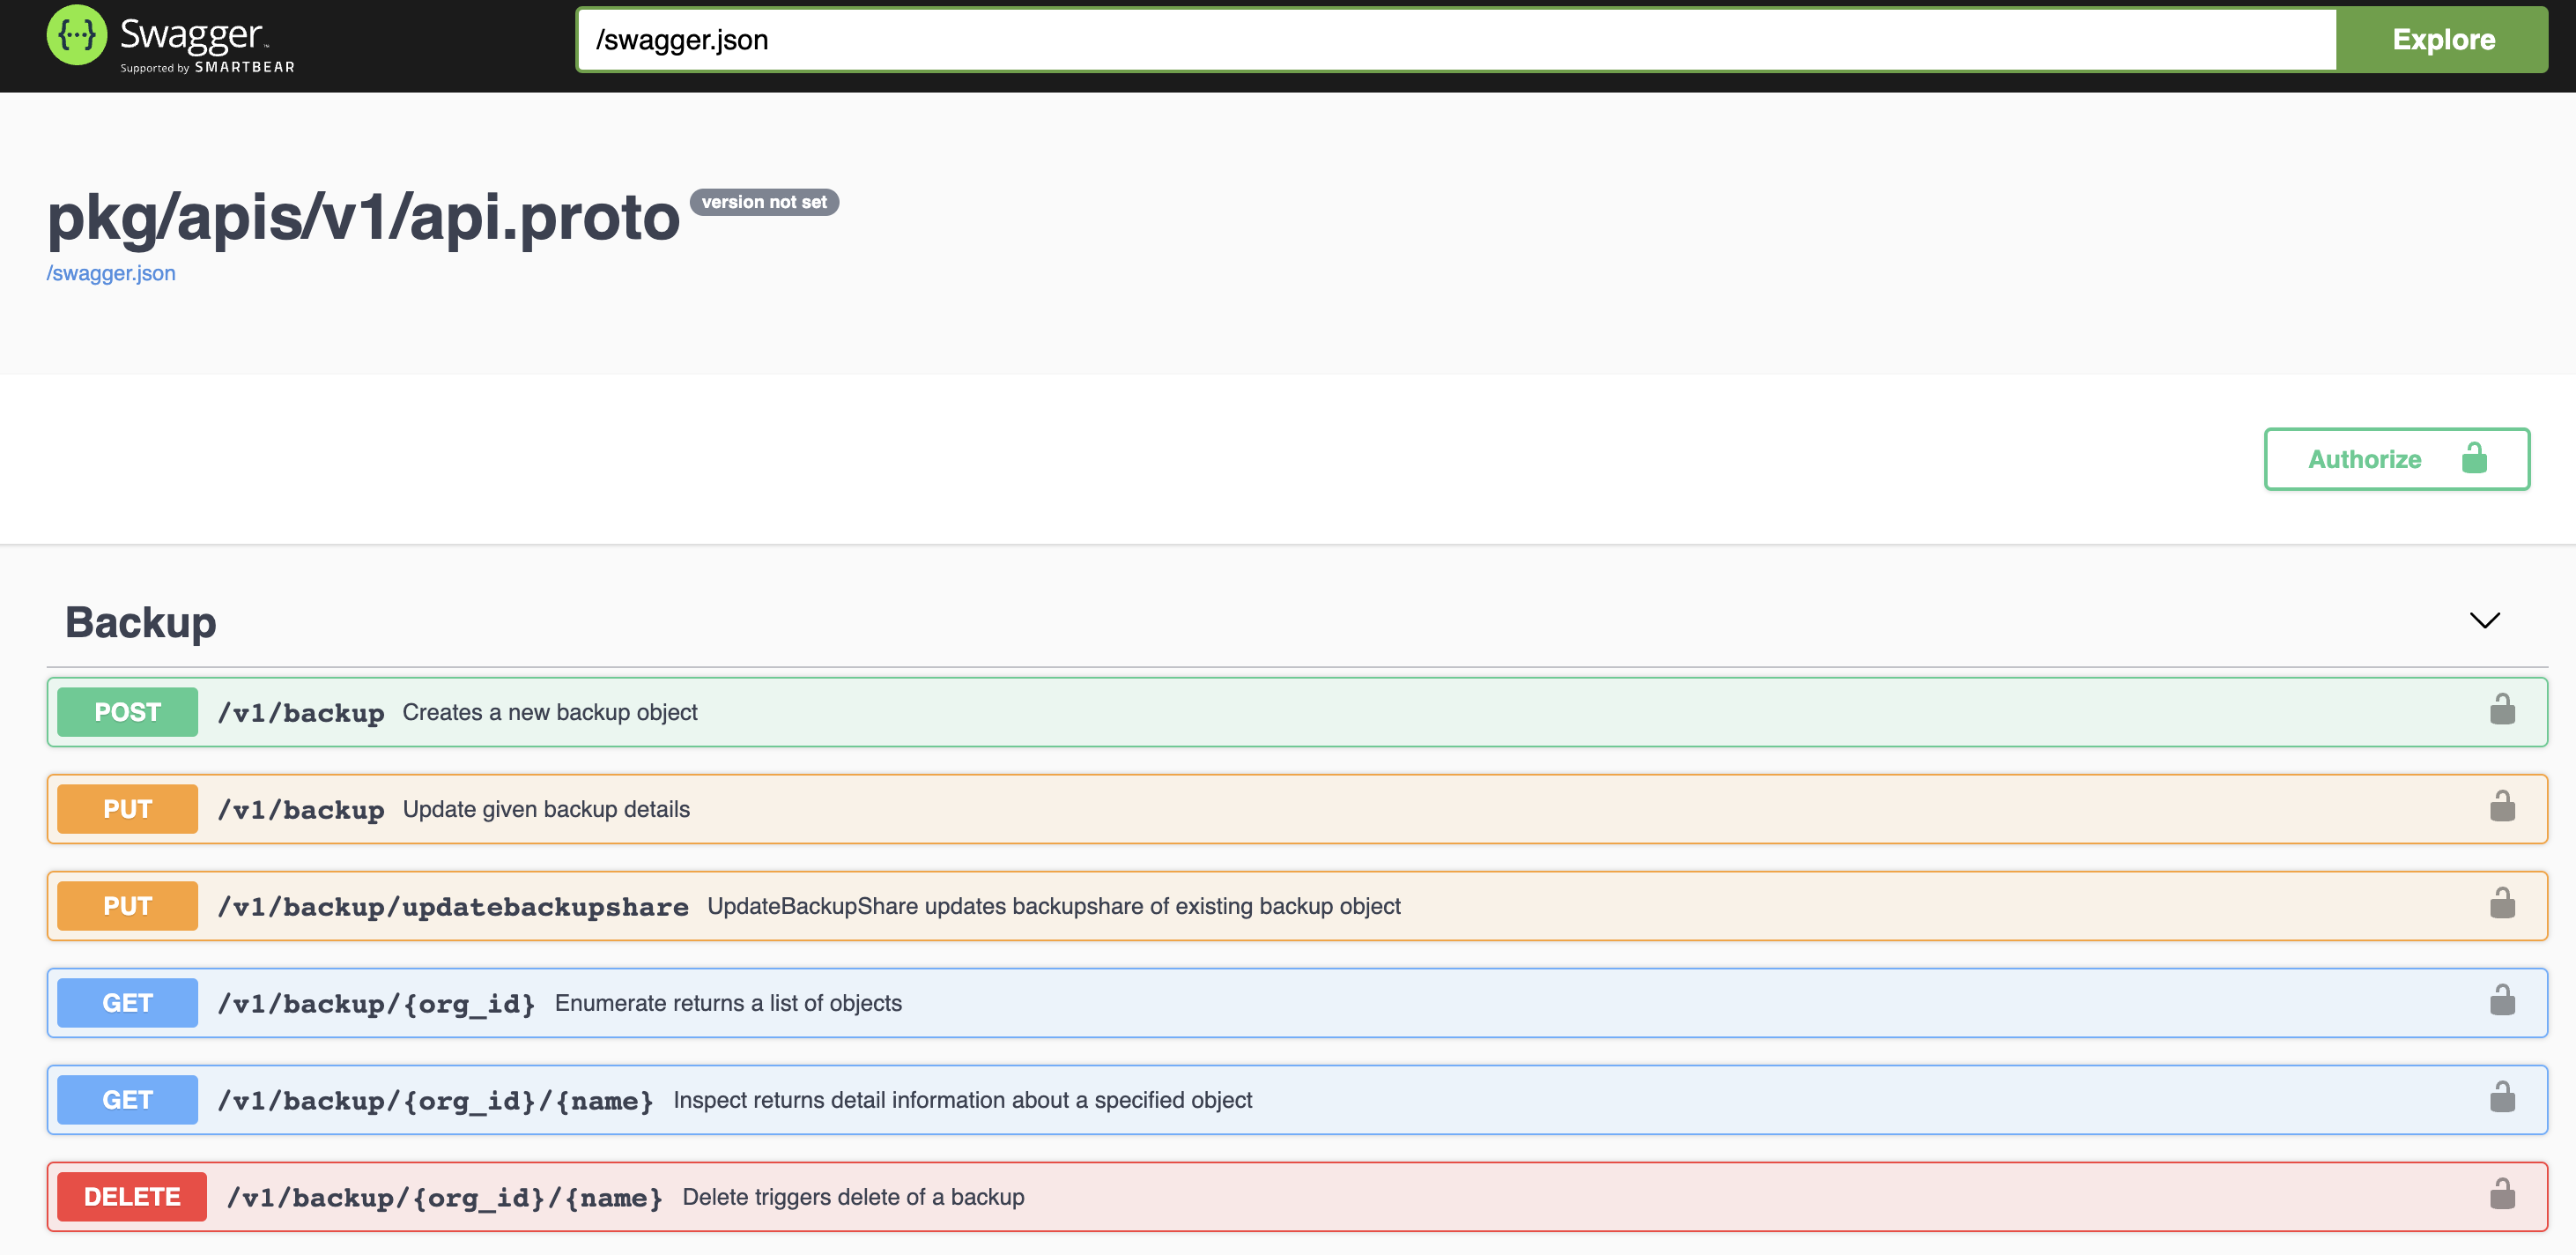
Fetch an access token
To fetch the token for an instance, log in with super administrator (super admin) or infrastructure administrator (infra admin) credentials and then perform the following steps. For the roles and their permissions, see the Role matrix.
-
Identify the endpoint (
<PX_CENTRAL_UI_HOST>) exposed by thepx-central-uiservice. Use the IP address or hostname and port that the service exposes through aNodePortorLoadBalancer:kubectl get svc px-central-ui -n <pxb-namespace>noteThe access token is served by the
px-central-uiservice, so use itsNodePortorLoadBalancerendpoint. -
Fetch the access token with the same admin credentials used for login. Replace
<PX_CENTRAL_UI_HOST>with the endpoint from the previous step:curl --data 'grant_type=password&client_id=pxcentral&username=admin&password=<password>' http://<PX_CENTRAL_UI_HOST>/auth/realms/master/protocol/openid-connect/token --silent | jq -r ".access_token"On success, the command prints the raw access token (a long JWT string) to the terminal. For example:
eyJhbGciOiJSUzI1NiIsInR5cCIgOiAiSldUIiwia2lkIiA6ICJ...<truncated>...QIf the command returns
nullor an empty value, the endpoint or credentials are incorrect. Verify<PX_CENTRAL_UI_HOST>, the username, and the password, then run the command again. -
Add the token:
-
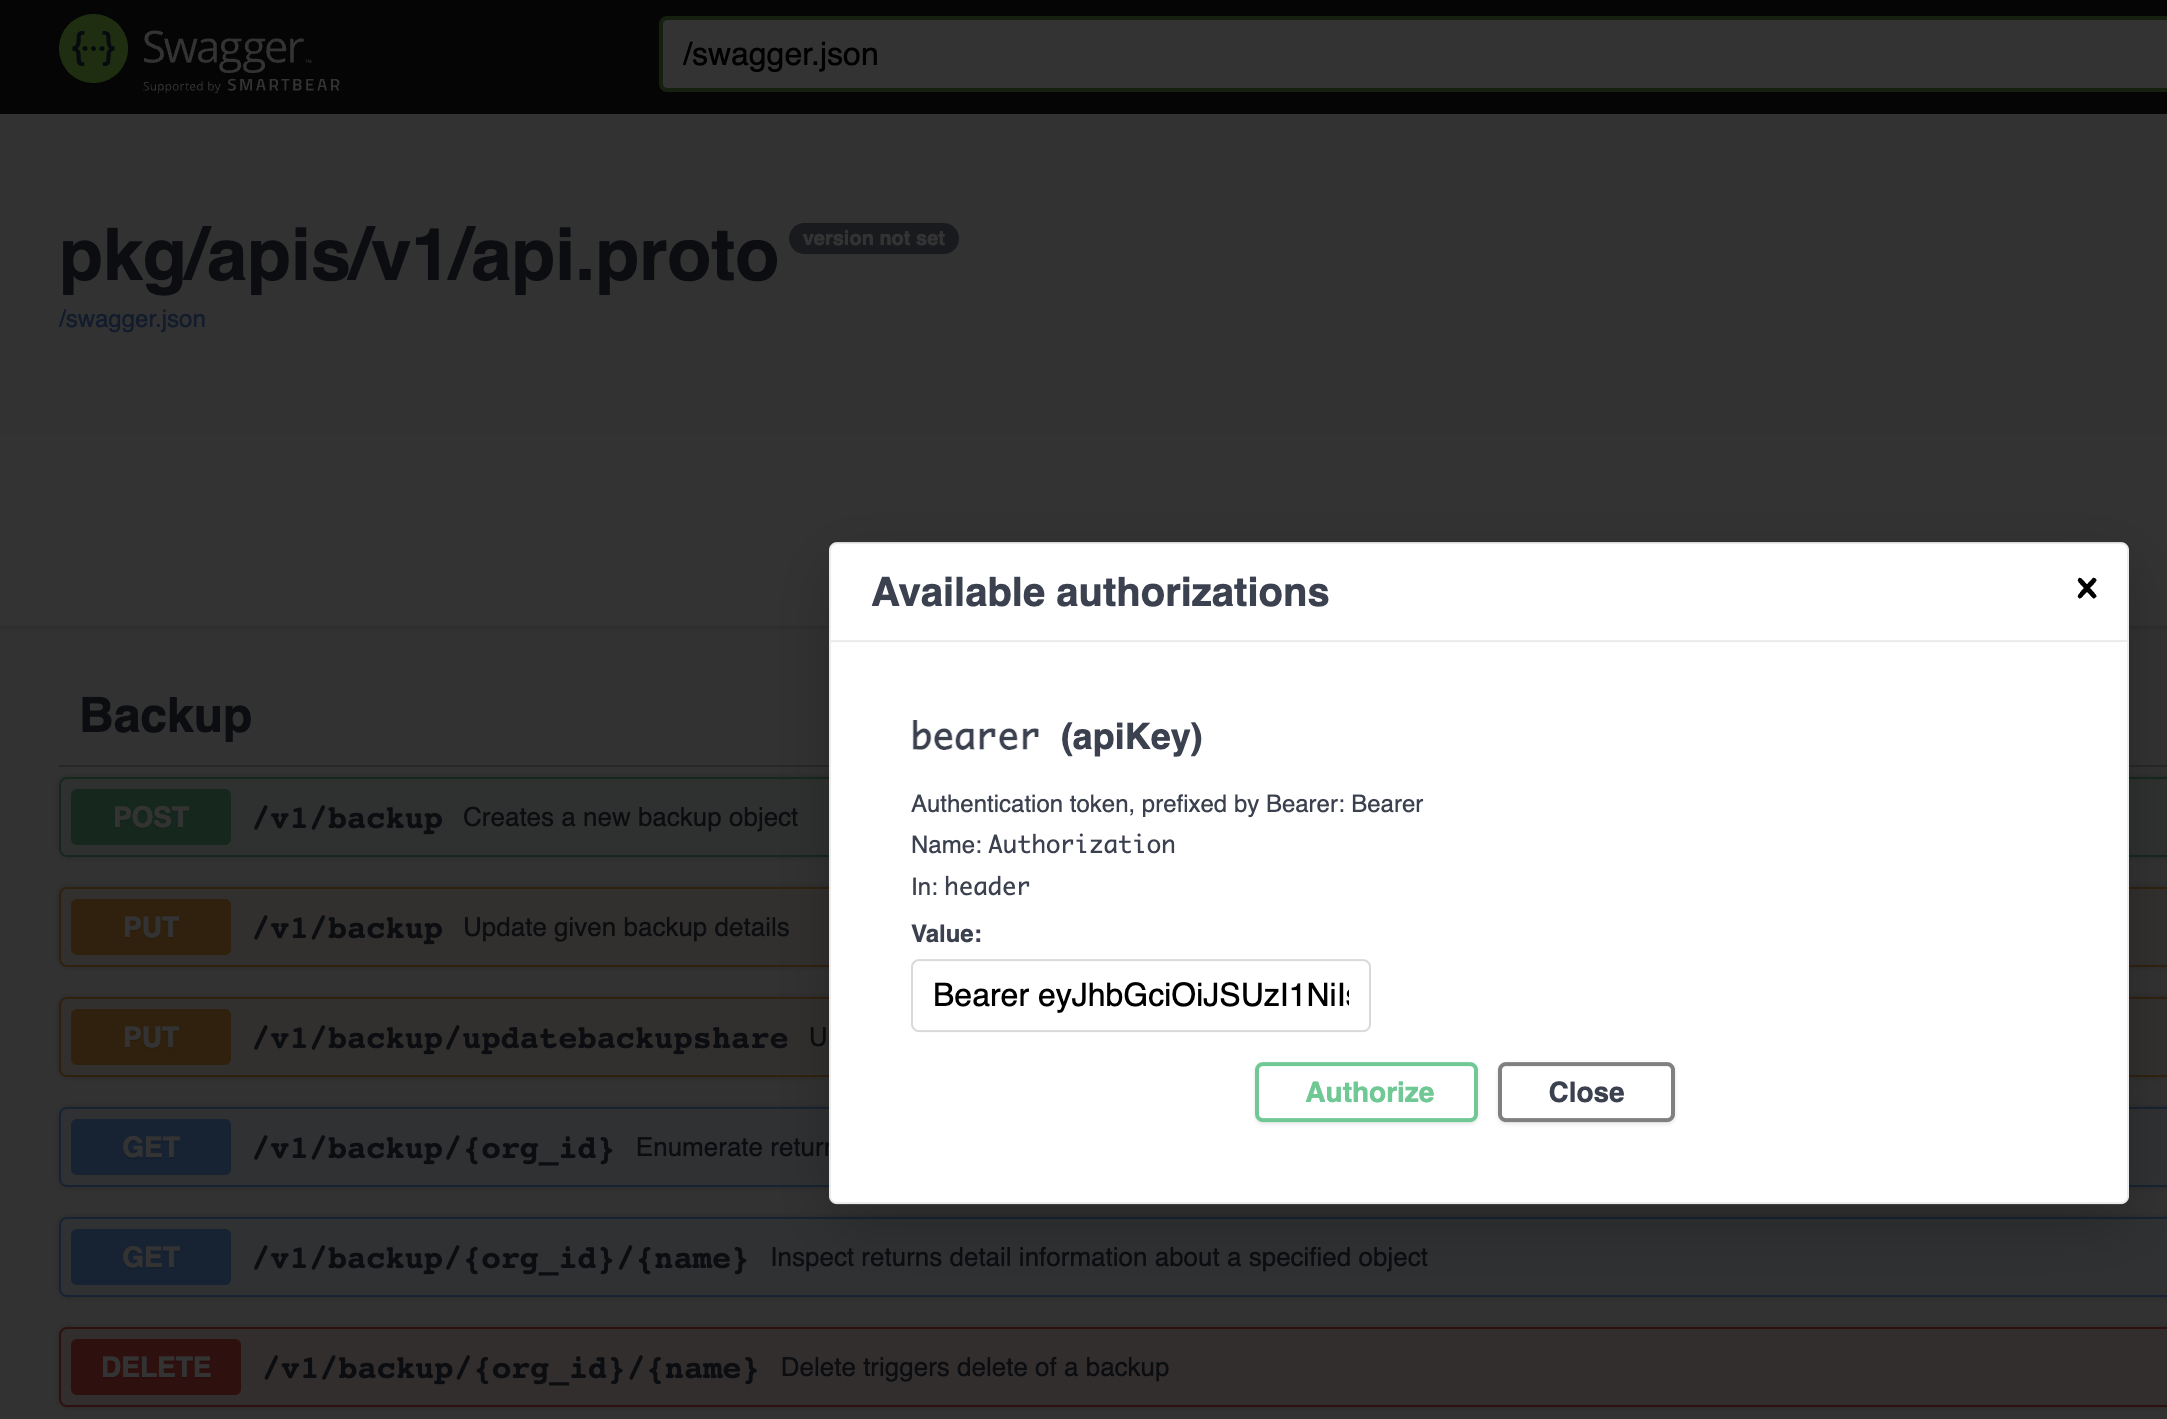
On the Swagger UI page (
https://<PX_BACKUP_API_HOST>/swagger-ui/, opened in Expose the REST API), click Authorize. -
Add the token generated with the
Bearerprefix and a space in between. -
Click Authorize on Available authorizations.
-
Click Close.
-