View cloud snapshot clusters in Portworx Central on-premises
Cloud snapshots reside on your cloud storage accounts. Thus, you must configure Portworx Central to access and display them.
Prerequisites
- Add at least one cluster to Portworx Central. See the Add clusters to Portworx Central On-premises page for details.
Display the list of your cloud snapshots in Portworx Central on-premises
-
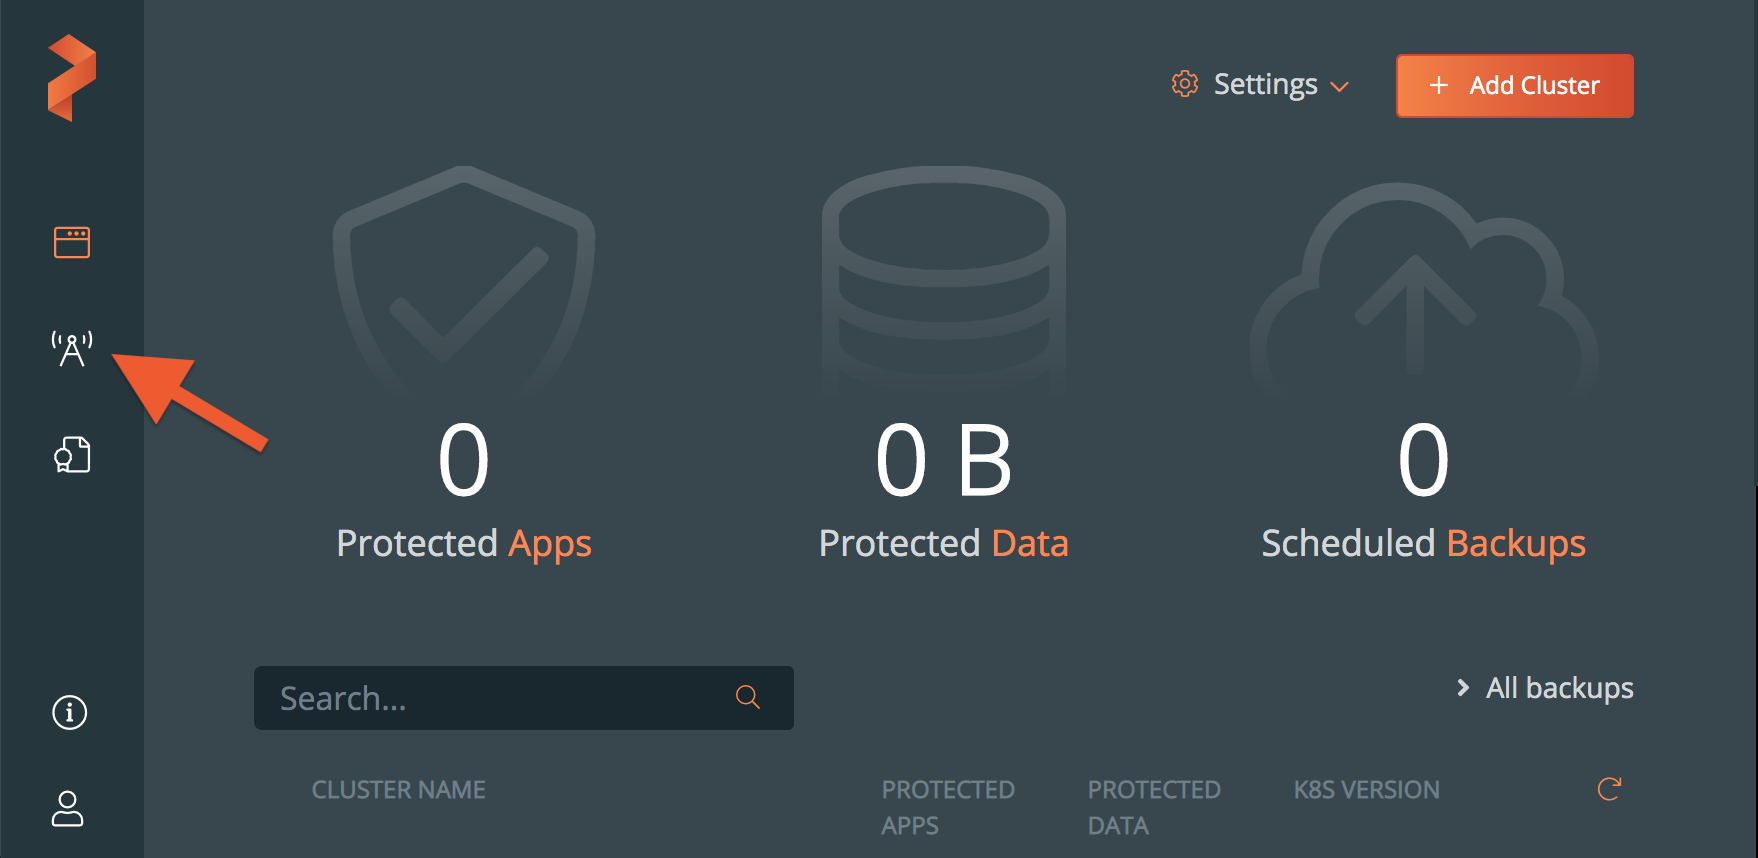
From the PX-Central home page, select the Lighthouse icon.
-
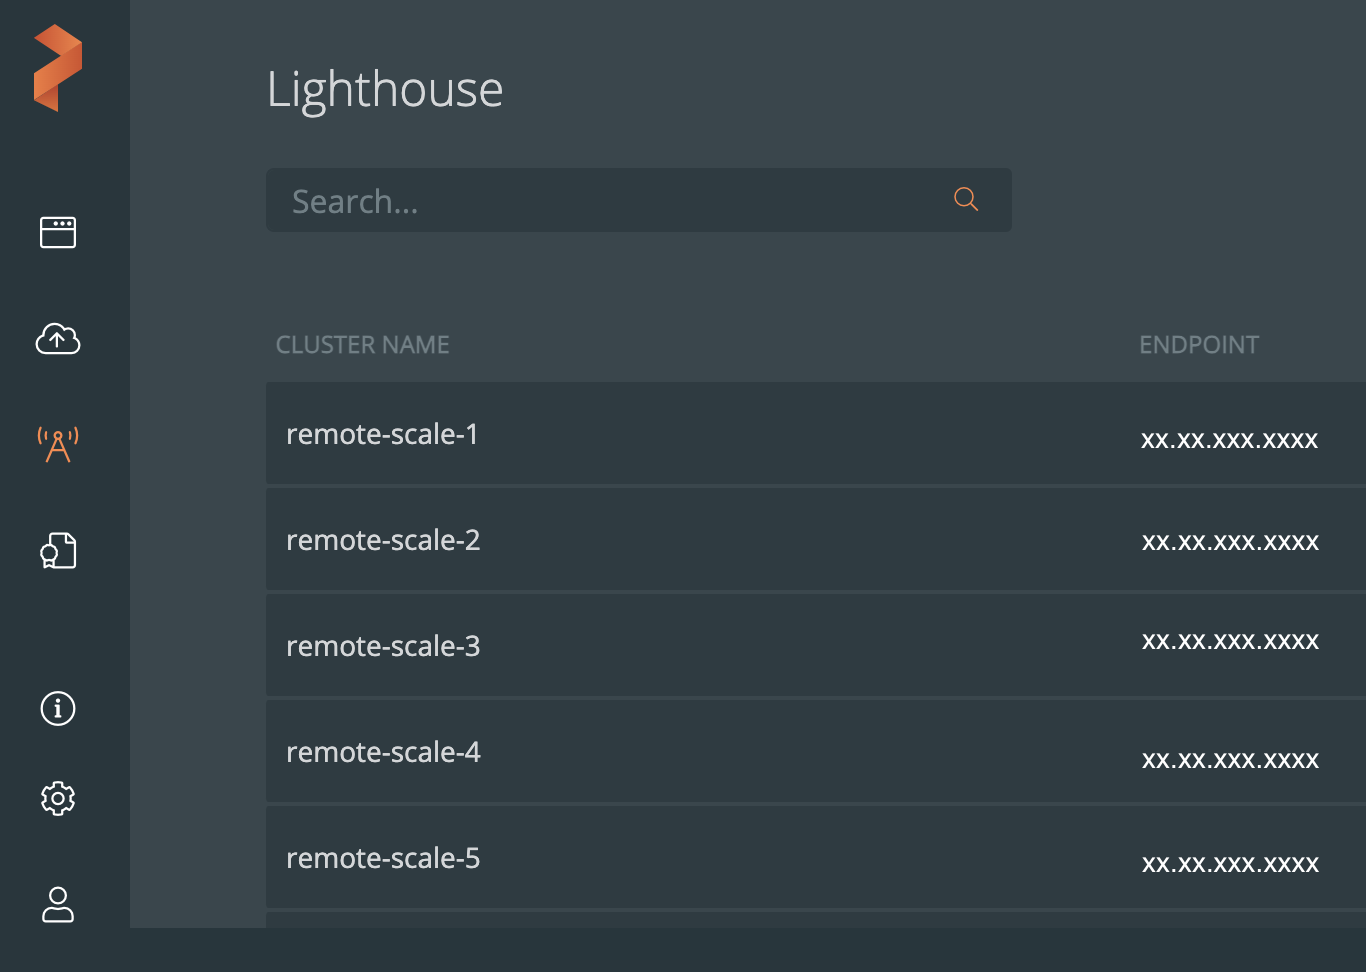
Select your cluster to navigate to the cluster details page.
-
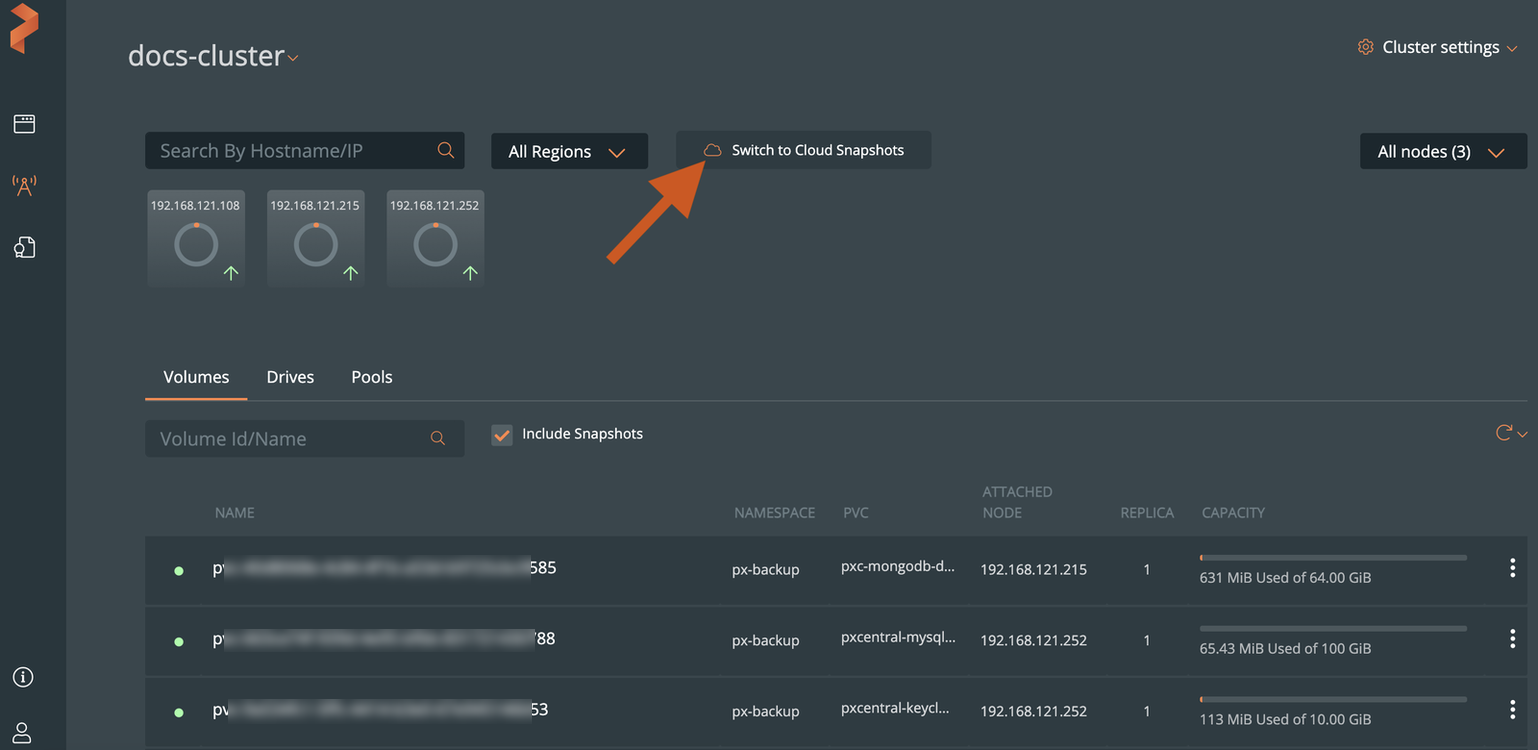
Select the Switch to Cloud Snapshots button.
-
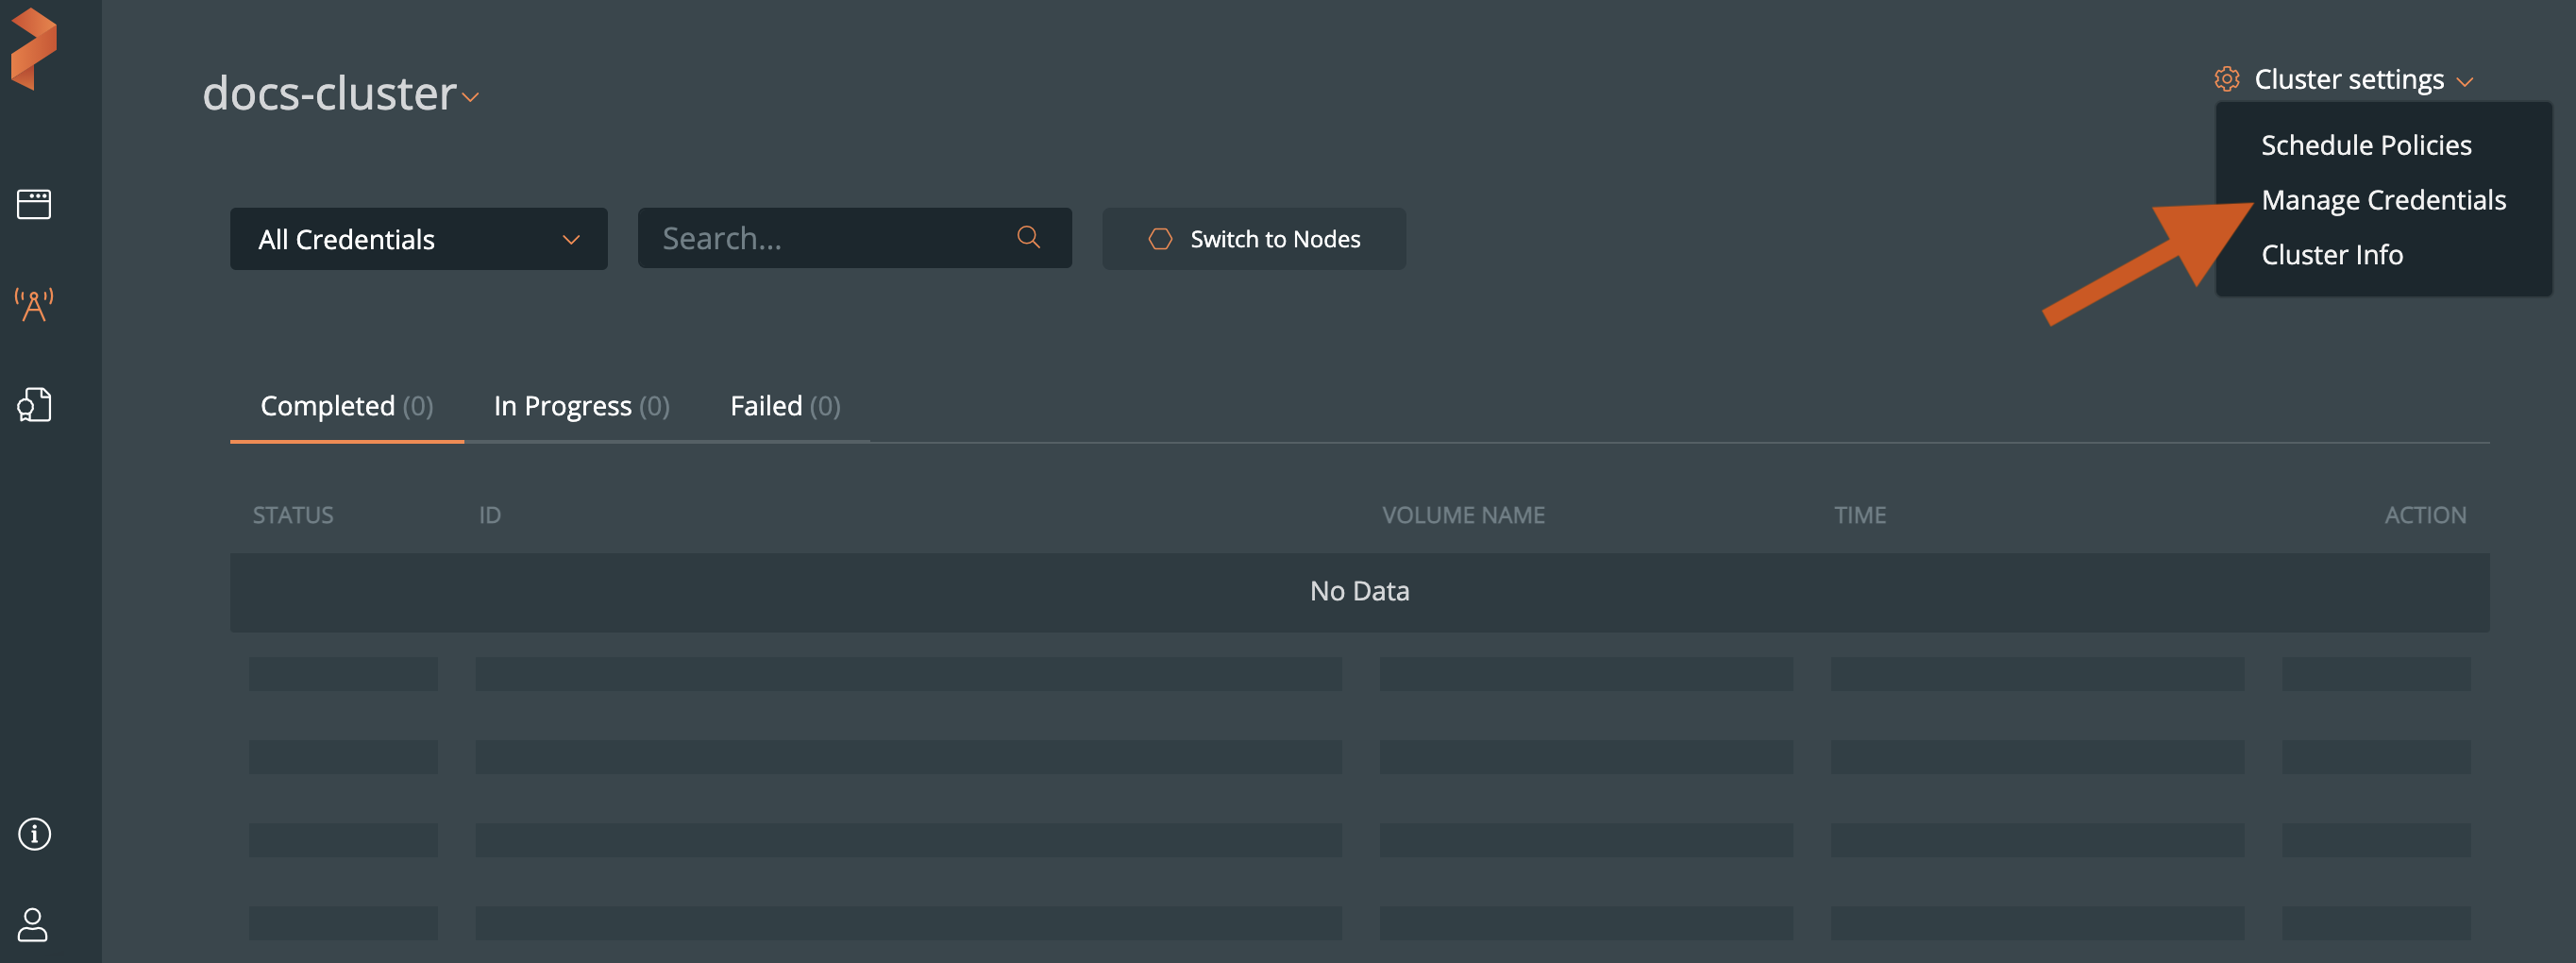
Select Cluster settings dropdown menu at the top-right -> Manage Credentials.
-
From the Manage Credentials page, select the + Add icon.

-
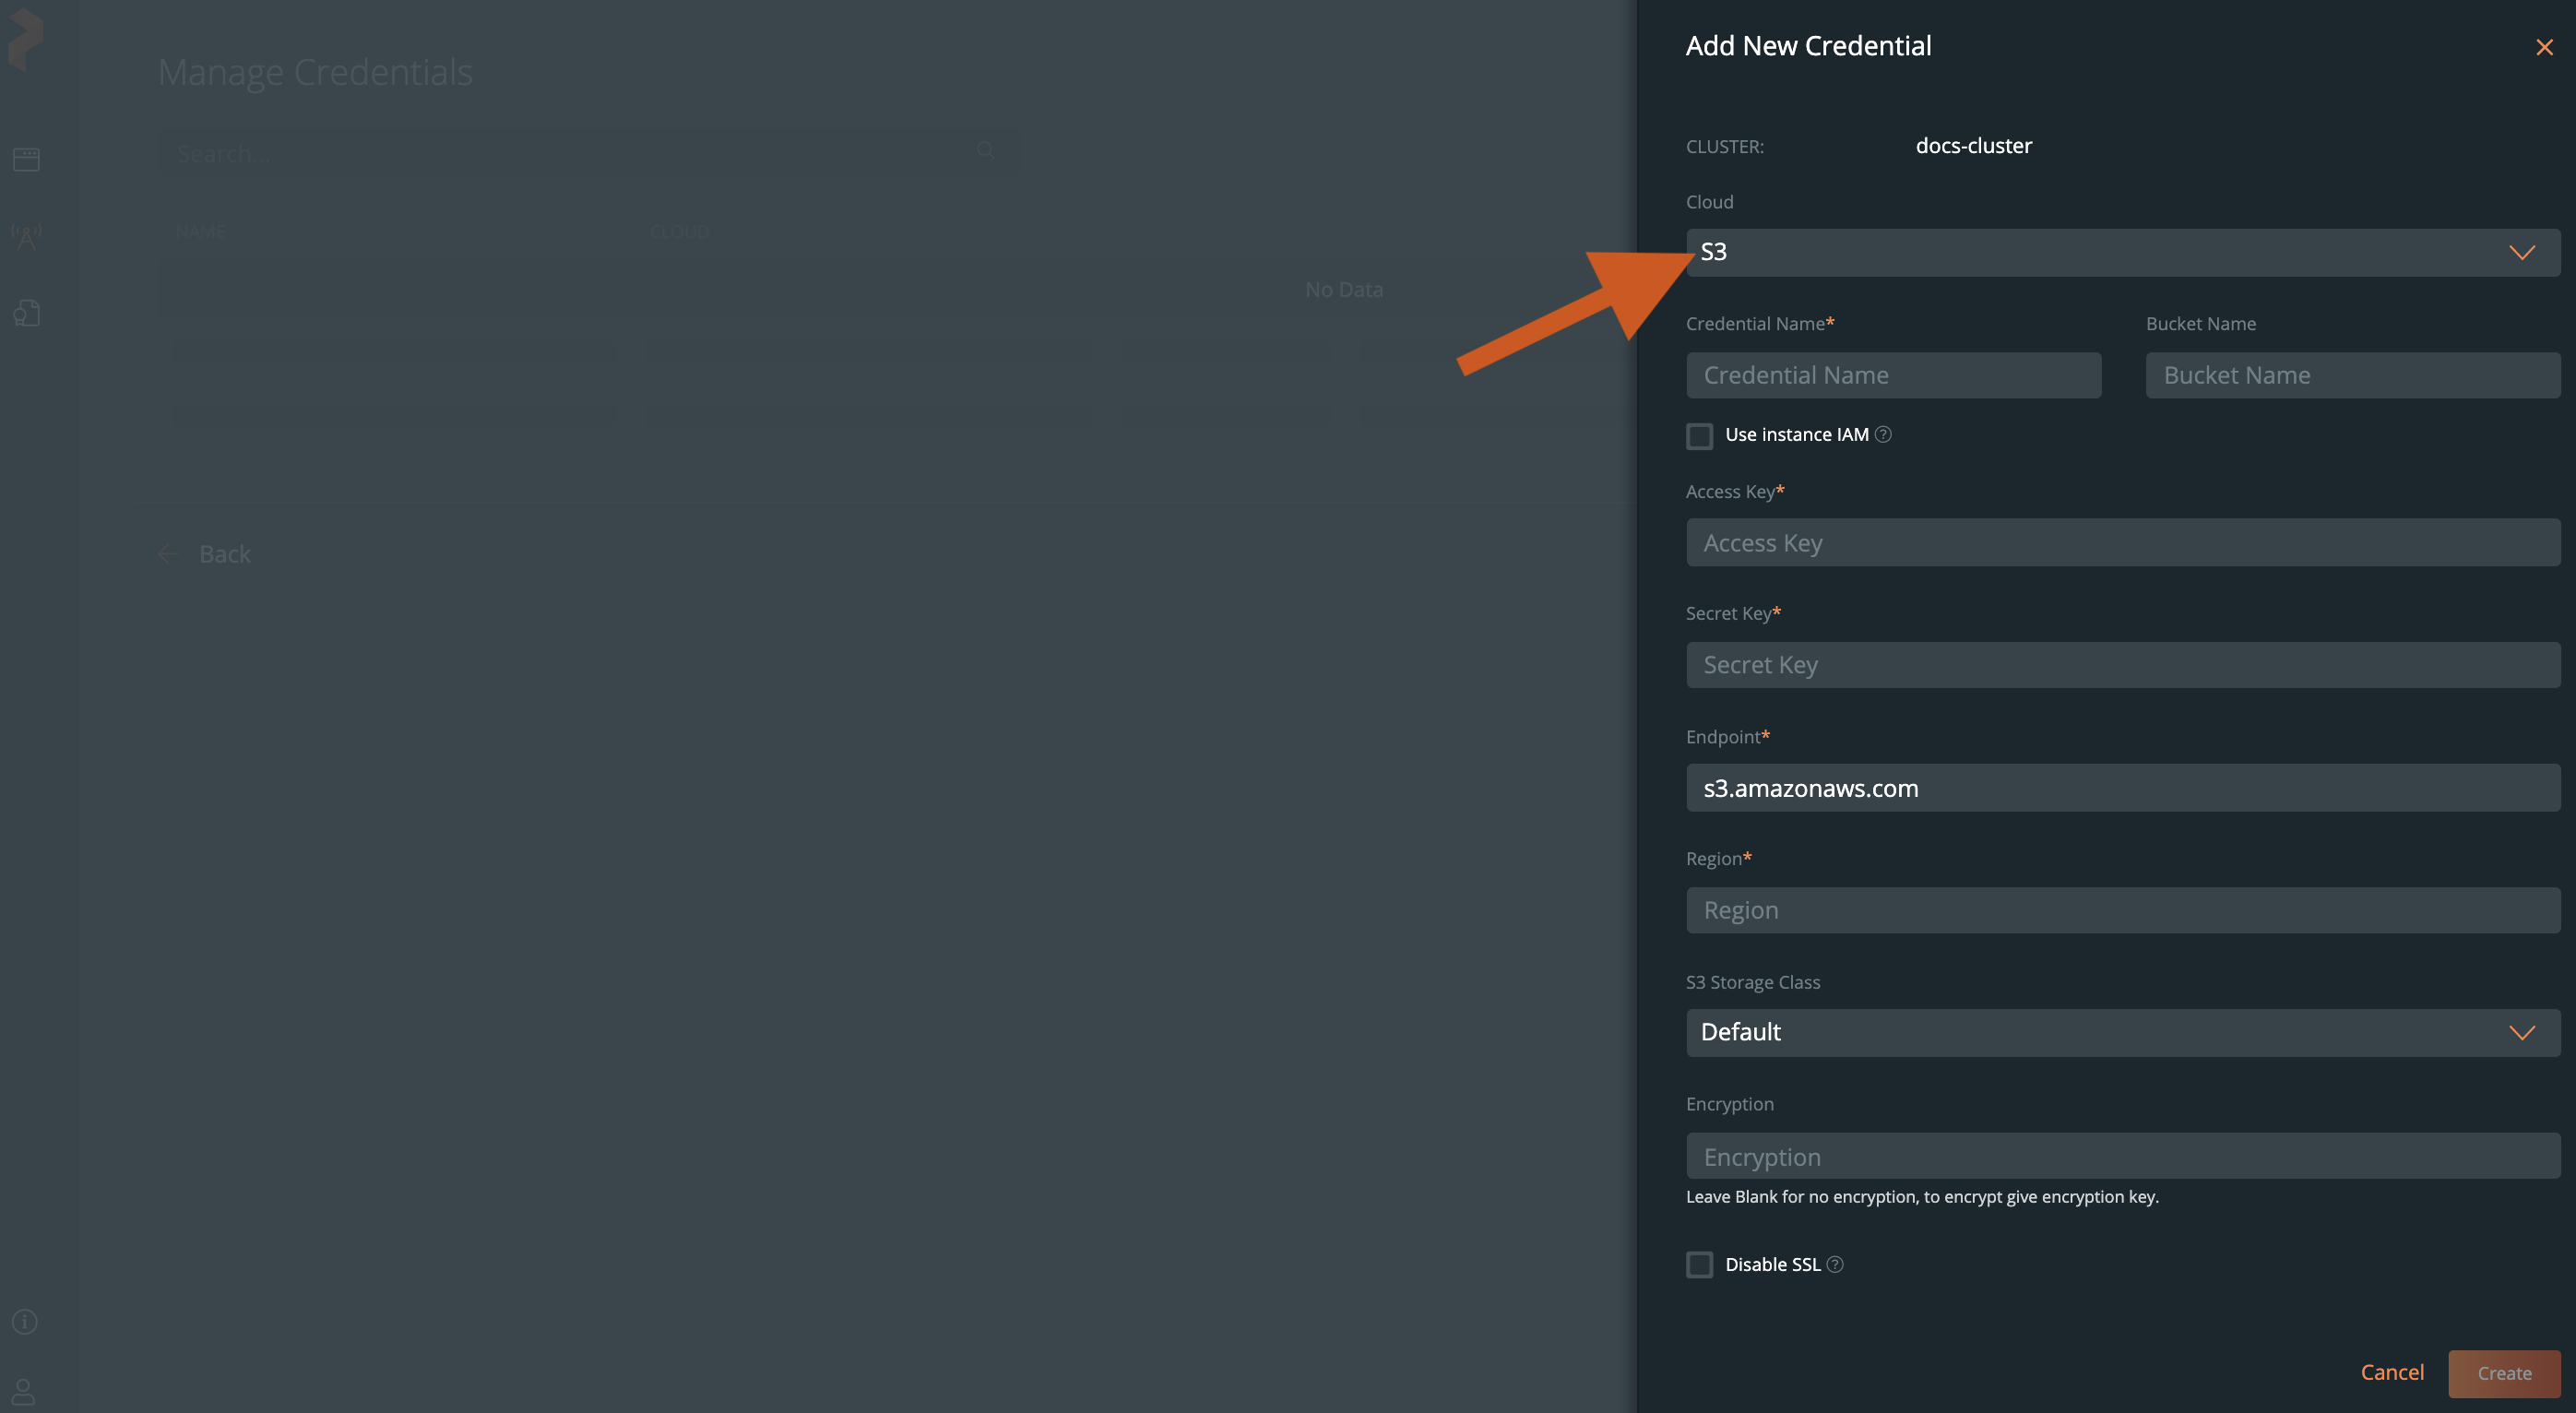
From the Add New Credential window, select a cloud type from the Cloud drop-down list, enter the details of your cloud account at the expanded prompt, and then select the Create button.
-
Select a cloud type from the Cloud Type radio group, enter the details of your cloud account at the expanded prompt, and then click the Submit button.
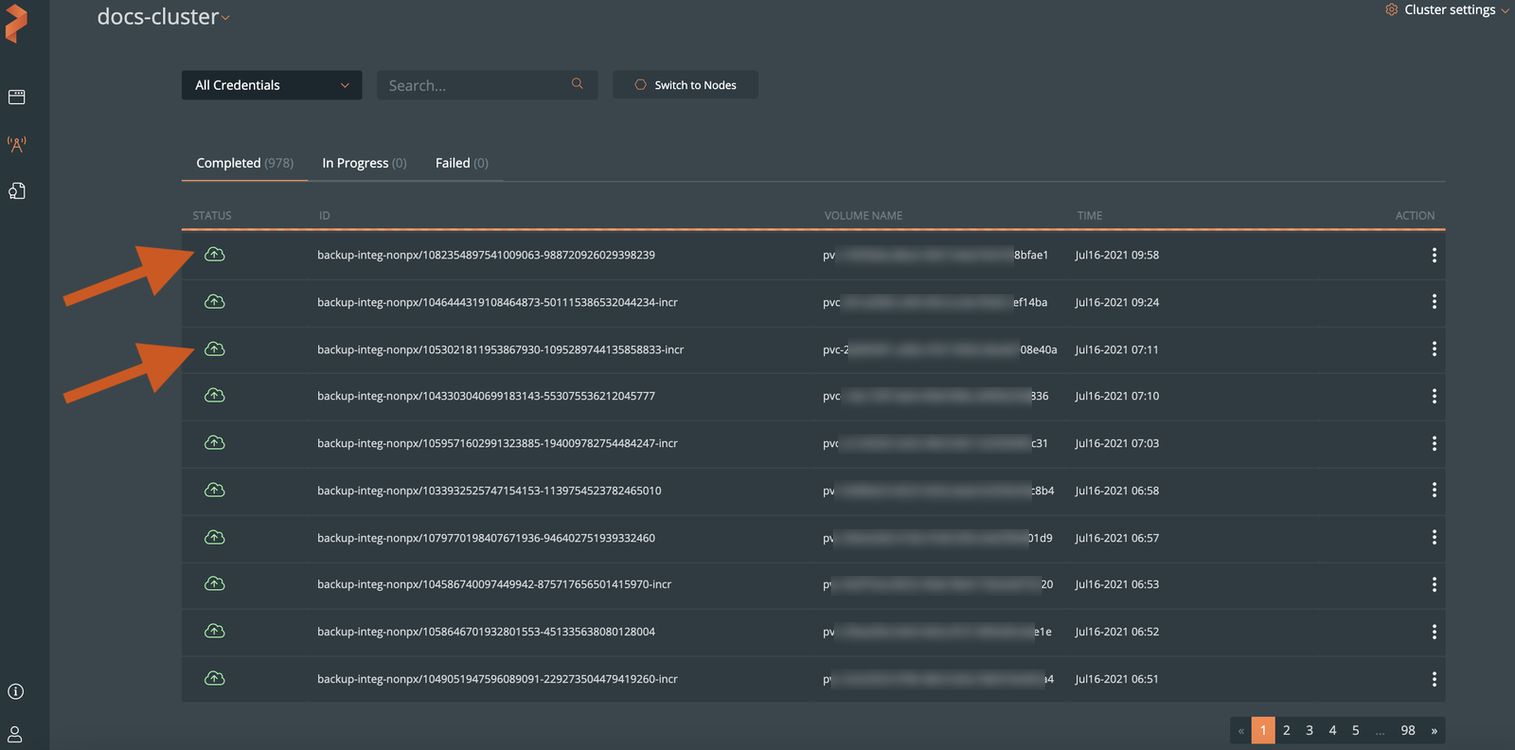
Adding your cloud storage credentials to Portworx Central displays a list of your cloud snapshots located on cloud storage:
Manage cluster schedule policy
This section explains how you can add, remove, and edit cluster schedule policies.
To add a cluster schedule policy:
-
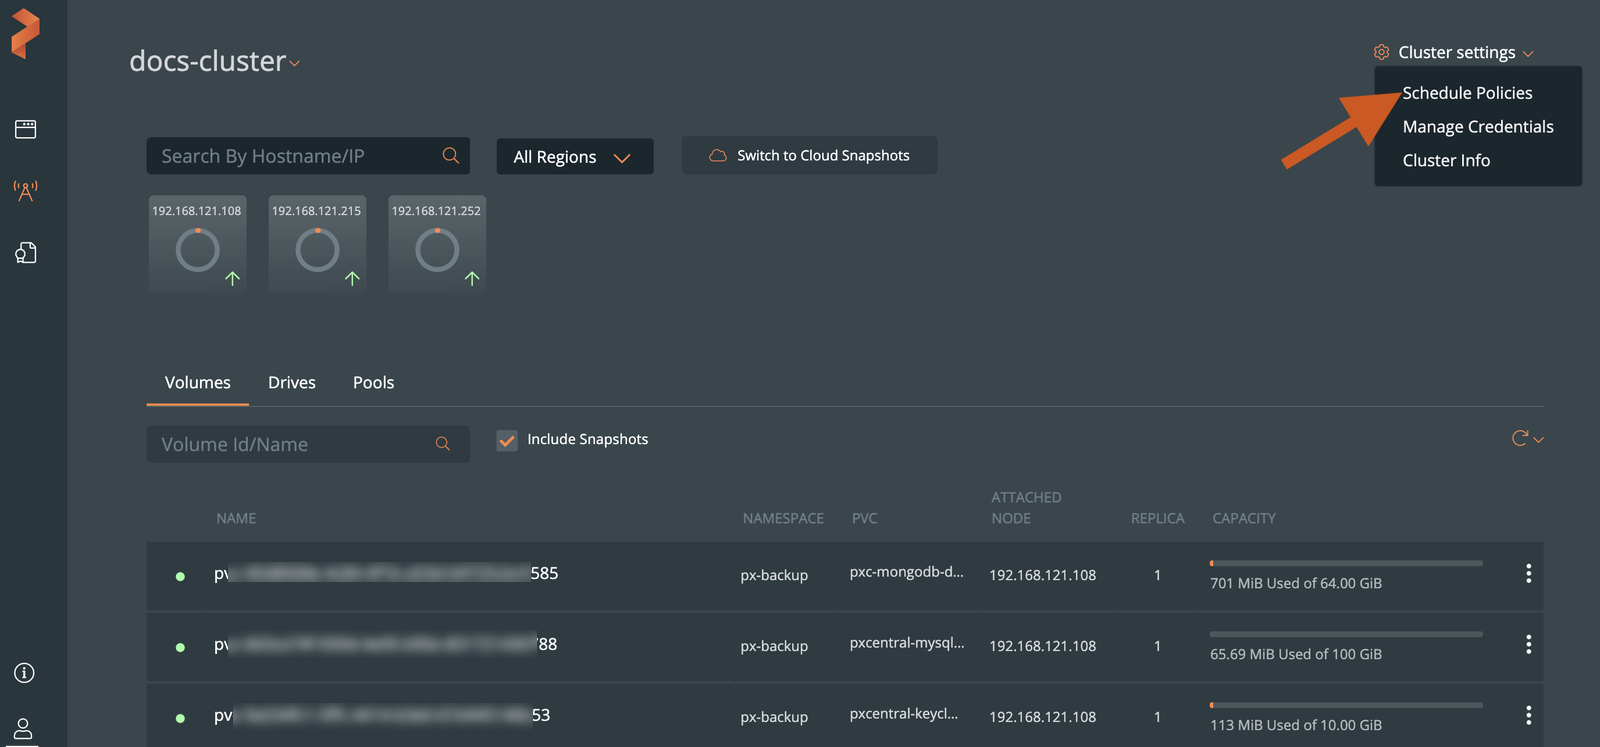
From the cluster details page, select the Cloud settings dropdown menu -> Schedule Policies.
-
In the Manage Schedule Policies page, click the + Add button.

-
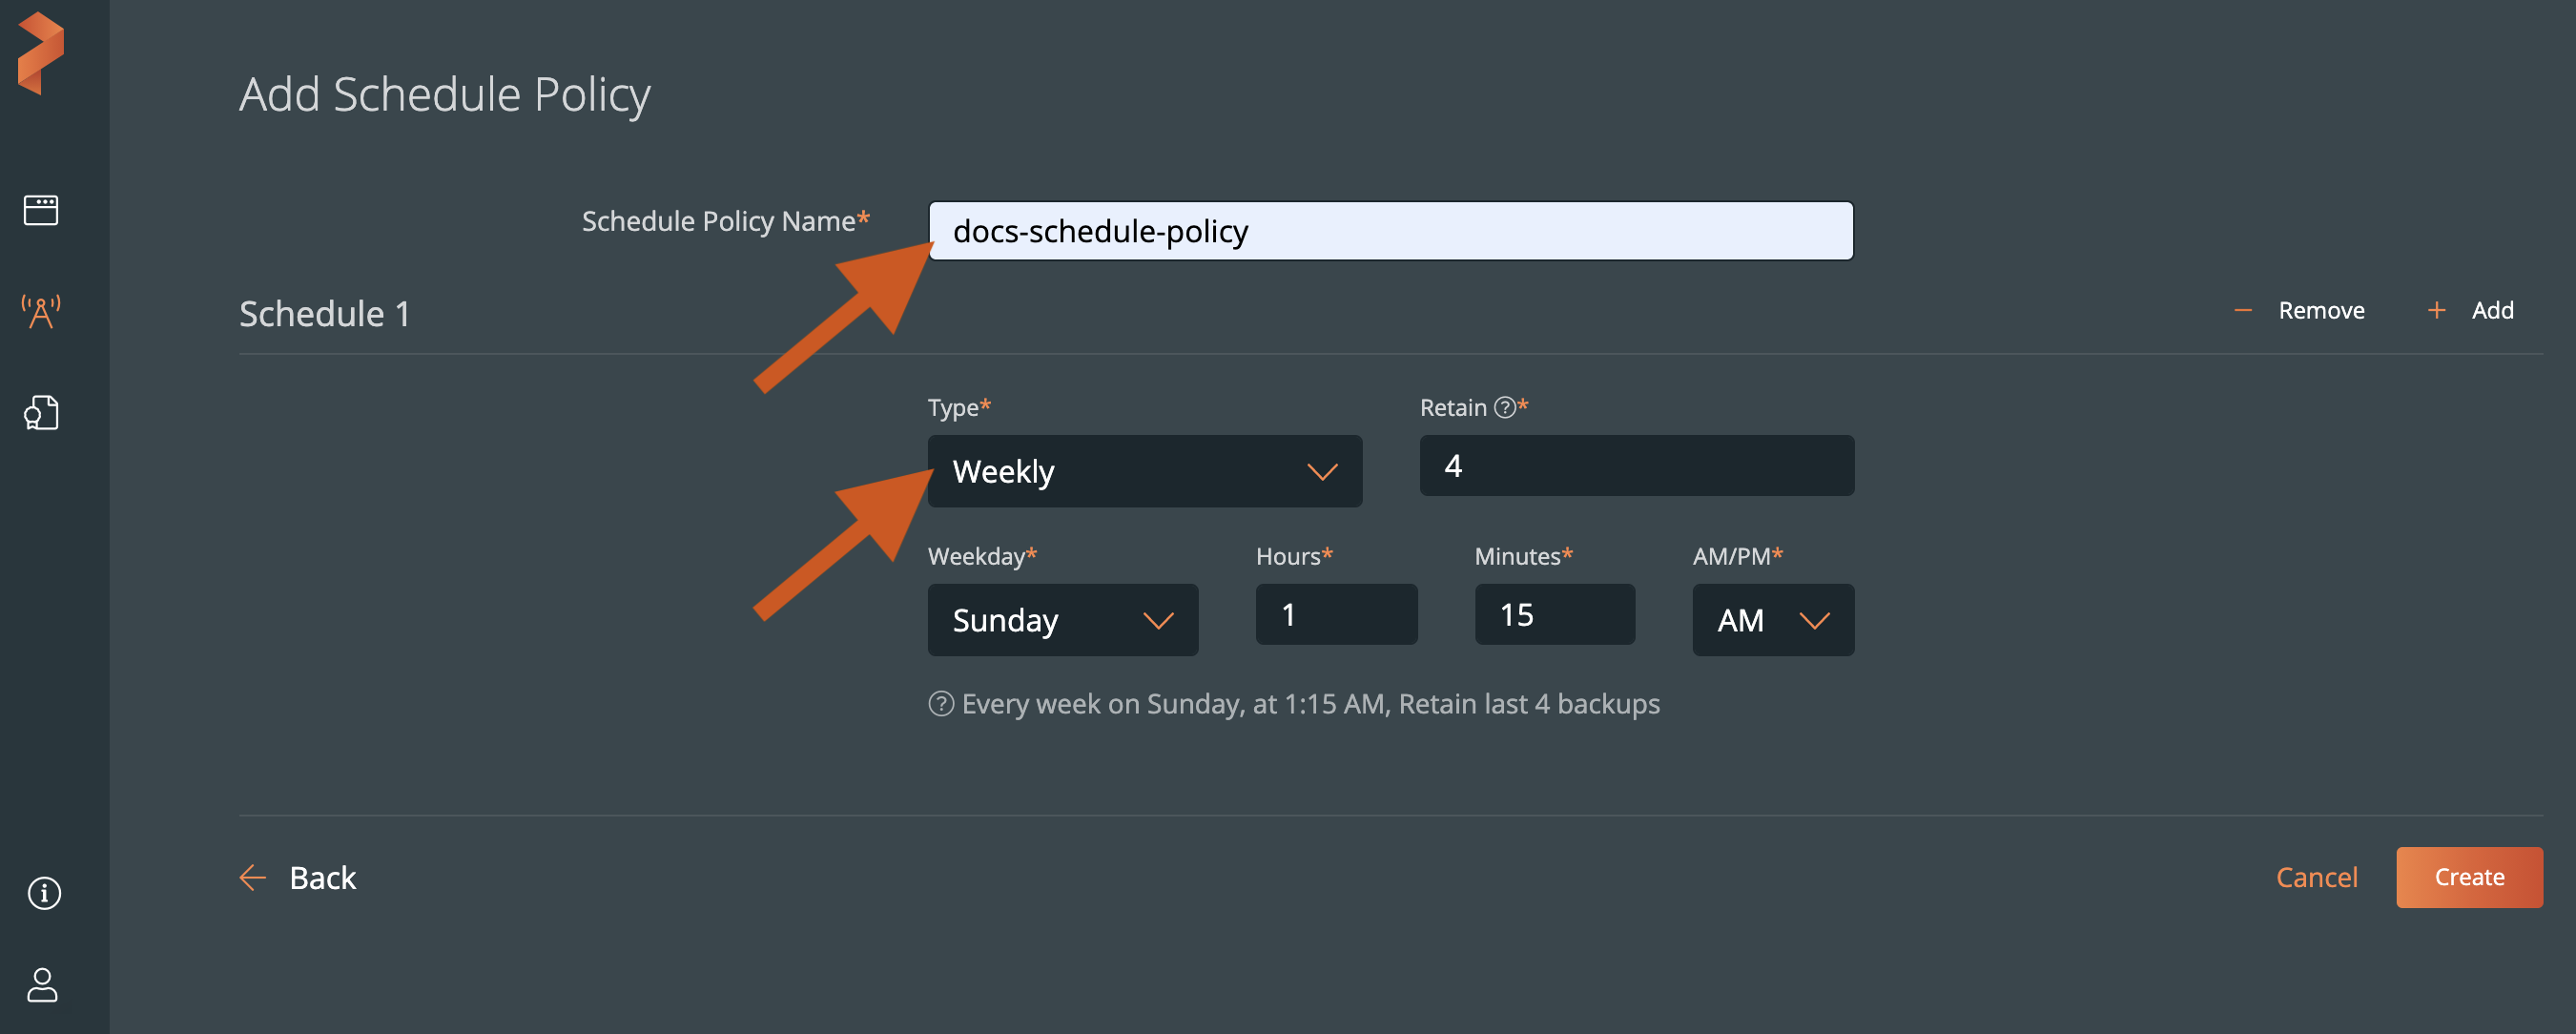
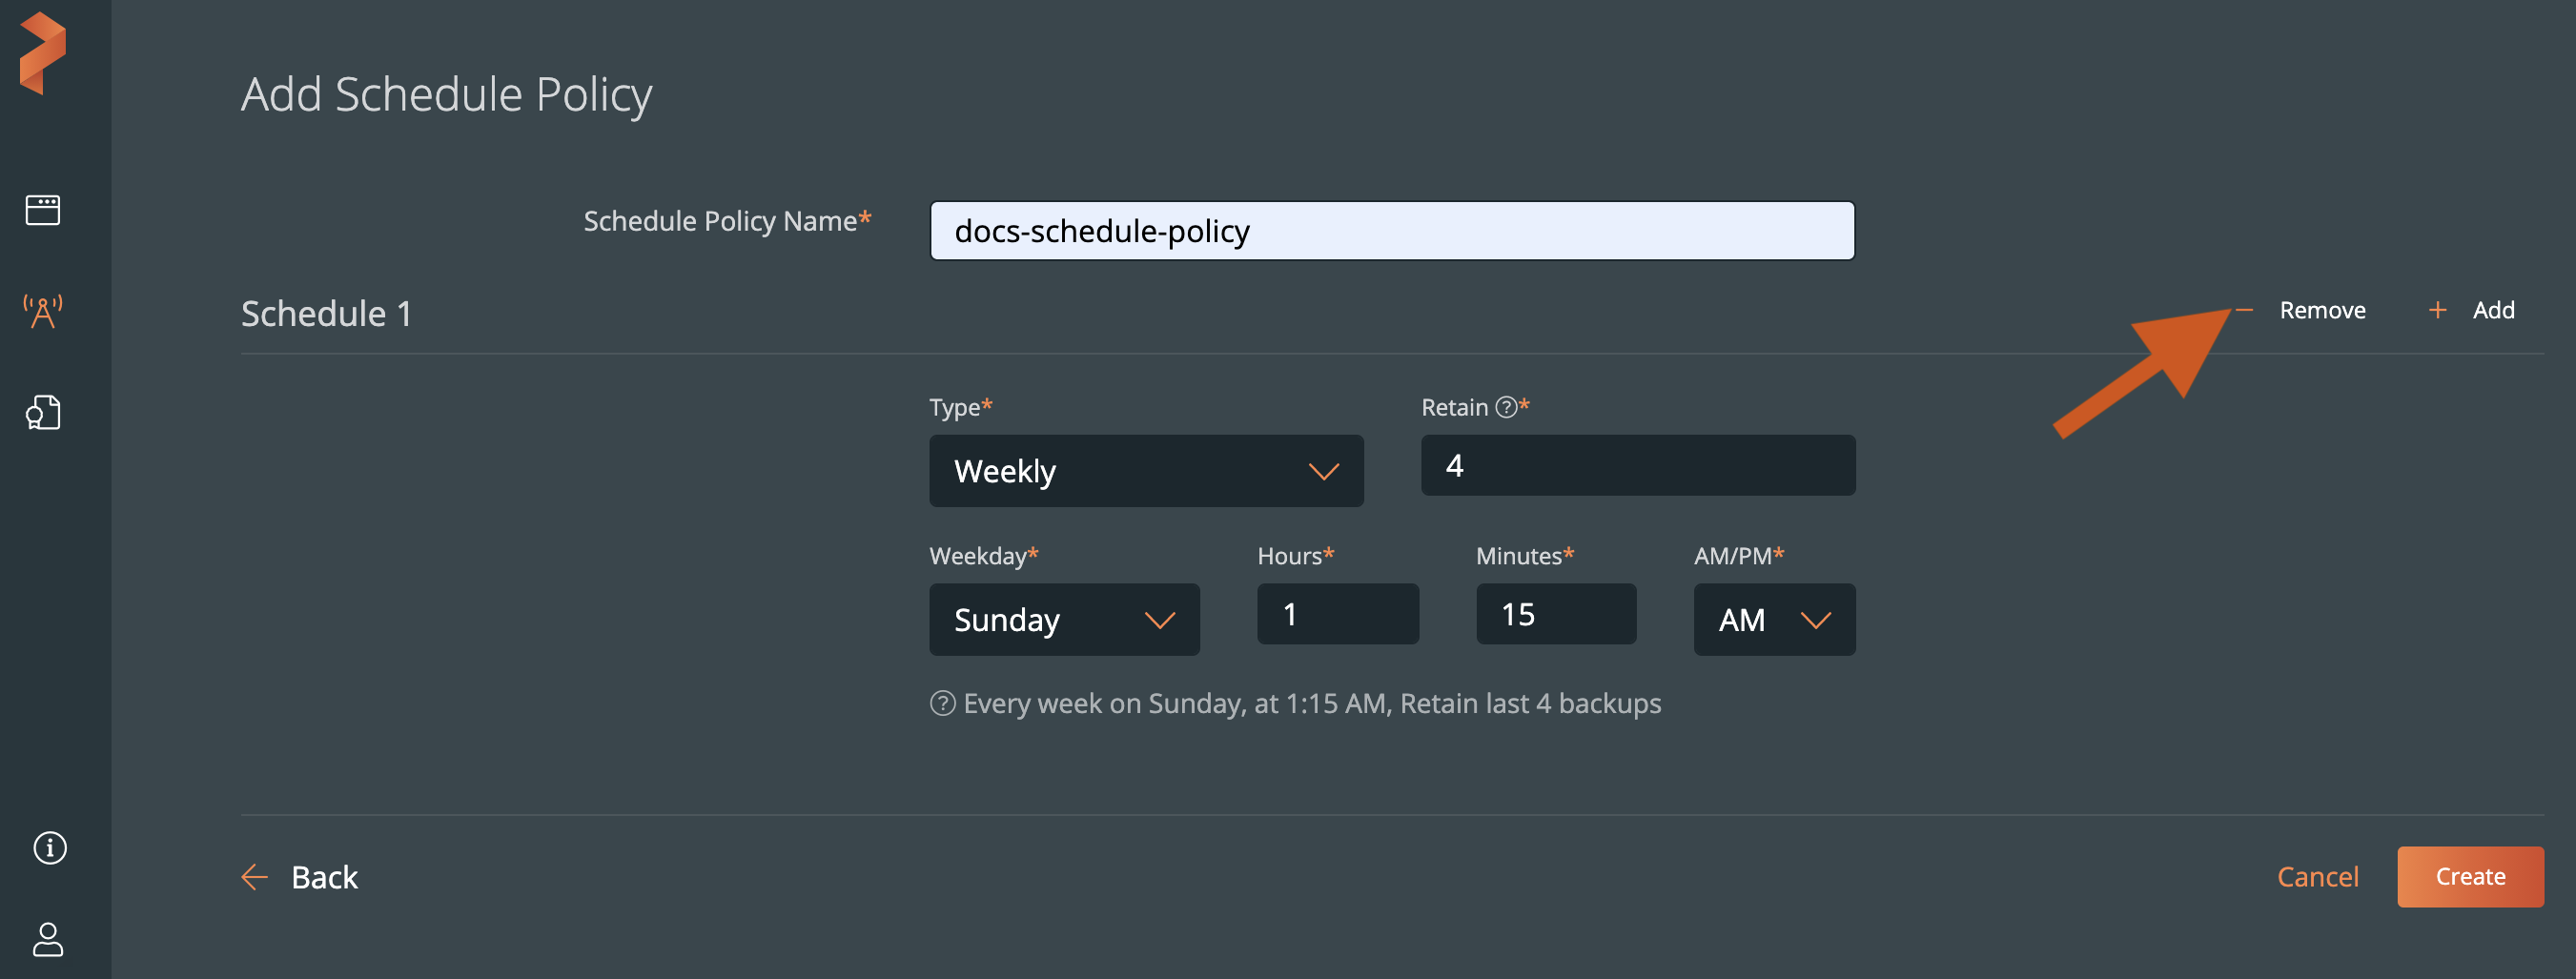
In the Add Schedule Policy page, enter a name for the schedule policy and select a schedule type (Weekly, Periodic, Daily, Monthly) from the Type dropdown list.
-
Click the Create button.
The added schedule policy appears in the Manage Schedule Policies page.
Remove schedule policy
You can reset the schedule policy type selection by selecting the - Remove button:
Edit schedule policy
You can edit an existing schedule policy to change its values, and update it.
To edit a schedule policy:
-
From the Manage Schedule Policies page, select Edit from the vertical menu options available on a schedule policy.

-
In the Edit Schedule Policy page, modify the existing schedule type selection and click Update.
You cannot edit the schedule policy name.